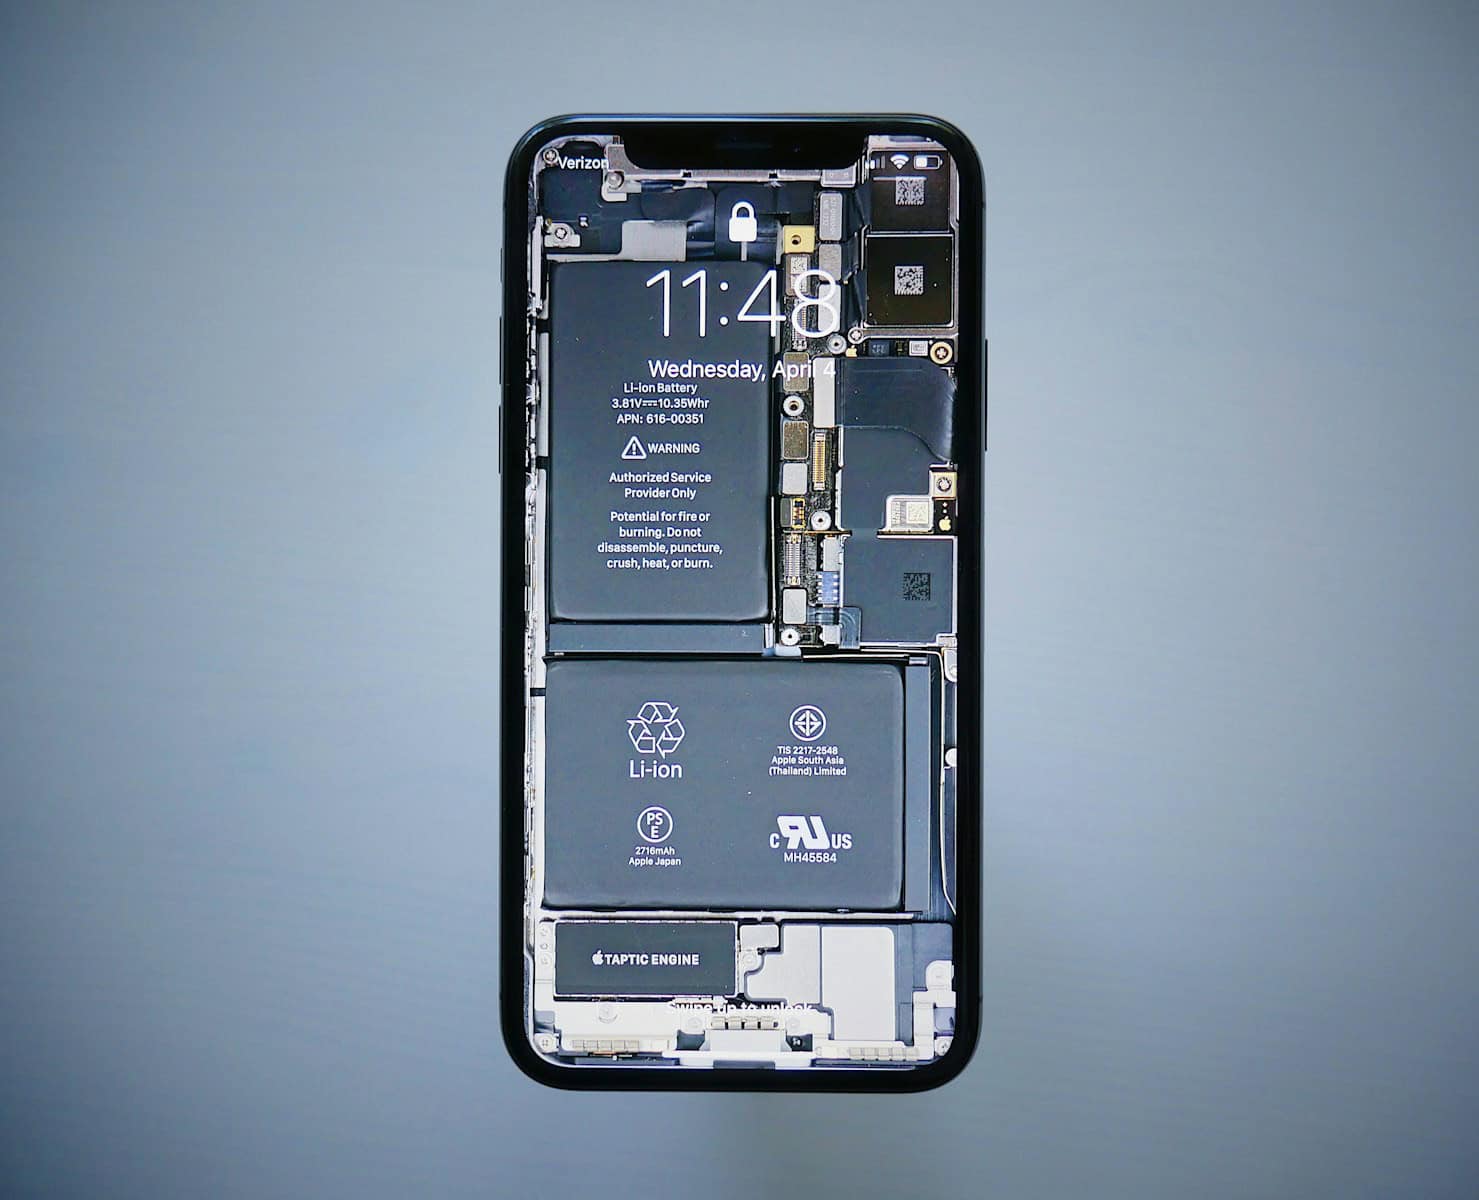
Is your iPhone battery dying too fast? Many people wonder when they should replace their iPhone battery. If your phone doesn’t last as long as it used to, it might be time for a new battery. Apple recommends replacing your iPhone battery when its health drops below 80%. This magic number is when most users start to notice performance issues.
You can check your battery health by going to Settings > Battery > Battery Health on your iPhone. If you see a message that says “Your battery’s health is significantly degraded,” that’s a clear sign it’s time for a replacement. Other hints include your phone shutting down unexpectedly or taking longer to charge.
Getting a new battery can give your iPhone new life without buying a whole new phone. If you have AppleCare+, you might even get a free battery replacement when your battery health falls below 80%. This can save you money and help your phone last much longer.
Here’s How You Can Replace Your iPhone Battery Yourself
Replacing your iPhone battery on your own can save money and extend the life of your device—especially if it’s out of warranty or you’d rather not wait at the Apple Store. While the process varies slightly depending on your iPhone model, the overall steps are similar. Here’s a complete guide to safely replacing your iPhone battery yourself.
⚠️ Important Disclaimer Before You Begin
- Warranty Warning: Opening your iPhone and replacing the battery yourself will void any active Apple warranty or AppleCare+ coverage.
- Risk of Damage: This process involves delicate parts and the potential for damaging your device. Proceed with caution.
- Use Genuine Parts: For the best results and safety, use genuine Apple batteries or high-quality third-party replacements from trusted suppliers.
What You’ll Need
- Replacement iPhone battery (correct model)
- Pentalobe screwdriver (P2)
- Phillips #000 screwdriver
- Suction cup or iPhone screen opening tool
- Plastic spudger or opening pick
- Tweezers
- Heat source (iOpener, heat gun, or hair dryer)
- Adhesive strips (for resealing the battery)
- ESD strap (optional, for static protection)
Step-by-Step Battery Replacement Guide
1. Power Off Your iPhone
Always turn off your iPhone before opening it. Hold the power button and slide to power off.
2. Remove the Pentalobe Screws
Using the P2 screwdriver, remove the two screws on either side of the Lightning port.
3. Soften the Adhesive
Use a heat gun, hair dryer, or iOpener to warm the edges of your iPhone screen. This loosens the adhesive, making it easier to lift the display.
4. Open the Display
- Attach a suction cup to the lower half of the screen.
- Pull gently while inserting a plastic pick between the screen and the frame.
- Carefully work around the edges, being mindful of flex cables at the top.
Note: On Face ID models (iPhone X and newer), the display opens from the right side, like a book. Older models open bottom-to-top.
5. Disconnect the Battery
- Remove any shields over the battery connector using the Phillips #000 screwdriver.
- Use a spudger to gently lift and disconnect the battery connector.
Always disconnect the battery before working on internal components to prevent short circuits.
6. Remove the Old Battery
- Remove any additional shields or brackets covering the battery.
- Peel off or pry out the black adhesive pull tabs at the bottom of the battery. Stretch them slowly to release the battery.
- If tabs break, apply heat underneath the battery and use a plastic card or spudger to carefully pry it free. Never puncture or bend the battery.
7. Install the New Battery
- Peel and apply new adhesive strips where the original battery was located.
- Set the new battery in place and connect it to the logic board.
- Reinstall the metal shield over the battery connector.
8. Reconnect the Display
- Reconnect the display flex cables.
- Reattach any metal shields you removed earlier.
- Carefully press the display back into place, starting from the top.
9. Close the Device and Test
- Replace the pentalobe screws at the bottom.
- Power on the device.
- Test functionality: battery percentage, touch, Face ID/Touch ID, and cameras.
🔋 Tips for Best Battery Health
- Calibrate the new battery: fully charge it to 100%, then use it down to 0% before charging again.
- Avoid exposing your phone to extreme temperatures.
- Use certified charging cables and power bricks.
Final Thoughts
DIY iPhone battery replacement can be rewarding if done right, especially for older devices that Apple no longer services. However, it’s not for everyone. If you’re unsure about any step, or if your iPhone has swollen battery symptoms, consider professional repair services.
If you’re confident and patient, replacing the battery yourself can bring new life to your iPhone—without the Apple Store price tag.
Key Takeaways
- Replace your iPhone battery when health drops below 80% or when you notice poor performance.
- Check battery health in your iPhone settings to see if replacement is needed.
- Consider Apple’s official replacement service or third-party options based on your warranty status.
Indicators Your iPhone Battery Needs Replacement
Your iPhone will send several signals when the battery is failing. These include unexpected shutdowns, slow performance, reduced battery health percentage, and noticeably shorter battery life between charges.
Unexpected Shutdowns
Sudden shutdowns are a clear warning sign that your battery needs replacement. Your iPhone might turn off even when showing a decent battery percentage. This happens because the aging battery can’t provide enough power during peak demands.
These shutdowns often occur when:
- Using power-hungry apps
- Taking photos with flash
- Playing graphically intense games
- Operating in cold weather
Many users report this issue beginning when their battery health reaches below 85%. If your iPhone shuts down randomly several times a week, it’s time to consider a new battery.
Reduced Peak Performance Capability
When your battery ages, iOS may activate “performance management” to prevent shutdowns. This feature slows down your phone to match what your battery can handle.
Signs of reduced performance include:
- Apps taking longer to launch
- Scrolling becomes less smooth
- Keyboard lag when typing
- Camera opening slowly
This slowdown is most noticeable on iPhone 6 and later models. To check if your phone is being throttled, go to Settings > Battery > Battery Health. If you see a message about “performance management,” your battery is affecting your phone’s speed.
Battery Health Degradation
The most direct indicator is checking your battery health percentage. This number shows how your current battery capacity compares to when it was new.
To check your battery health:
- Open Settings
- Tap Battery
- Select Battery Health
Apple recommends replacement when this number drops below 80%. A healthy battery should retain this capacity even after 500 full charge cycles under normal conditions.
If you see “Service” next to Maximum Capacity, it means your battery needs attention. This warning typically appears around 79% health or if the system detects other battery issues.
Noticeable Battery Life Decrease
When your battery needs replacement, you’ll notice it draining much faster than before. What once lasted all day might now need multiple charges.
Common signs include:
- Battery draining over 10% per hour with minimal use
- Needing to charge midday when you previously didn’t
- Battery percentage dropping suddenly (going from 30% to 5% quickly)
- Phone getting unusually warm during normal tasks
If your phone can’t make it through typical daily activities without needing a recharge, it’s likely time for a new battery. This is especially true if you’ve had your iPhone for over two years, as lithium-ion batteries naturally degrade over time.
Understanding iPhone Battery Health Metrics
iPhone’s Battery Health feature helps you keep track of how well your battery is doing. It shows two main measurements that tell you when your battery might need replacement.
Maximum Capacity Reading
The Maximum Capacity percentage shows how your current battery compares to when it was new. This feature became available with iOS 11.3 and can be found in Settings > Battery > Battery Health.
A new iPhone battery starts at 100% capacity. Over time, this number drops as the battery ages through normal use. Apple considers a battery healthy when it stays above 80% of its original capacity.
If your battery falls below 80%, you may notice your iPhone doesn’t last as long between charges. This is a good time to think about replacement.
Some iPhone users report that the battery health percentage isn’t always accurate, so it’s important to also pay attention to your actual battery performance.
Performance Management Status
iPhones include a performance management system that prevents unexpected shutdowns when batteries age. This system kicks in only after your iPhone experiences a shutdown due to battery limitations.
When active, this feature may slow down your phone to protect it from shutting down. Your Battery Health screen will tell you if this management is turned on and give you the option to disable it.
If you see “Performance management applied,” your battery has already caused a shutdown. This is a strong sign that your battery is aging and might need replacement soon.
You can turn off performance management, but your iPhone might shut down unexpectedly if you do.
Options for Battery Replacement
When your iPhone battery needs replacement, you have several reliable options that fit different needs and budgets. Each service type offers different advantages in terms of cost, warranty protection, and convenience.
Apple Authorized Service Provider
Apple Authorized Service Providers are certified businesses that can perform official Apple repairs. These providers use genuine Apple parts and follow Apple’s repair procedures.
The technicians at these locations receive training directly from Apple. This ensures your iPhone gets the same quality service as at an Apple Store.
If you have AppleCare+, battery replacement is often free when your battery health falls below 80%. Without AppleCare+, expect to pay $69-$99 depending on your iPhone model.
Most providers offer same-day service when possible. Some even provide mail-in options if you don’t live near a physical location.
The main benefit is maintaining your warranty while getting Apple-quality service, often with shorter wait times than Apple Stores.
Genius Bar at Apple Store
The Genius Bar offers direct service from Apple’s own technicians. You’ll need to make an appointment through the Apple website or Apple Support app.
Apple Store battery replacements use genuine parts and are backed by Apple’s warranty. The service typically takes 1-2 hours if performed on-site.
Pricing is standardized:
- iPhone 13 and newer: $99
- iPhone 8 through iPhone 12: $69
- Older models: $49
With AppleCare+, replacement is free if your battery holds less than 80% of its original capacity. This coverage lasts the duration of your AppleCare+ plan.
Apple Stores often get booked quickly in busy areas. Plan ahead and check appointment availability at multiple stores if possible.
Third-Party Repair Shops
Independent repair shops offer more flexible pricing and often faster service than official options. Prices typically range from $30-$70 depending on your iPhone model.
Important considerations:
- Ask if they use genuine or aftermarket batteries
- Check if they offer any warranty on their work
- Understand that non-Apple repairs may void your warranty
Many shops complete the repair while you wait, often in under an hour. Some shops even offer pickup and delivery services.
Quality varies significantly between shops. Read reviews and ask about technician experience before choosing. Reputable shops will happily answer questions about their parts and process.
DIY Replacement Options
Replacing your iPhone battery yourself can save money, with kits costing $20-$40. This option works best for those with technical skills and older iPhones.
Most DIY kits include:
- Replacement battery
- Essential tools (screwdrivers, pry tools, adhesive)
- Step-by-step instructions
Video tutorials on platforms like YouTube provide visual guidance. Follow them carefully to avoid damaging components.
Be aware that DIY repairs will void any remaining Apple warranty. Newer iPhone models are harder to open and have more complex internal designs.
Always disconnect the battery first to prevent electrical damage. Work in a well-lit, static-free environment with plenty of space.
Evaluating Costs and Warranties
Replacing your iPhone battery involves considering several financial factors before making a decision. Understanding warranty coverage, repair costs, and comparing these expenses against buying a new device can help you make the best choice for your situation.
Warranty Status and AppleCare
Apple’s standard warranty covers battery issues for one year from purchase. This warranty replaces batteries that fail to hold at least 80% of their original capacity.
If you have AppleCare+, your coverage extends to two or three years depending on your plan. With AppleCare+, battery replacements are typically free if your battery health drops below 80%.
It’s smart to check your warranty status before paying for a replacement. You can do this through:
- Settings app on your iPhone
- Apple’s website using your serial number
- Asking at an Apple Store
Many people don’t realize that battery issues aren’t covered under standard warranty after the first year. This is because batteries are considered “consumable parts” that naturally wear out with use.
Service Fees and Shipping Fees
Without warranty coverage, Apple charges between $69 and $99 for battery replacement, depending on your iPhone model. Newer Pro models typically cost more.
Third-party repair shops often charge $30-50 less than Apple, with some options costing around $46. However, using non-Apple repair services may void any remaining warranty.
If you mail your phone for repair, shipping fees may apply:
- Free shipping with AppleCare+
- $6.95 for standard shipping
- $10+ for express shipping options
DIY repair kits from companies like iFixit cost $34-$49 less than Apple’s service. These kits include everything needed for replacement but require technical skill and patience.
Cost-Benefit Analysis of a New Phone
A battery replacement makes financial sense when your phone is less than 3-4 years old. For a $69-$99 battery replacement, you can potentially extend your phone’s life by 2-3 years.
Consider these factors when deciding between replacement and upgrade:
- Phone age (older than 4 years may not justify repair)
- Current iOS support
- Overall phone condition
- New features you might want
Most iPhone batteries last 2-3 years before needing replacement. If your phone is already approaching this age, a new battery can be much more economical than a new phone that costs $700-$1,200.
Battery replacement is particularly worthwhile for higher-end models like the Pro versions. The cost difference between a $99 battery and an $1,100 new phone makes the math quite simple.
Preparing for Battery Replacement
Getting ready for an iPhone battery replacement requires proper tools and understanding the process. Whether you choose to do it yourself or have a professional handle it, preparation is key to a successful battery swap.
Gathering Necessary Tools and Supplies
If you decide to replace your iPhone battery yourself, you’ll need specific tools. A Y000 driver is essential for removing the pentalobe screws that secure your iPhone. You’ll also need a suction cup to lift the screen and a thin plastic tool called a spudger to disconnect internal components safely.
Heat is often necessary to loosen the adhesive. You can use a hair dryer on low setting or an iOpener (a special heating pad). iFixit offers complete kits with all these tools.
Don’t forget safety equipment! Wear safety glasses to protect your eyes from small parts that might pop loose. Keep new adhesive strips ready to secure the replacement battery.
Make sure to have a clean, well-lit workspace and a small container to keep track of tiny screws.
Understanding the Risks of DIY
DIY battery replacement comes with significant risks. Your iPhone contains sensitive components that can be damaged easily. One wrong move could break the display or damage the logic board, creating a much bigger problem.
Battery handling is dangerous. Lithium-ion batteries can catch fire if punctured or bent. Never use metal tools near the battery or force it out if it’s stuck with adhesive.
You may also void your warranty. Apple won’t cover damage from DIY repairs. If you have AppleCare+, it makes more sense to use Apple’s battery replacement service, especially when your battery holds less than 80% of its original capacity.
Many experts recommend backing up your data and resetting your phone before any battery replacement, even if done professionally.
Step-by-Step iPhone Battery Replacement Guide
Replacing your iPhone battery can restore its performance and extend its life. The process requires careful handling of small components and proper tools for safety.
Disassembling the iPhone
First, power off your iPhone completely. Use a pentalobe screwdriver to remove the two bottom screws next to the charging port. These screws are tiny, so place them in a small container to avoid losing them.
Apply heat to the edges of the screen using a hair dryer or heat gun on low setting. This softens the adhesive holding the screen. Use a thin plastic tool or suction cup to gently pry up the display.
Important: Do not fully remove the screen yet! It’s still connected by cables.
Open the display at a 90-degree angle and secure it. You’ll see several cable connectors that need to be disconnected. Remove the small metal bracket covering these connectors first.
Use a spudger tool to carefully disconnect the display cables. Work slowly and take photos of each step if possible to remember the proper placement for reassembly.
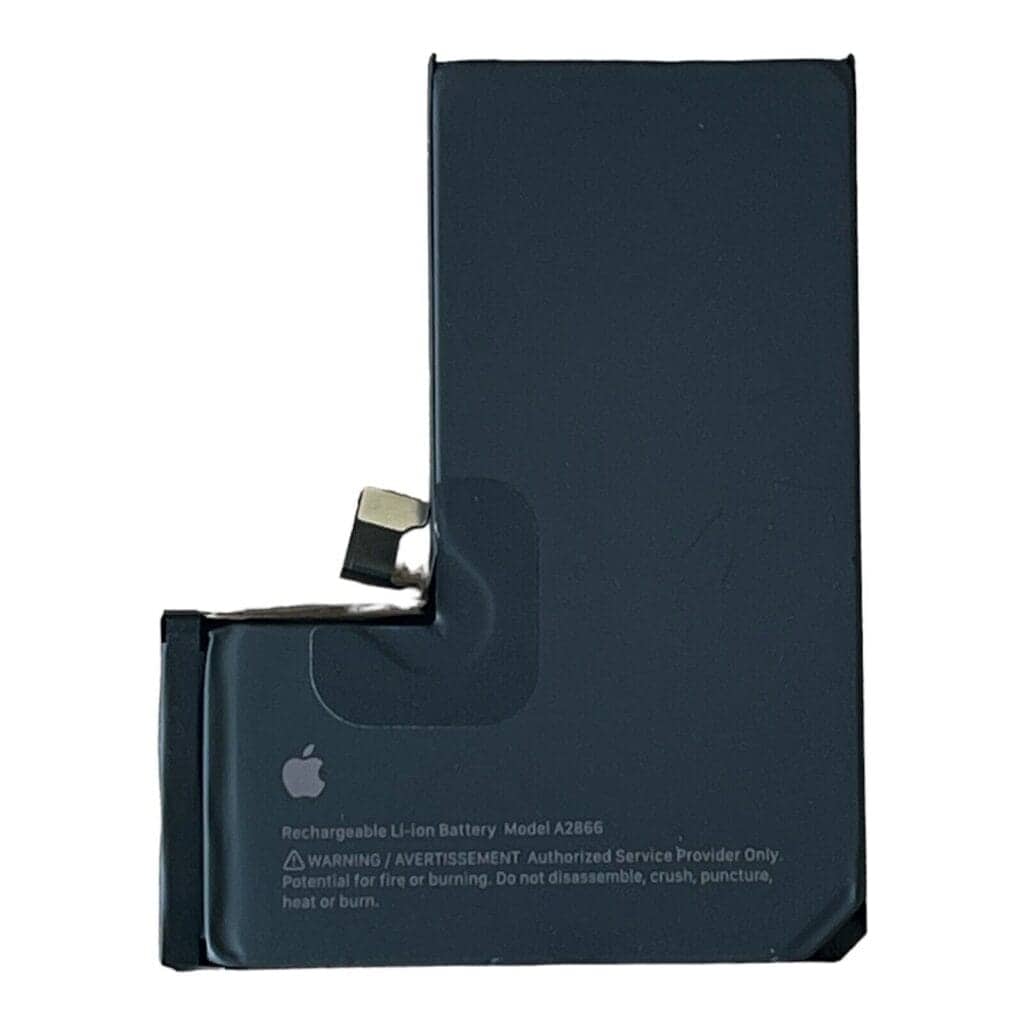
Removing the Old Battery
The battery is held in place with strong adhesive strips. Locate the battery connector and disconnect it from the logic board first to prevent any short circuits.
Remove any components blocking access to the battery. This might include the speaker assembly or Taptic Engine depending on your iPhone model.
Pull the adhesive strips out slowly at a 45-degree angle. If they break, you may need to use isopropyl alcohol to loosen the remaining adhesive. Apply it sparingly around the edges of the battery.
Wait a few minutes for the alcohol to work, then carefully pry up the battery using a plastic tool. Never use metal tools as they can puncture the battery and cause a fire hazard.
Once loose, lift the battery out gently. Be careful not to bend or damage it during removal.
Installing the New Battery
Before installing, check your replacement battery for any physical damage. Make sure it’s the correct model for your iPhone.
Clean the battery compartment with isopropyl alcohol and a lint-free cloth. Remove any leftover adhesive residue completely.
Apply new adhesive strips if they came with your replacement battery. Ensure they’re properly positioned for maximum hold.
Carefully place the new battery in the exact position of the old one. Press down gently to secure the adhesive.
Reconnect the battery connector to the logic board. Reinstall any components you removed earlier, like the speaker or Taptic Engine.
Reconnect all display cables in the correct order and replace the metal connector cover. Carefully align the display and press the edges until the adhesive seals. Finally, replace the pentalobe screws at the bottom.
Reassembly and Testing After Replacement
Once the new battery is installed, proper reassembly and thorough testing are crucial steps to ensure your iPhone works correctly. These final stages help verify the battery replacement was successful and maintain your device’s water resistance.
Sealing the iPhone Casing
Proper sealing is essential to maintain your iPhone’s water resistance after battery replacement. Start by cleaning the frame with isopropyl alcohol to remove any old adhesive residue. Apply new waterproof adhesive around the edges where the screen meets the frame. This special adhesive creates a black silicone seal that prevents water from entering the device.
Be careful not to use too much adhesive as it might push into internal components. Place the waterproof seals exactly as they were before removal, paying special attention to the corners and button areas.
Make sure the display cable is properly connected before sealing. Gently press down on all edges of the screen to activate the adhesive. Use an anti-clamp tool or rubber bands to maintain even pressure while the adhesive sets.
Let the phone sit undisturbed for at least 1-2 hours to allow the adhesive to cure completely.
Functionality and Performance Testing
After reassembly, thorough testing ensures your new battery works properly. First, power on your iPhone and check that the screen responds normally. Look for any display issues like dead spots or flickering that might indicate a loose connection.
Test all buttons, including volume, power, and home button (if your model has one). Verify the speakers, microphone, and cameras work correctly. These components connect near the battery and could be affected during replacement.
Check your battery health in Settings > Battery > Battery Health. A new battery should show close to 100% maximum capacity. Note that some third-party batteries may show a “Battery not genuine” message.
Run the phone through normal tasks to test battery performance. Make a call, browse the internet, and use a few apps. Monitor for unusual heating or rapid battery drain that might indicate installation issues.
If everything works properly, your battery replacement was successful!
Tips for Extending iPhone Battery Lifespan
Proper care and mindful usage can greatly extend the life of your iPhone battery. These practical steps will help maintain battery health over time and reduce how often you need to replace it.
Optimal Charging Practices
Avoid letting your iPhone battery drain completely before charging. Lithium-ion batteries work best when kept between 20% and 80% charged.
Make sure optimized battery charging is turned on. This feature learns your daily charging routine and delays charging past 80% when your phone predicts it will be plugged in for an extended time.
Remove certain cases while charging. Some cases trap heat, which can damage your battery over time. If your iPhone gets warm while charging, take off the case.
Store iPhones at about 50% charge if you won’t use them for a while. Completely draining or fully charging for storage can harm battery cells.
Avoid using fast chargers all the time. While convenient, regular use of fast charging creates more heat and stress on the battery.
Usage Habits and Settings Adjustments
Adjust your screen brightness or use auto-brightness. The display uses significant power, so keeping brightness lower helps extend battery life.
Turn on Low Power Mode when your battery is low. This reduces background activity and preserves battery life when you need it most.
Limit apps that refresh in the background. Go to Settings > General > Background App Refresh and turn off this feature for apps that don’t need constant updates.
Keep your iPhone away from extreme temperatures. Both heat and cold can damage battery cells. Avoid leaving your phone in hot cars or exposed to direct sunlight.
Update to the latest iOS version. Apple often includes power efficiency improvements in software updates.
Check which apps drain your battery most in Settings > Battery. Consider limiting use of power-hungry apps or deleting those you rarely use.
Frequently Asked Questions
iPhone batteries naturally degrade over time, affecting both battery life and performance. Here are the most common questions about when and why to replace your iPhone battery.
What percentage of iPhone battery health indicates a need for replacement?
Apple suggests replacing your iPhone battery when health drops below 80%. This is the point where battery issues become more noticeable.
Many users report waiting until battery health reaches the 70% range. At this level, performance problems and shorter battery life become more common.
Daily phone users might want to replace earlier than occasional users. Someone who constantly needs their phone may want to replace at 80-85% health.
How often should an iPhone battery be replaced to maintain optimal performance?
Most iPhone batteries need replacement every 2-3 years with regular use. Battery health typically drops about 1% per month with average use.
Heavy users might need replacement sooner. Those who frequently charge their phones, use power-hungry apps, or expose their device to extreme temperatures may see faster degradation.
The need for replacement also depends on your usage patterns. If the phone lasts through your day without issues, replacement may not be urgent even at lower health percentages.
What are the typical costs associated with replacing the battery in various iPhone models?
Apple charges $69-$99 for battery replacement depending on the iPhone model. Newer models like iPhone 13 and 14 typically cost more than older versions.
Third-party repair shops often charge less, with prices ranging from $40-$70. However, using non-Apple service providers may void any remaining warranty.
Apple Care+ subscribers might receive battery replacements at reduced costs or free if the battery health falls below 80% during coverage.
How does battery health impact the overall performance of an iPhone?
Degraded batteries cause unexpected shutdowns and performance issues. iPhones with poor battery health may shut down even with battery percentage remaining.
Apple’s performance management feature slows down iPhones with degraded batteries. This prevents random shutdowns but results in slower app launches and reduced performance.
Battery issues also affect device temperature. Phones with worn batteries often run hotter during normal use, which further impacts performance.
At what point does Apple’s battery replacement service become available for degraded iPhone batteries?
Apple offers battery replacement services regardless of battery health percentage. Users can request this service at any time through Apple Stores or authorized service providers.
However, Apple provides free battery replacement under warranty only when battery health falls below 80% within the coverage period. This typically applies during the one-year limited warranty or extended AppleCare+ coverage.
Diagnostic tests at Apple Stores can determine if a battery qualifies for warranty replacement. These tests measure more than just the percentage shown in settings.
What are the best practices for extending the lifespan of an iPhone battery?
Avoid extreme temperatures when using or storing your iPhone. Heat especially damages batteries, so keeping the phone cool extends battery life.
Use optimized charging features in iOS settings. This prevents the battery from remaining at 100% charge for extended periods.
Avoid draining the battery completely or charging to 100% when possible. Keeping charge levels between 20% and 80% helps extend battery lifespan.
Update to the latest iOS version. Apple often includes power management improvements in software updates.