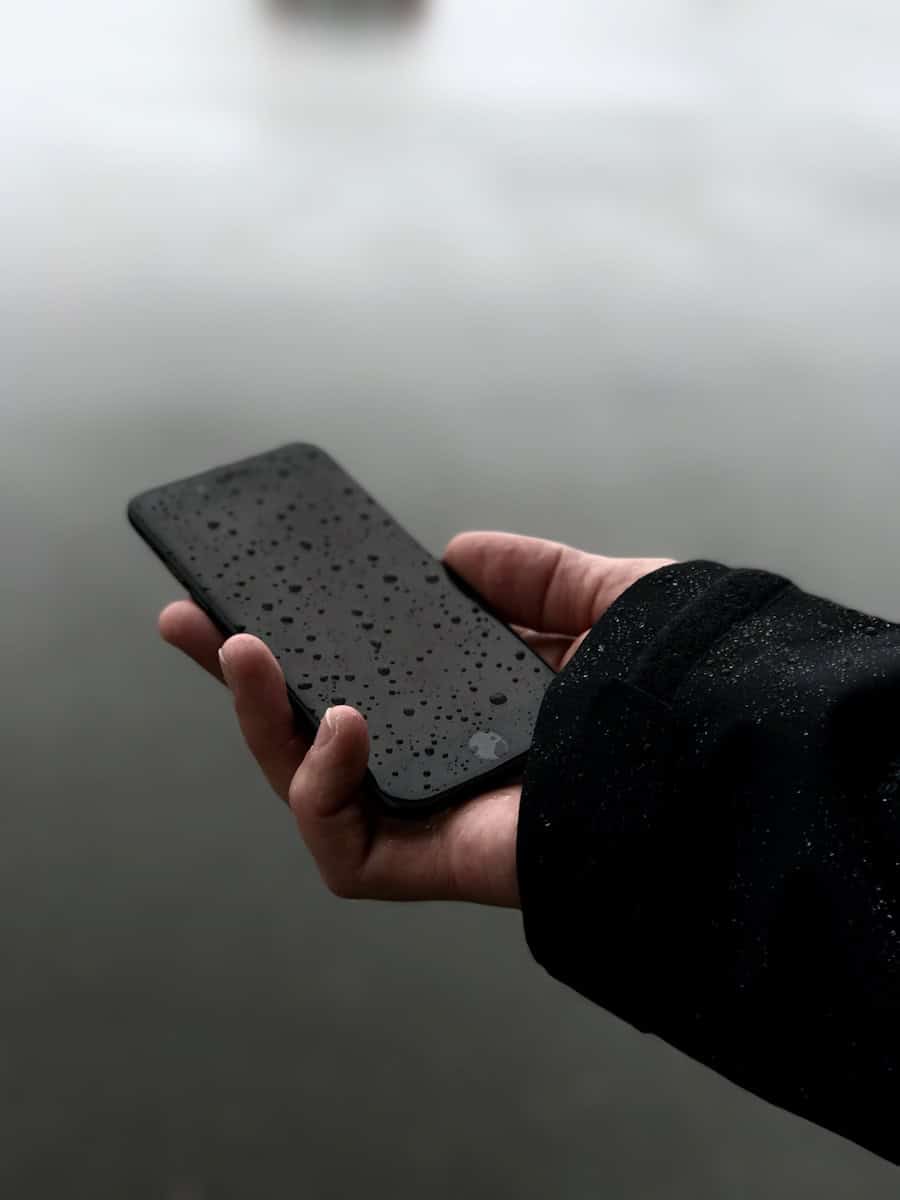
It’s important to realize that not every water-damaged iPhone can be repaired; sometimes the damage is so severe that everything is lost. With that in mind, you can use this page as a resource to put your best effort into trying to salvage whatever can be salvaged and hopefully recovering some (or all) of your data.
When an iPhone first comes into contact with water, taking quick action is critical to try and minimize damage. Even iPhones with high IP ratings, once the protective barriers are breached and water starts coming in contact with the electronics anything can happen. iPhones are water resistant, not waterproof so liquid damage is a very real thing that happens all the time.
The first thing you should do after your phone comes in contact with a large amount of water is to turn it off. Do whatever it takes to shut it off right away to prevent a potential short circuit or further damage. From now until the phone is completely dried out you want to avoid turning it on and don’t plug-in or charge the phone at all. Once you have the phone turned off, follow the procedure below to see if your situation has a happy ending.
What to Do if Your iPhone Gets Wet
Even though the iPhone is highly water-resistant, they are not waterproof. Accidents happen, and your phone might take an unexpected dip. Here’s what you should do if your iPhone gets wet:
1. Retrieve and Power Off
Quickly remove your iPhone from the water. If it’s still on, turn it off immediately. This helps prevent electrical shorts that can cause damage.
2. Remove Accessories and SIM Card
Take off any cases or covers. Open the SIM card tray and remove the SIM card. This allows water trapped inside to escape.
3. Dry the Exterior
Gently wipe down the iPhone’s exterior with a soft, absorbent cloth. Don’t use a hairdryer or other heat sources, as heat can damage sensitive components.
4. Air Dry
Place the iPhone in a dry, well-ventilated area. You can prop it up on a cloth or paper towel so that the ports face downwards to encourage water drainage.
5. Wait Patiently
Resist the urge to turn on the phone right away. Wait at least 24-48 hours to let it dry thoroughly. You can try placing it in a bag of uncooked rice or silica gel packets to absorb moisture faster.
6. Assess the Damage
After the drying period, carefully inspect your iPhone for signs of water damage. Look for condensation under the screen, moisture in the ports, or malfunctioning buttons.
7. Seek Professional Help
If your iPhone shows signs of water damage or doesn’t turn on after drying, it’s best to consult an authorized Apple technician or a reputable repair shop. They can properly diagnose and repair any internal damage.
8. Warranty and AppleCare+
Check if your iPhone is covered by warranty or AppleCare+. Water damage is not usually covered by a standard warranty, but AppleCare+ often covers accidental damage.
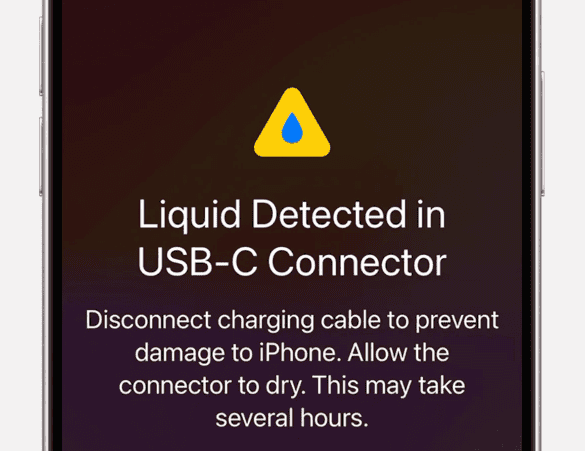
Table: Do’s and Don’ts for a Water-Damaged iPhone
| Do’s | Don’ts |
|---|---|
| Power off the iPhone immediately | Turn on the iPhone while it’s still wet |
| Remove cases and SIM card | Use a hairdryer or other heat source to dry the iPhone |
| Wipe down the exterior with a soft cloth | Insert anything into the ports to try and dry them |
| Let the iPhone air dry for 24-48 hours | Attempt to repair the iPhone yourself if you’re unsure |
| Place the iPhone in a bag of uncooked rice or silica gel | Shake the iPhone to remove water |
Remember, acting quickly and correctly after a water incident can significantly improve the chances of saving your iPhone.
Key Takeaways
- Swift action and proper drying can minimize the damage to a wet iPhone.
- Assessment of the extent of water damage is essential for effective repair.
- Professional repair services are often necessary for a water-damaged iPhone.
Assessing the Damage and Initial Steps
When an iPhone encounters water, the first steps can greatly affect the repair outcome. Immediate and proper actions reduce the risk of permanent damage.
Power Off and Disassemble
As soon as water contact is suspected, turn off the iPhone using the power button. This prevents electrical short-circuits. Gently remove the case and any accessories. Using a repair kit, open the iPhone by removing the necessary screws. For most models, take out the SIM card tray to access internal components. Handle the battery with care when disconnecting it; it’s a critical step for safety and to prevent further damage.
Remove Moisture and Corrosion
With the iPhone open, focus on drying out the moisture. A soft, lint-free cloth can help absorb surface water. Avoid heat sources like blow-dryers as they can warp components. Instead, place the iPhone in a dry, well-ventilated area. Bags of silica gel packets are effective in drawing out dampness. They are better options than rice which is less efficient and can leave residues. Once moisture is addressed, look for signs of corrosion. Some may use isopropyl alcohol with a soft brush to clean corroded areas, but this must be done with caution as it could wear down protective coatings.
Check Liquid Contact Indicators
Each iPhone has built-in Liquid Contact Indicators (LCI) that show water exposure. They are typically located in the SIM card slot and turn red when activated. Check these to understand the extent of the liquid intrusion. If the LCI is triggered, it often means warranty services might not cover the damages, and that professional repair services could be necessary.
Repair and Restoration
When an iPhone has water damage, a careful approach to repair and restoration is essential. It often involves assessing the damage, replacing compromised components, and deciding on the best repair route. Let’s explore the options available.
Replacing Damaged Components
In iPhones exposed to water, critical parts like the battery, screen, or logic board may be damaged. Each part serves a vital function. The battery powers the phone, the screen displays the content, and the logic board acts as the brain. If these parts are wet or damaged, they may need replacing. To find damage, users should check the liquid contact indicator located in the SIM card slot on newer iPhones or in the headphone jack and charging port on older models.
Professional Repair Options
Professional services such as AppleCare+ can address water damage repair, as well as local repair shops like CPR Cell Phone Repair. Repair costs vary, depending on the iPhone model and the extent of damage. A professional service will offer a thorough check and replace parts like the microphone, camera, and speakers. They can also handle complex parts like connectors and cables with care.
DIY vs Professional Comparison
DIY repair may seem less costly at first. Users might dry out ports or replace simple components like the battery. However, they lack the tools and expertise to handle delicate tasks like replacing an LCD or mending a logic board without risking further damage. A professional repair, though more expensive, comes with expertise and often a warranty on the service performed. When considering both options, owners should weigh the cost against the risk of additional damage from DIY attempts.

