An iPad’s battery is essential for keeping the device running smoothly. Over time, the battery performance can deteriorate, leading to shorter usage periods between charges. When you notice a significant drop in your tablet’s performance, it may be time to replace the battery. This can restore the tablet’s ability to hold a charge effectively and ensure that it continues to serve its purpose in daily tasks. Before starting the replacement process, it is crucial to have the right tools and instructions.
Some iPad models require specific steps to replace the battery safely. It’s also worth considering the option of professional repair services, such as those provided by Apple, especially for users who are not comfortable with the delicate procedure or those with a model that is still under warranty. The process of replacing an iPad battery involves several steps that must be taken with care. Safety is paramount, not only for the user but also to avoid damaging the iPad. From opening the tablet to removing the old battery and placing the new one, each step requires attention to detail. Once complete, the device should have a fresh battery, ready for use.
Replacing Your iPad’s Battery: A How-To Guide
Apple does not recommend that you replace your iPad’s battery yourself. Replacing it yourself can damage your device. If your iPad is covered by warranty, AppleCare+, or consumer law, they will replace the battery for free. However, if you decide to go ahead with the DIY route, here are the general steps:
Tools & Materials
- Replacement iPad battery
- Precision screwdriver set
- Plastic opening tools
- Suction cup (optional)
- Heat gun or hair dryer
- Double-sided adhesive tape
Step-by-Step Guide
- Power Off and Prepare: Turn off your iPad completely. Use a heat gun or hair dryer to gently warm the edges of the screen to soften the adhesive.
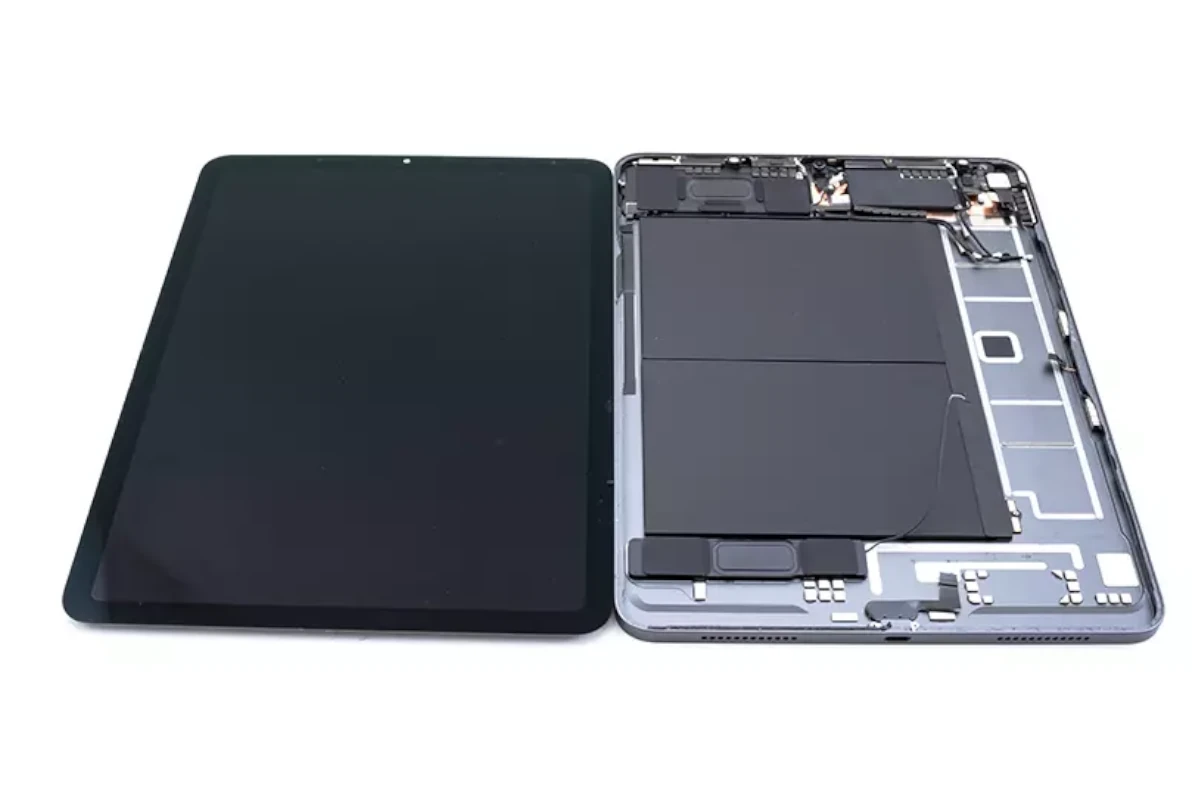
- Open the iPad: Carefully insert a plastic opening tool into the gap between the screen and the body. Gently pry the screen up, working your way around the edges. Be cautious not to damage the display cables. You may use a suction cup to help lift the screen.
- Disconnect Cables: Once the screen is open, locate and disconnect the battery connector and any other cables connecting the screen to the logic board.
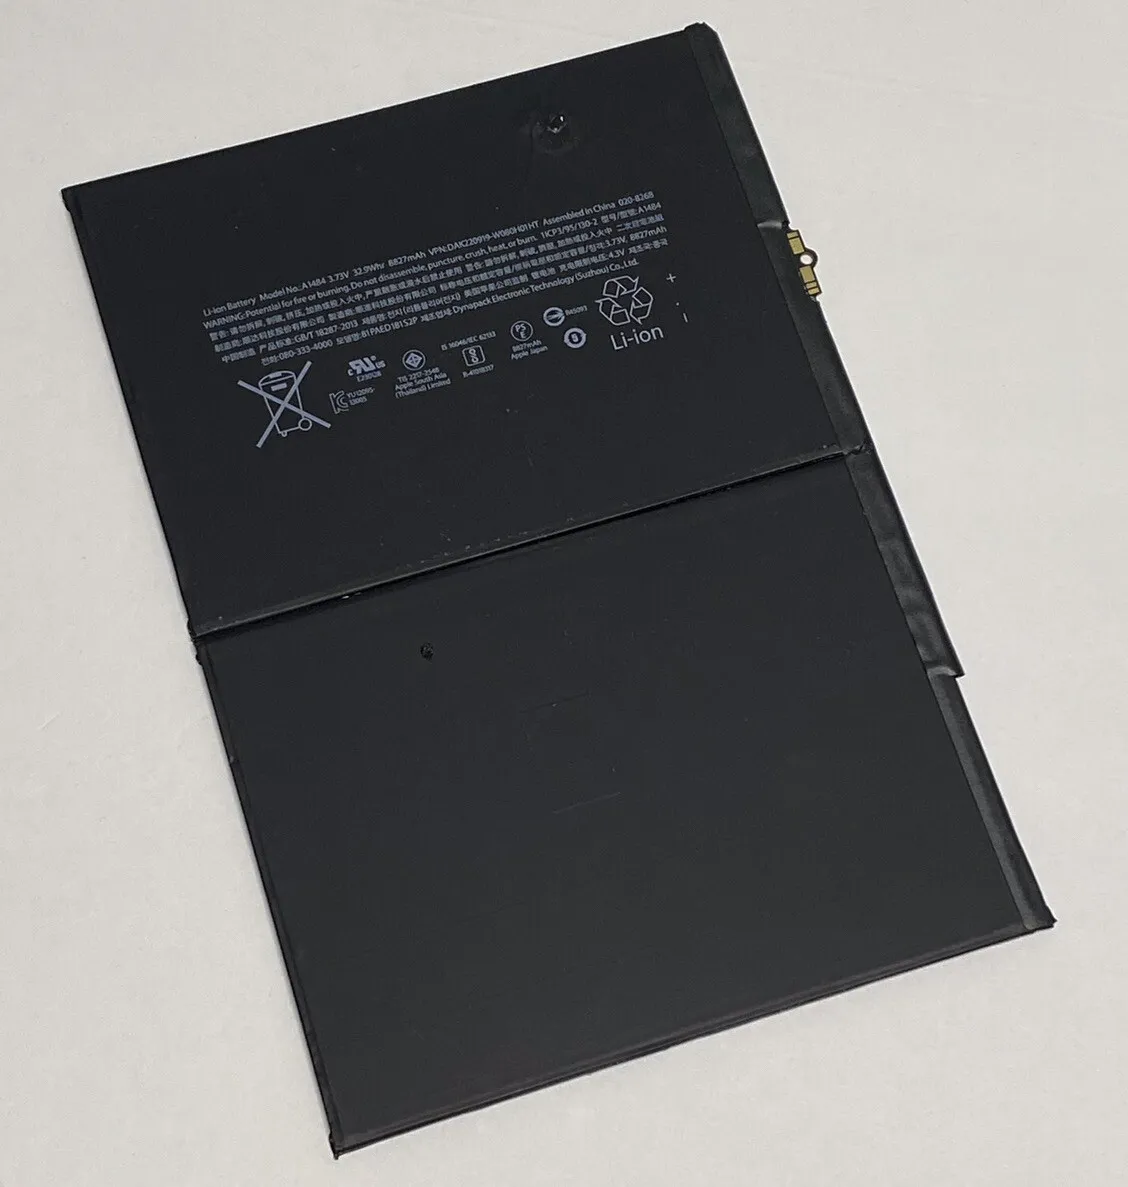
- Remove Old Battery: Carefully remove the old battery. It is usually secured with adhesive strips. Use a plastic tool to pry it up gently.
- Install New Battery: Place the new battery in the same position as the old one. Connect the battery connector and any other cables you disconnected.
- Close and Test: Gently press the screen back into place. Secure it with double-sided adhesive tape if needed. Power on your iPad and test the new battery.
Important Considerations
| Descriptions |
|---|
| Safety First: Disconnect the battery before working on internal components. |
| Model Differences: Battery replacement steps may vary slightly depending on your iPad model. Consult specific guides for your model. |
| Professional Help: If you’re unsure or uncomfortable with the process, seek professional assistance from Apple or a qualified technician. |
Key Takeaways
- iPad battery performance declines over time, warranting replacements.
- Proper preparation and tools are essential for battery replacement.
- Professional service is a viable option for those uncomfortable with the DIY approach.
Preparing for iPad Battery Replacement
Battery replacement in iPads requires careful preparation. It’s vital to confirm that your device is ready for service and that your data is secure.
Determining Service Eligibility
First, check your warranty status. iPads may be under warranty or covered by AppleCare. If your coverage is active, reach out to Apple Support or visit getsupport.apple.com to start a service request. Visit mysupport.apple.com to review your coverage before scheduling a repair. If your coverage has expired, you can seek service but may incur costs.
Backup and Data Protection
Before replacing your iPad’s battery, secure your data. Backup your iPad using iCloud or iTunes to protect your photos, documents, and settings. This step ensures you don’t lose valuable information during the battery replacement process.
DIY Repair Considerations
A DIY battery replacement can be complex. It demands specific tools and a steady hand. If you lack experience, consider professional help. Contact an Apple authorized service provider or consider hiring a skilled technician. DIY attempts can void warranties and cause further device damage if performed incorrectly.
iPad Battery Replacement Process
Replacing the battery in an iPad requires attention to detail and the right tools. This guide will walk readers through the necessary steps, ensuring a clear and safe process.
Gathering Necessary Tools and Parts
To start,, one needs to collect specific tools. These include:
- Phillips screwdriver: for unscrewing internal components.
- Suction cups or a powerful iOpener: to lift the screen without damage.
- Prying tools: essential for opening the frame without bending it.
- New battery: ensure it’s compatible with your iPad model.
It’s wise to have adhesive strips for reattachment and to work on a static-free surface.
Opening the iPad
To open an iPad, first, power it down. Apply heat using an iOpener around the edges to loosen the adhesive. Once the screen is warm, attach suction cups near the bottom edge. Gently but firmly, lift the display. Use an opening pick to cut through the softened adhesive. Handle display cables with care to avoid snapping them.
Battery Removal
After opening the device, locate the battery connector and disconnect it using a plastic pry tool. Remove screws securing the battery using a Phillips screwdriver. If adhesive holds the battery in place, apply a few drops of adhesive remover and wait a moment. Then, slowly lift the battery out of its compartment.
Installing the New Battery
When installing a new battery, start by positioning it properly in the frame. Connect it to the logic board and secure any screws or brackets. Apply fresh adhesive strips to keep the battery in place. Before sealing the iPad, ensure everything is connected and lined up correctly.
By following these steps closely, battery replacement can be straightforward. Remember to check warranty information before proceeding as this may affect service options.