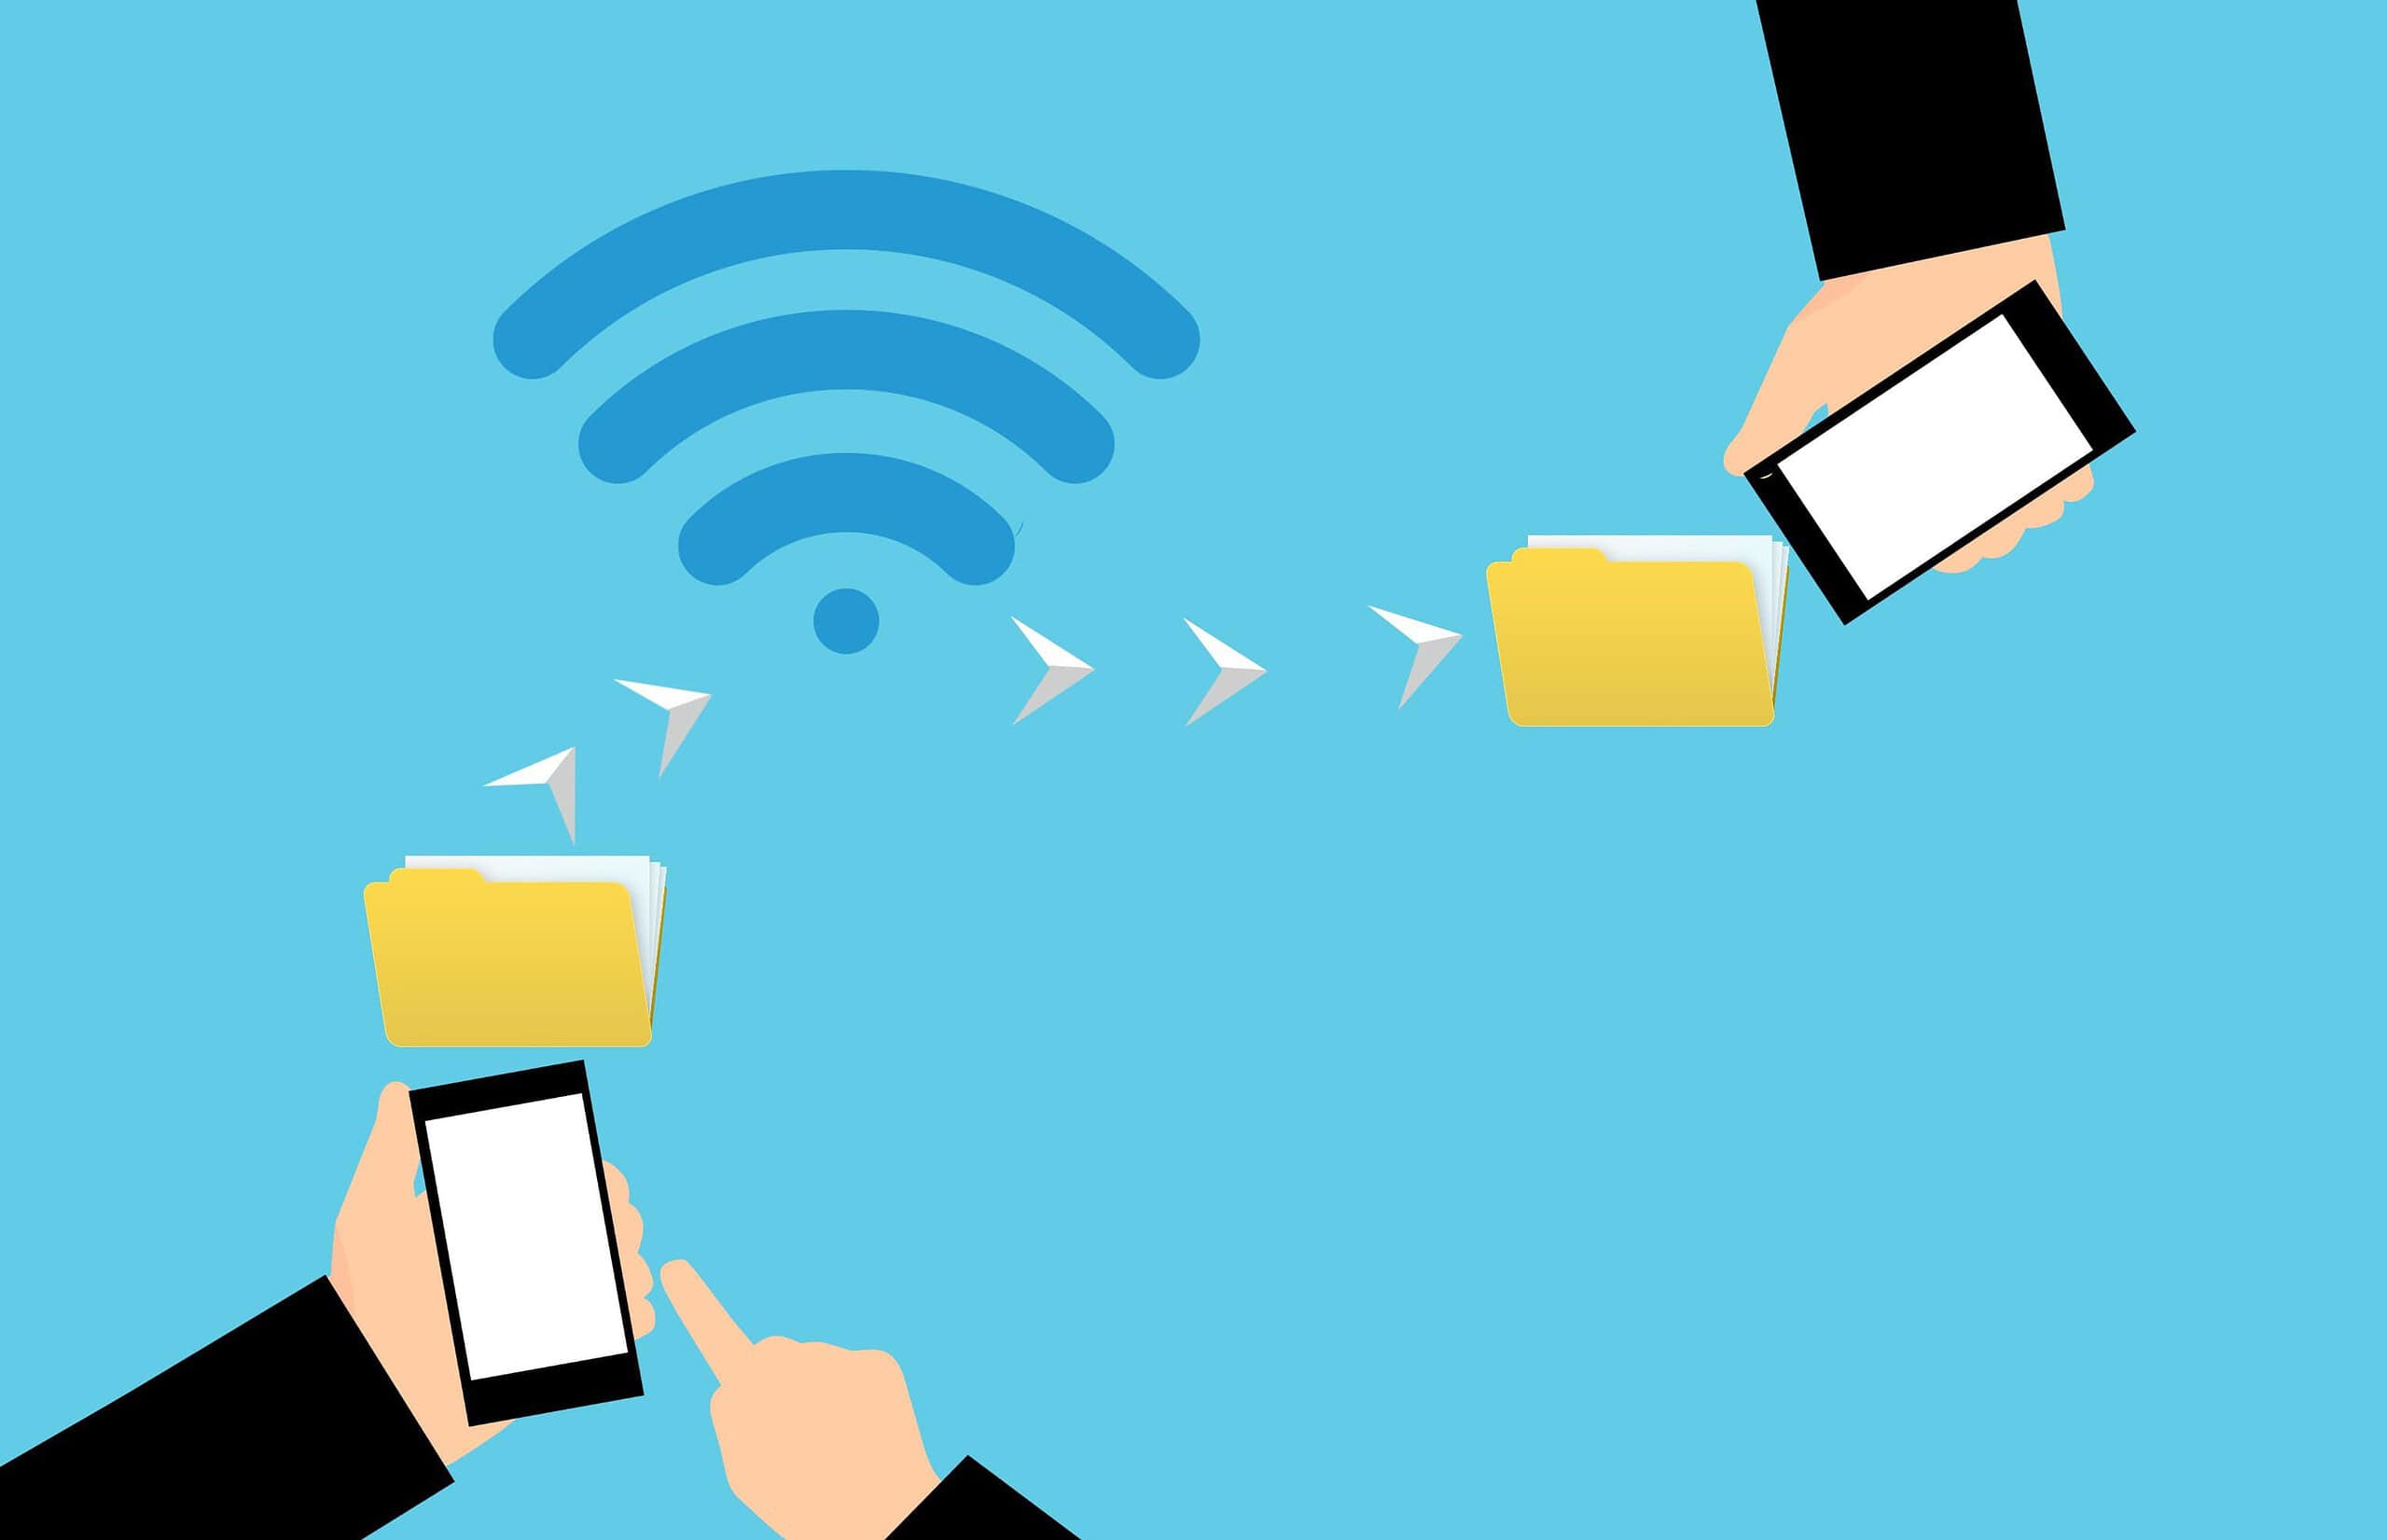
Switching to a new iPhone brings the challenge of transferring data. Users often worry about losing personal information or facing a complicated process. Thankfully, Apple offers a hassle-free solution through its Quick Start feature. This utility permits transferring content wirelessly between iPhones. It ensures a swift and secure transfer of data like contacts, messages, and photos.
Before initiating the transfer, it’s crucial to prepare both the old and new iPhones. They should connect to Wi-Fi and have Bluetooth enabled. Both devices need to be close to each other during the process. This setup guarantees an uninterrupted data transfer. It’s as simple as following onscreen directions that guide users through every step.

How to Transfer Data from iPhone to iPhone Wirelessly
Upgrading to a new iPhone is exciting, and transferring your data wirelessly makes the process smooth and hassle-free. Apple offers several built-in methods to move your apps, photos, messages, and settings from your old iPhone to a new one without needing cables or a computer.
Here’s a step-by-step guide to transferring data wirelessly between iPhones.
Method 1: Quick Start Wireless Transfer
Apple’s Quick Start feature is the easiest way to transfer data directly from your old iPhone to your new one using a wireless connection.
What You Need:
- Both iPhones running iOS 12.4 or later.
- Both devices connected to Wi-Fi and Bluetooth enabled.
- New iPhone powered on and near your old iPhone.
Steps:
- Turn on your new iPhone and place it near your current iPhone.
- The old iPhone will display a Quick Start screen offering to set up the new device.
- Confirm your Apple ID and tap Continue.
- An animation will appear on the new iPhone. Use your old iPhone’s camera to scan this animation.
- Enter your current device passcode on the new iPhone.
- Follow the on-screen instructions to set up Face ID or Touch ID on the new device.
- When prompted, choose Transfer from iPhone to start wireless data transfer.
- Keep the devices near each other and plugged into power until the transfer completes. This may take some time depending on your data size.

Method 2: Using iCloud Backup
If you prefer, you can restore your new iPhone from an iCloud backup of your old device.
Steps:
- On your old iPhone, go to Settings > [Your Name] > iCloud > iCloud Backup.
- Tap Back Up Now to create a fresh backup.
- Turn on your new iPhone and follow the setup prompts.
- When you reach the Apps & Data screen, select Restore from iCloud Backup.
- Sign in with your Apple ID and choose the latest backup.
- Wait for the restore process to complete while connected to Wi-Fi.
Tips for a Smooth Wireless Transfer
- Keep both iPhones close together during the entire transfer.
- Connect both devices to power to avoid interruptions.
- Make sure Wi-Fi and Bluetooth are enabled on both iPhones.
- Transfers can take from several minutes to hours depending on data size.
- After transfer, some apps may require you to log in again.
What Transfers Wirelessly?
- Photos and videos
- Messages and call history
- Contacts and calendars
- App data and settings
- Device settings including Wi-Fi passwords
- Health and activity data (if encrypted)
Wireless data transfer with Quick Start is the most convenient way to get your new iPhone up and running exactly like your old one—without cables or complicated setups.
For more detailed instructions, visit Apple’s official guide on Use Quick Start to transfer data to a new iPhone or iPad.
Key Takeaways
- Apple’s Quick Start feature allows for easy wireless data transfer between iPhones.
- Properly setting up both devices before the transfer ensures a smooth process.
- Onscreen instructions provide a step-by-step guide for the entire operation.
Preparing Your iPhones for Transfer
Before transferring data between iPhones, it’s important to prepare both devices. This includes ensuring they meet system requirements, backing up the older iPhone, and properly setting up the new one.
Ensuring Compatibility and Requirements
The newest iPhone should run on iOS 12.4 or later. This ensures compatibility with the Quick Start wireless transfer process. Both iPhones must be connected to Wi-Fi and have Bluetooth turned on. Make sure your Apple ID is the same on both devices to transfer settings and data securely.
Backup Your Old iPhone
Backup your old iPhone with iCloud or a computer to save personal data like photos, messages, and apps. To do this, go to Settings, tap [Your Name], and select iCloud. Tap iCloud Backup and choose Back Up Now. Keep your old iPhone connected to Wi-Fi until the process completes.
Setting Up Your New iPhone
Turn on your new iPhone and keep it near the old one. A dialog should pop up on the old device. Follow these steps to start the Quick Start process. If it’s not prompting, check both devices are close enough and Bluetooth is active. Enter your Apple ID and follow the onscreen instructions to transfer your data.
Wireless Data Transfer Methods
Wireless transfer methods for iPhone users offer a seamless way to move data to a new device. These methods use iOS tools built for convenience and efficiency.
Using Quick Start for iOS Device Setup
For setting up a new iPhone, Quick Start is an ideal option. It starts by placing both iPhones close together. Then the new iPhone will display a prompt. You simply scan the visual from your current device’s camera and enter your passcode. Quick Start transfers settings, preferences, even your Apple ID. It helps you set up Face ID or Touch ID and offers a choice to transfer data directly or restore from iCloud.
iCloud Data Transfer
When you use iCloud, your photos, contacts, and messages move to your new iPhone via an iCloud Backup. First, ensure your old device has a recent backup. Then sign in to iCloud on your new phone and choose ‘Restore from iCloud Backup’. Stay connected to Wi-Fi as your apps and data download.
Transfer from iTunes or Finder Backup
Transferring from an iTunes or Finder backup begins with creating a backup on your computer. Connect the old iPhone to your Mac or PC. For macOS Catalina and later, open Finder. For earlier versions, use iTunes. Follow the steps to create a backup. After, connect your new iPhone and select ‘Restore from this backup‘. Keep the device connected till the transfer finishes.


