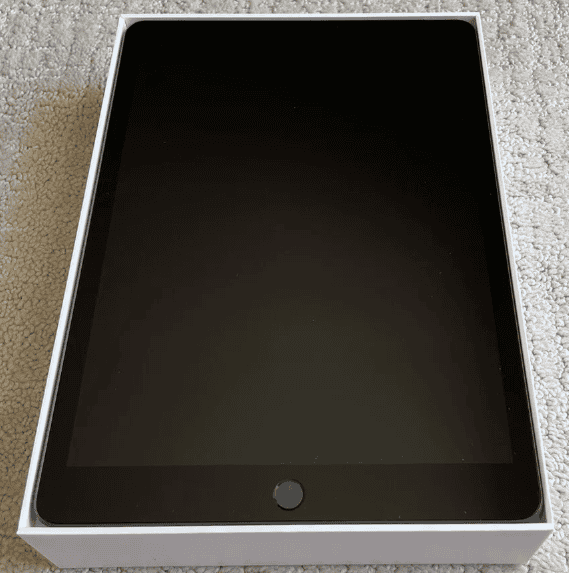
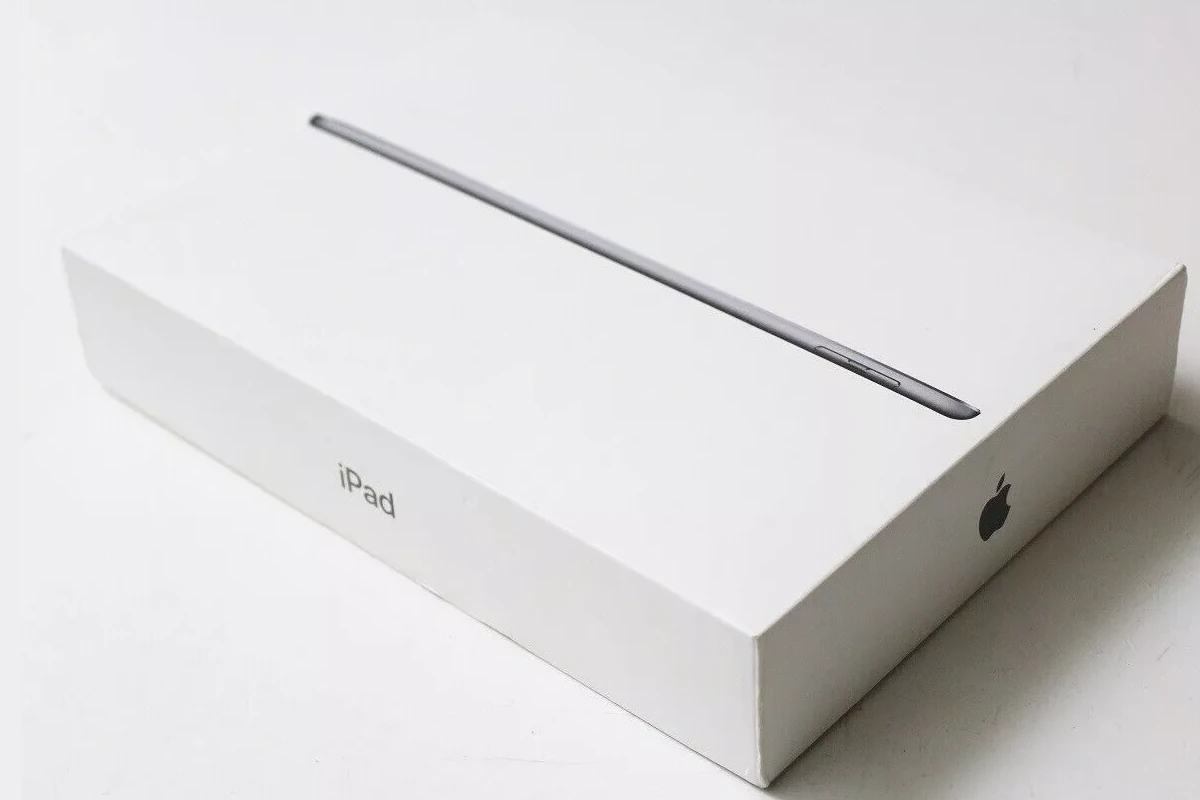
Setting up a new iPad is easy. When you first unbox your new iPad, you need to turn it on, connect to the internet, and personalize your settings. Apple provides onscreen guidance to help you. Before you start using your new iPad, you need to connect to a Wi-Fi network, decide if you want to transfer data from an old device, and set up Apple Pay. Security is important, so make sure to set up Touch ID or Face ID to keep your iPad secure.
Setting Up Your New iPad Made Simple
Powering On and Initial Setup
- Press and hold the top button until the Apple logo appears.
- Follow the on-screen instructions to choose your language and region.
- Connect to your Wi-Fi network or cellular data.
- If you have another device with iOS 11 or later, use Quick Start for a faster setup. Otherwise, tap “Set Up Manually.”
Apple ID and iCloud
- Sign in with your Apple ID or create a new one if you don’t have one.
- Choose whether to enable iCloud and other Apple services like Find My iPad.
- Set a passcode for security and choose whether to enable Touch ID or Face ID.

Additional Settings
- Customize display settings like brightness and text size.
- Set up Siri and choose your preferred language and voice.
- Decide whether to enable Location Services for apps that need your location.
- Choose your preferred apps and customize the Home screen.
Restoring or Transferring Data
| Option | Best For | Steps |
|---|---|---|
| Restore from iCloud Backup: | Users who have a recent backup of their old device. | Choose “Restore from iCloud Backup” and follow the instructions. |
| Restore from Mac or PC Backup: | Users who have a backup on their computer. | Connect your iPad to your computer and restore from iTunes or Finder. |
| Transfer Directly from Old Device: | Users who have their old device with them. | Use Quick Start or the “Transfer Your Data” option during setup. |
Finishing Touches
- Sign in to other accounts you use, such as email, social media, and streaming services.
- Download any additional apps you want from the App Store.
- Personalize your iPad with a wallpaper and customize other settings to your liking.
Your iPad is now ready to use! Explore its features and enjoy your new device.
Key Takeaways
- A new iPad can be set up through straightforward steps guided by onscreen instructions.
- Users should prepare by connecting to Wi-Fi, transferring data, and setting up security features.
- Initial configuration sets the foundation for a personalized and secured iPad experience.
Preparing Your iPad for Setup
Before you start using your new iPad, you need to charge it, turn it on, and connect it to a Wi-Fi network. Here’s how you can prepare your iPad for setup.
Charge and Power on Your iPad
First, take your iPad’s power adapter and cable. Connect one end of the cable to the adapter and the other to your iPad’s charging port. Plug the adapter into an electrical outlet. It’s best to charge your iPad for a little while before turning it on. To power on your iPad, press and hold the Sleep/Wake button until the Apple logo appears.
Choose Language and Region
Once your iPad turns on, you’ll see a “Hello” message. Swipe up or press the Home button if your iPad has one. Your iPad will prompt you to choose a language. Tap your preferred language. Next, select your country or region from the list. These settings ensure that your iPad provides the right keyboard and features for your location.
Connect to Wi-Fi
To use your iPad, you need access to the internet. From the setup screen, tap on Wi-Fi network. Choose your Wi-Fi from the list. Then enter your Wi-Fi password and tap Join. A strong Wi-Fi connection is important for completing the setup process, including signing in with your Apple ID and accepting the terms and conditions.
Activating and Setting Up Your iPad
When you unbox your iPad, the first steps are crucial to starting your journey with your new device. This guide will walk you through inserting a SIM card if needed, setting up security features, and restoring or transferring data. Each step is designed to make your setup process smooth and secure.
Insert SIM Card (If Applicable)
If your iPad is a Wi-Fi + Cellular model, it will need a SIM card for cellular data. Power off the device. Find the SIM tray on the side of your iPad. Using a SIM eject tool or a paperclip, gently push into the small pinhole to eject the tray. Place the SIM card into the tray in the correct orientation and slide it back into the iPad. Turn on the iPad to connect to your cellular network.
Set Up Face ID or Touch ID
Your iPad can use Face ID or Touch ID for secure access. To set up Face ID, go to ‘Settings’, tap ‘Face ID & Passcode’ and choose ‘Set Up Face ID’. Hold your iPad in portrait orientation and follow the on-screen instructions to register your face. For Touch ID, go to ‘Settings’, select ‘Touch ID & Passcode’ and tap ‘Add a Fingerprint’. Place your finger on the home button several times to capture all angles of your fingerprints.
Restore or Transfer Data
If you’re new to iPad, choose ‘Set Up as New iPad’ during the setup wizard. For previous iPad, iPhone, or iPod Touch users, restore your data from an iCloud or iTunes backup by logging in with your Apple ID. If you are switching from an Android device, use the ‘Move to iOS’ app to transfer your data. Ensure both devices are connected to Wi-Fi, then follow the on-screen prompts to start the transfer. For Quick Start data transfer between two Apple devices, keep them near each other and use your Apple ID to commence setup.


