Restoring a Mac from a backup is a simple process that can revert the system to a previous state. This can be very useful if the Mac is facing issues or if some data has been lost. Apple’s built-in backup feature, Time Machine, simplifies this task by keeping a record of all your files and allowing you to revert your system to the point when the last backup was performed. With Time Machine, users can rest assured that their data is secure, and they can recover their system if necessary.
Time Machine provides a way to restore your Mac if the system fails or files get lost. It allows you to bring back individual files or the entire system from an earlier time. It’s essential to ensure that regular backups are made, and they are stored on an external drive or suitable storage device. When it’s time to restore, the Mac’s Recovery Mode provides the necessary tools to access and reinstate from these backups. In this way, users can maintain their productivity and safeguard their personal or professional data.
Restoring Your Mac: Methods and Best Practices
Backing up your Mac is an essential step to safeguard your important files, documents, and photos. If you ever encounter issues on your Mac – from software problems to a failing hard drive – having a backup ensures you can easily get your system back up and running with minimal data loss. Let’s explore the different ways to restore your Mac from a backup:
Prerequisites: What You’ll Need
Before diving into the methods, here’s what you’ll need to successfully restore your Mac:
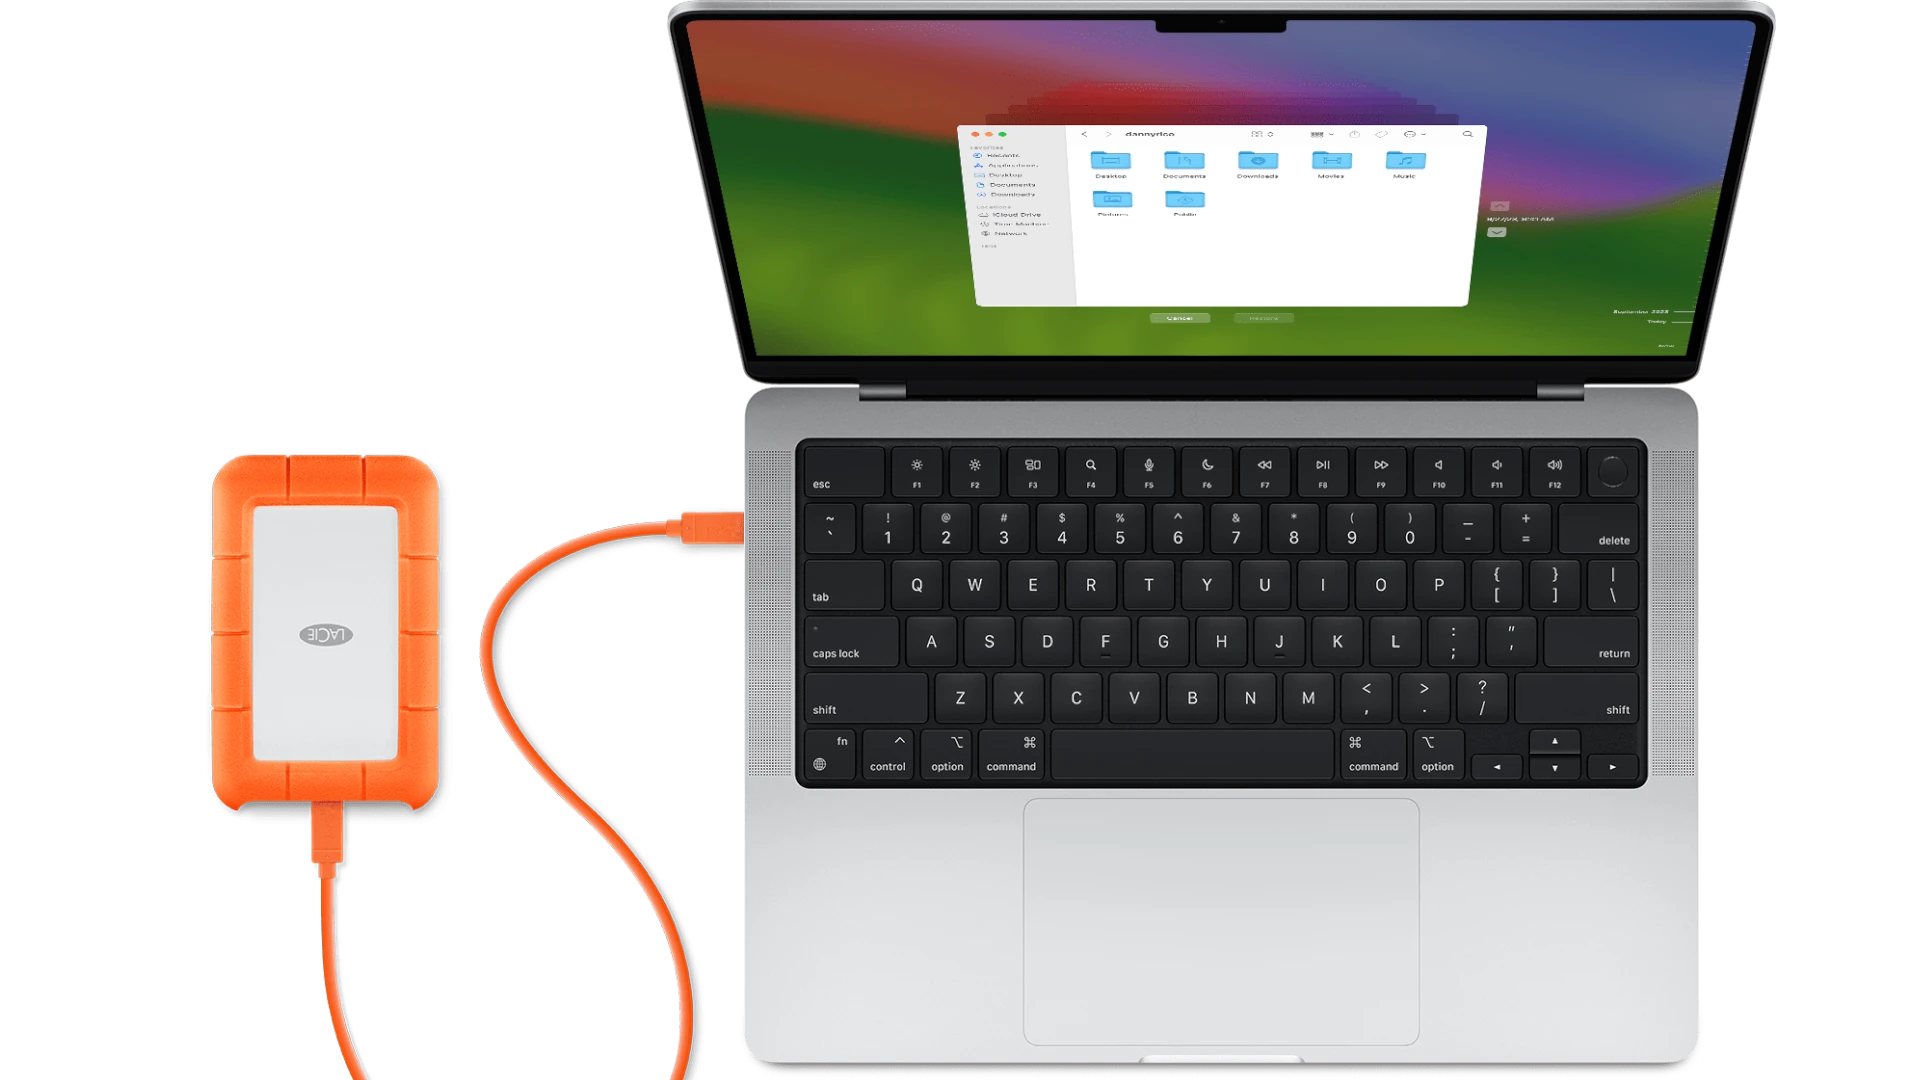
- A Recent Time Machine Backup: Time Machine is Apple’s built-in backup solution and the easiest way to restore your Mac. Ensure you have a Time Machine backup disk connected to your system.
- Bootable Backup: If necessary, create a bootable backup on an external drive to make the restoration process easier in certain scenarios
- Startup Disk: In some cases, you may need to create a separate startup disk for the restoration process.
- Apple ID and password: Be prepared to enter your Apple ID credentials during the process.
Methods of Restoring Your Mac
1. Restoring from Time Machine within macOS
- Start your Mac and hold down Command + R during startup to enter macOS Recovery mode.
- From the macOS Utilities menu, select “Restore from Time Machine Backup.”
- Choose your Time Machine backup disk and follow the on-screen prompts to restore your system.
2. Restoring from Time Machine in Recovery Mode
- If your Mac won’t boot normally, restart and hold down Command + R to enter Recovery Mode.
- Select “Restore From Time Machine Backup” from the macOS Utilities menu.
- Follow the on-screen instructions to select your backup and restore your Mac.
3. Migration Assistant
Use Migration Assistant to restore data from another Mac, a Time Machine backup, or a startup disk. This is particularly useful if you’re setting up a new Mac.
- Open Migration Assistant (found in Applications/Utilities)
- Follow the prompts to select your backup source and choose the data you want to restore.
Important Considerations
| Item to Consider | Details |
|---|---|
| Backup Frequency | Regular backups are crucial. Consider setting up automatic backups with Time Machine. |
| Restoration Time | The restoration process can take time, depending on the size of your backup. |
| Data Loss Prevention | Ensure you have a recent backup before making major changes to your system. |
| Bootable Backup Benefits | For severe issues, having a bootable backup can streamline the restoration process. |
Remember, regular backups are your best insurance against data loss or system issues. Choose the restoration method that best suits your needs and ensure your backups are up-to-date for seamless recovery.
Key Takeaways
- Restoring from a Time Machine backup can recover a Mac system or lost files.
- Regular backups are essential and should be stored on an external drive.
- Recovery Mode on the Mac facilitates the restoration process.
Restoring Your Mac from a Time Machine Backup
Time Machine backups can save your Mac and your files when things go wrong. This section guides you through restoring your machine using those backups.
Preparing to Restore
Before starting, connect your Mac to the Time Machine backup disk. If your Mac is having issues, ensure it’s off. Then turn it on while holding the power button along with Command-R for Intel-based Macs, or holding the power button until the startup options window shows up for Apple silicon Macs, to start in recovery mode.
Using MacOS Recovery
Once in recovery mode, select ‘Restore From Time Machine Backup’ from the macOS Utilities window. The Mac will then restart using the backup disk. Follow the on-screen steps to choose which date and time backup to restore. It’s best to pick the most recent one that worked well.
Transferring Information to a New Mac
If you have a new Mac or a freshly installed macOS, use Migration Assistant to transfer information. After starting your Mac and following setup steps, choose to transfer from a Time Machine backup. You can select which files, folders, and apps to move over. This includes your documents, user accounts, and settings.
Troubleshooting Restoration Issues
For problems during restoration, like your Mac not seeing the Time Machine backup, check connections and ensure the backup disk is properly formatted. For further help, visit Apple Support or restart the process. If your system crashes repeatedly, consider reinstalling macOS before trying again to restore files.