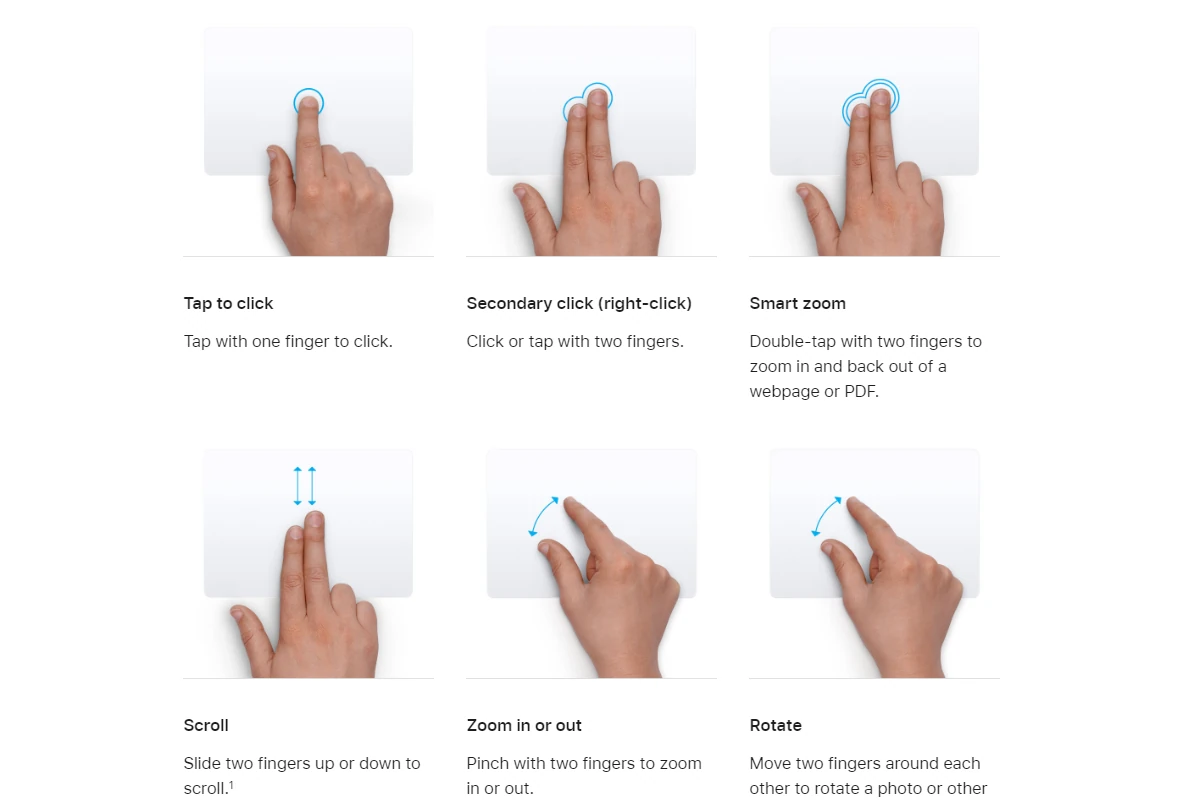
Learning how to use gestures on an iPhone can greatly enhance how you interact with your device. Each action—tapping, swiping, and pinching—is a simple motion that can carry out a variety of functions. With the latest iPhone models, these gestures are integral to navigating the interface, as Home buttons have been replaced by touch and swipe gestures. New users can learn these gestures quickly, and they make using an iPhone more intuitive.
To begin interacting with an iPhone, basic gestures are essential. A single tap can open an app while a swipe can scroll through a menu or page. More advanced gestures, like a long press to rearrange app icons or a pinch to zoom in on photos, allow users to interact with their iPhones in ways that feel natural and intuitive.
While mastering these basics is straightforward, iPhone gestures also include more complex actions. These can enhance the user experience by offering quick access to important features or by customizing how the device responds to certain gestures. Understanding these gestures can enable users to tailor their iPhones to suit their usage style, making their devices even more personal and efficient.
iPhone Gestures Guide: Mastering Touch Navigation on Your Device
Mastering iPhone gestures is essential for navigating your device efficiently, especially since modern iPhones have eliminated the Home button. This comprehensive guide will help you become proficient with all the essential touch gestures.
Basic Navigation Gestures
Going Home
- Swipe up from the bottom edge of the screen
- Works from any app to return to your Home Screen
- Quick and fluid motion works best
Multitasking/App Switcher
- Swipe up from the bottom and pause in the middle of the screen
- Shows all your recently used apps
- Swipe left or right to browse through apps
- Tap an app to open it, or swipe up on an app card to close it
Quick App Switching
- Swipe left or right along the bottom edge of the screen
- Quickly switches between your most recent apps
- No need to open the full app switcher
Control Center
- Swipe down from the top-right corner (iPhone X and later)
- Swipe up from the bottom (iPhone 8 and earlier with Home button)
- Access quick settings like Wi-Fi, Bluetooth, brightness, and volume
Notification Center
- Swipe down from the top-left corner or middle of the screen
- View all your notifications in one place
Text and Editing Gestures
Cursor Movement
- Press and hold the spacebar, then drag your finger
- Moves the cursor precisely through text
- Works in any text field
Text Selection
- Double-tap a word to select it
- Triple-tap to select a paragraph
- Tap and hold then drag to select custom text
Cut, Copy, Paste
- Select text, then tap to reveal options
- Pinch with three fingers to copy
- Pinch with three fingers twice to cut
- Spread with three fingers to paste
Undo and Redo
- Shake your iPhone to undo (or use three-finger swipe left)
- Three-finger swipe left to undo typing
- Three-finger swipe right to redo
Advanced Gestures
Reachability
- Swipe down on the bottom edge of the screen
- Brings the top of the screen within reach
- Must be enabled in Settings > Accessibility > Touch > Reachability
Screenshot
- Press Side button + Volume Up simultaneously (iPhone X and later)
- Press Home button + Side button (iPhone 8 and earlier)
- Edit immediately or swipe left to save
Siri Activation
- Press and hold the Side button
- Or simply say “Hey Siri” (if enabled)
Emergency SOS
- Press and hold Side button + Volume button
- Or rapidly press the Side button five times
- Calls emergency services and disables Face ID temporarily
Safari-Specific Gestures
Tab Management
- Swipe left or right on the address bar to switch between tabs
- Long press the tabs button to see tab options
- Swipe left on a tab in the tab view to close it
Refresh Page
- Pull down from the top of the webpage
Back/Forward
- Swipe from the left edge to go back
- Swipe from the right edge to go forward
Camera Gestures
Quick Access
- Swipe left from the Lock Screen to open Camera
- Press and hold the Camera icon on the Lock Screen
Video Recording
- In Photo mode, press and hold the shutter button to record video
- Slide right while holding to lock video recording
Burst Photos
- Swipe the shutter button to the left and hold
- Takes multiple photos rapidly
Photos App Gestures
Zoom
- Pinch to zoom in and out
- Double-tap to zoom to fit
Delete
- Swipe up on a photo to delete
- Or select and tap the trash icon
Favorite
- Double-tap with two fingers to favorite (if enabled)
- Or tap the heart icon
Keyboard Gestures
Quick Period
- Double-tap the spacebar to insert a period and space
One-Handed Keyboard
- Press and hold the emoji/globe icon, then select left or right keyboard
Delete Multiple Characters
- Swipe left on the delete key to delete multiple words quickly
Accessibility Gestures
AssistiveTouch
- Creates a virtual button for easier navigation
- Enable in Settings > Accessibility > Touch > AssistiveTouch
Back Tap
- Double or triple-tap the back of your iPhone to trigger actions
- Enable in Settings > Accessibility > Touch > Back Tap
- Can be customized for screenshots, Control Center, and more
Tips for Mastering Gestures
- Practice regularly – The more you use gestures, the more natural they become
- Adjust gesture sensitivity in Settings > Accessibility > Touch
- Use guided access to practice specific gestures without accidentally leaving apps
- Enable haptic feedback for better tactile response
- Slow down initially – Accuracy is more important than speed when learning
Common Gesture Mistakes to Avoid
- Swiping too slowly – Gestures need some momentum to register
- Starting too far from edges – Edge swipes need to begin from the very edge
- Using too much pressure – Light, confident touches work best
- Not pausing for the app switcher – Remember to pause after swiping up
Conclusion
Mastering these iPhone gestures will significantly improve your efficiency and enjoyment of your device. Start with the basic navigation gestures, then gradually incorporate the more advanced ones into your daily routine. With practice, these movements will become second nature, making your iPhone experience seamless and intuitive.
Remember, you can always customize many of these gestures and create shortcuts in Settings > Accessibility to match your personal preferences and needs.
Key Takeaways
- Gestures provide fluid navigation and interaction with the iPhone.
- Basic gestures like tap, swipe, and pinch are readily accessible for new users.
- Advanced gestures offer customization and quicker access to iPhone features.
Basic Interaction and Navigation
When using an iPhone, gestures are essential for interacting with your device. They allow you to navigate, access features quickly, and manage your apps and notifications efficiently.
Home Screen and App Management
Opening Apps: Users tap an app’s icon on the Home Screen to open it. Organizing Apps into Folders: Dragging one app icon over another creates a folder, which organizes your Home Screen. For iPhones without a home button, such as iPhone X and later models, users can unlock their devices with Face ID or a passcode and swipe up from the bottom of the Lock Screen to access the Home Screen. Managing widgets is simply a matter of pressing and holding the desired area on the screen and selecting the “Edit Home Screen” option.
Control Center and Notifications
To access Control Center on iPhone X and later, swipe down from the top-right corner of the screen. This reveals controls like brightness and volume sliders. Users can tap settings to change them, or press and hold for more options. For notifications, swipe down from the top-left corner. Reachability helps users with one-hand usage by swiping down on the bottom edge of the screen, which brings the top of the display within reach.
Lock Screen and Accessibility Features
The Lock Screen displays notifications and provides quick access to the camera and flashlight. On iPhone X and later, users can swipe up to unlock their phone with Face ID. VoiceOver and Zoom are accessibility features that aid users with visual impairments and are activated through specific gestures in the Settings app. A quick way to enable Siri is by pressing and holding the side button.
Advanced Features and Customizations
This section explores how to personalize and harness advanced features on an iPhone, focusing on photography, transactions, and critical system services.
Camera and Photos
Users can quickly access the camera by pressing the side button twice. For photography enthusiasts, live text offers the ability to extract text from photos instantly. To take a screenshot, press the side button and the volume up button simultaneously. For more in-depth picture analysis, Visual Look Up provides information on objects within the camera’s view.
Apple Pay and Wallet
Setting up Apple Pay allows for secure transactions with a double-click of the side button. From the Wallet app, users can customize their experience by choosing their default card, thus streamlining payments. They can also view transaction histories.
Emergency, Health, and System Services
The iPhone includes essential features for safety and health management. By holding the side button along with either volume button, users can activate Emergency SOS, quickly calling for help. Users can also customize Medical ID in the Health app for critical health information access. To manage battery life, users can turn on Low Power Mode by going to Settings > Battery. Users can also customize their experience with different wallpapers to add a personal touch to their device.