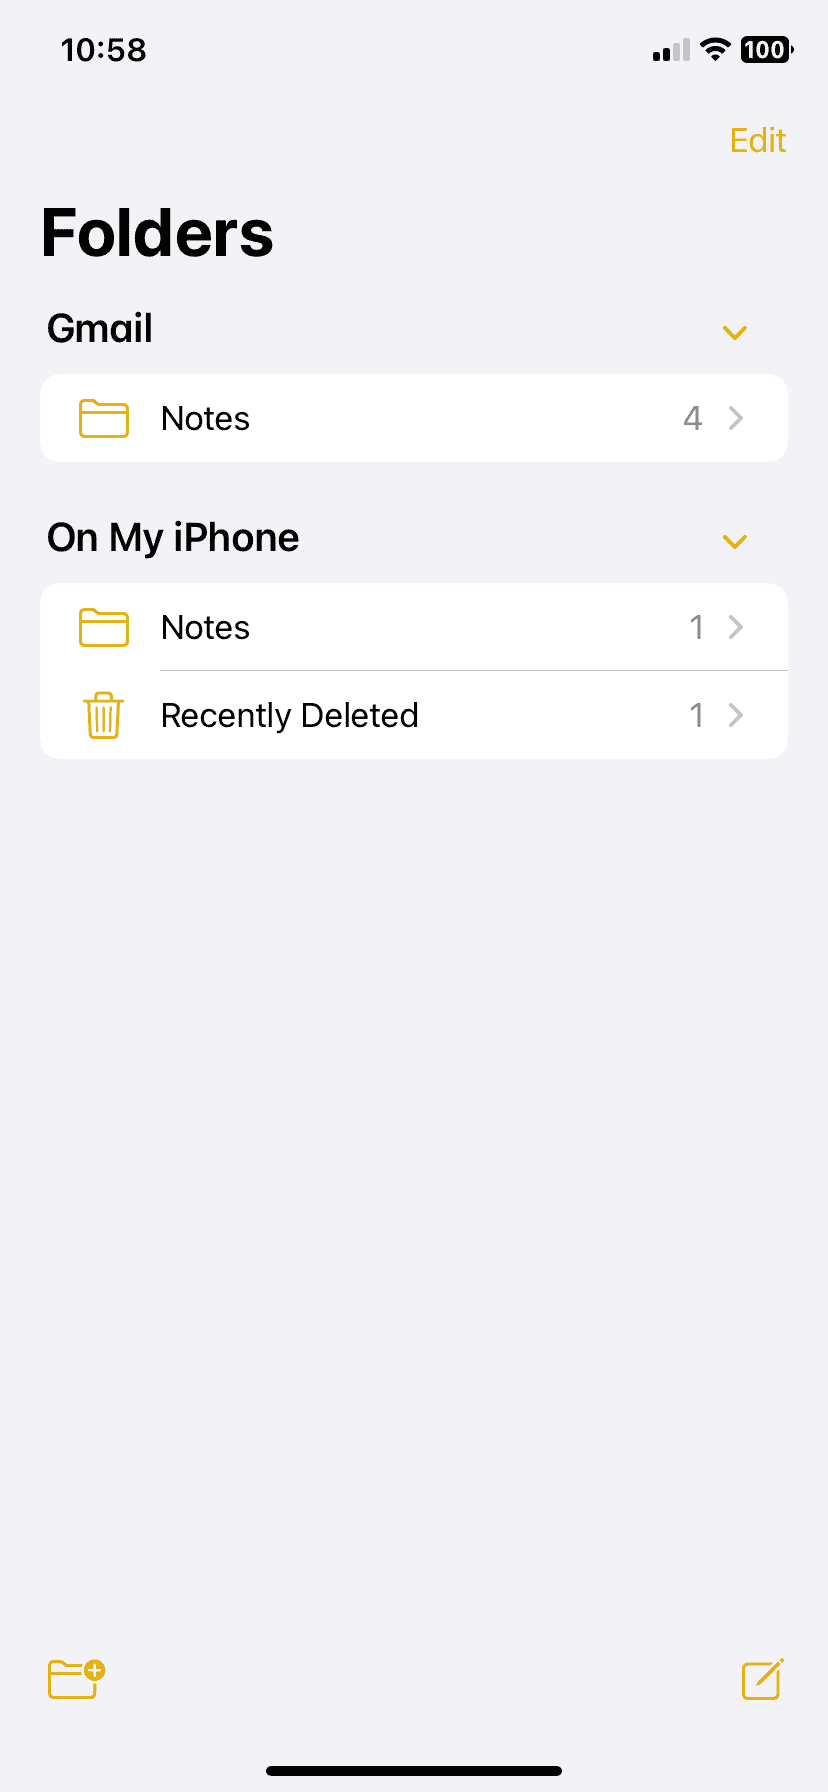
If you’ve accidentally deleted or lost an important note from your Apple device, you can easily restore it from iCloud (especially if it’s early after the deletion). You can recover notes from the “Recently Deleted” folder on iCloud.com if they were deleted within the last 30 days. If the notes are not there, you can also use iCloud backups and third-party software to retrieve them. It’s also helpful to regularly back up your notes to prevent future loss.
Using iCloud’s note recovery features ensures that your important information is never truly lost. By following a simple restoration guide, you can get your deleted notes back in no time.
iCloud Notes Recovery: A Step-by-Step Guide
1. Check the “Recently Deleted” Folder

Your first stop should be the “Recently Deleted” folder within the Notes app. Deleted notes linger here for 30 days before permanent removal.
- Open the Notes app: Launch it on your iPhone, iPad, or Mac.
- Locate “Recently Deleted”: It’s usually found in the Folders section.
- Browse and Restore: Look for the deleted note and tap/click it. Then, choose “Recover” (or similar option) to restore it to your main Notes list.
2. Use iCloud.com to Restore Notes (Within 30 Days)
If the note isn’t in “Recently Deleted,” you can still recover it from iCloud.com if it was deleted within the last 30 days.
- Access iCloud: Log in to iCloud.com with your Apple ID and password.
- Open Notes: Click on the Notes app icon.
- Find “Recently Deleted”: Look for the folder in the sidebar.
- Recover Note: Select the note you want and click “Recover.” It will return to your main Notes list.
3. Restore from iCloud Backup (If Enabled)
If you have iCloud backups enabled, you might be able to restore your entire device to a point before the note was deleted.
- Go to Settings: On your iPhone or iPad, go to Settings > [Your Name] > iCloud > Manage Storage > Backups.
- Choose a Backup: Select a backup that predates the note’s deletion.
- Restore: Follow the on-screen prompts to restore your device. Remember, this will revert your entire device to the state it was in at the time of the backup.
Additional Recovery Options
| Method | Description |
|---|---|
| Third-Party Recovery Software | Programs like PhoneRescue or Disk Drill can sometimes recover deleted notes, even beyond 30 days. |
| Apple Support | Contact Apple Support if none of the above options work. They may be able to assist with recovery. |
Key Takeaways
- Restore deleted notes from iCloud within 30 days.
- Access Recently Deleted folder on iCloud.com.
- Regular backups can prevent future data loss.
Understanding iCloud Note Recovery
Restoring iCloud notes involves using features that help manage, sync, and recover notes on Apple devices. Knowing how iCloud works and how to use the Notes app can help solve issues with missing or deleted notes.
The Role of iCloud in Note Storage
iCloud saves notes from Apple devices, making them accessible across different devices. This cloud storage solution uses the same Apple ID to sync notes. When a note is created or updated on one device, it appears the same on all devices linked with the same ID. iCloud keeps notes safe and backed up, preventing loss due to device issues. This means whether you are on your iPhone, iPad, or Mac, your notes stay up-to-date.
Notes App and iCloud Synchronization
The Notes app works closely with iCloud to keep notes synchronized. Once you enable iCloud for Notes in the settings, any changes or additions made in the Notes app sync automatically. On your iPhone, you can turn on Notes in iCloud by going to Settings > [Your Name] > iCloud and switching on the Notes app. Any note you create or edit will be uploaded to iCloud, enabling you to access it from different devices without losing information.
Differences Between iCloud Backup and Recently Deleted
iCloud Backup stores a full backup of your device including apps and data. It keeps an archive that can be restored if your notes are lost or deleted accidentally. To recover notes through iCloud Backup, a full device restore might be necessary, which can be time-consuming.
The Recently Deleted folder in the Notes app is another method for recovery. When a note is deleted, it goes to this folder and stays there for 30 days. You can easily restore the note during this period without needing a full device restore. This option provides a quick way to get back deleted notes with minimal hassle.
Step-by-Step Restoration Guide
This section will help you recover your notes using various methods. Follow these steps to retrieve deleted or lost notes from iCloud.
Recovering Recently Deleted Notes
If you accidentally delete a note, you can usually find it in the “Recently Deleted” folder. Open the Notes app on your iPhone and navigate to the “Recently Deleted” folder. Select the note you wish to recover and tap “Move To” to place it back into your main Notes folder.
To recover notes online, visit iCloud.com and sign in with your Apple ID. Click on “Notes” and then select “Recently Deleted.” Choose the note you want to restore and click Recover. The note moves back to the main folder.
Restoring Notes from iCloud Backup
To restore notes from an iCloud backup, start by going to Settings on your iPhone. Tap on your name, then “iCloud,” and make sure “iCloud Backup” is turned on.
Next, go to Settings > General > Reset and select “Erase All Content and Settings.” This action erases everything on your device. After the device restarts, follow the on-screen instructions until you reach the “Apps & Data” screen. Select “Restore from iCloud Backup” and pick the most recent or relevant backup file. This restores your entire backup including notes.
Using iCloud.com for Note Recovery
For quick recovery without resetting your device, use the iCloud website. Visit iCloud.com and sign in. Click on your name, then select Account Settings. Scroll to the bottom and find the section titled Advanced.
Here, click Restore Files, then select the notes you wish to recover. You can also click Restore Contacts if you need to recover contact-related notes. This method is straightforward and doesn’t require erasing your device.
Managing Shared and Locked Notes
Managing shared and locked notes is straightforward on both your device and iCloud. To share a note, open the Notes app, select the note you want, and tap the Share button. Choose a method to share, like Mail or Messages. The recipient gets a link to the note.
To lock a note, open the note, tap the Lock button, and set a password. This adds an extra layer of security to sensitive information. You can also manage shared and locked notes on iCloud.com by selecting the note and choosing the appropriate action from the toolbar.
These steps will help keep your notes organized and secure.


