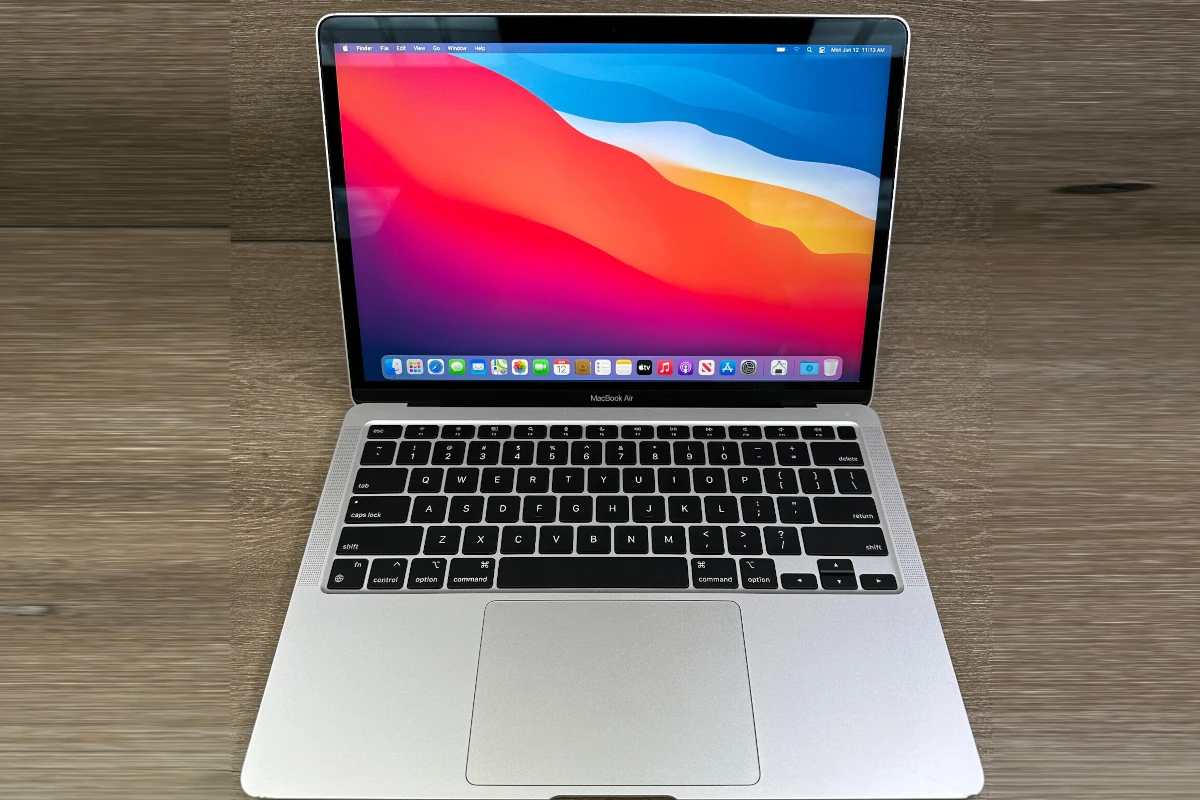
Working on your MacBook can get crowded when you have many apps open. Juggling between windows eats up time and slows you down. To split your MacBook screen, hover over the green button in the top-left corner of any window, then select “Tile Window to Left/Right of Screen” or hold the button for split view options. This simple trick lets you view and work with two apps side by side.
Split screen is one of the most useful features on Mac that many people don’t know about. You can place your email on one side while writing a document on the other. Or keep your calendar visible while browsing the web. This setup helps you compare information, copy data between programs, or just keep an eye on multiple tasks at once.
This feature works on all modern MacBooks and doesn’t require any extra software. Once you start using split screen, you’ll wonder how you ever worked without it. Your productivity will jump as you cut down on the time spent clicking between windows.
How To Split The Screen On Your MacBook
Splitting your screen on a MacBook allows you to work with two apps side-by-side, boosting productivity and multitasking efficiency. macOS features a built-in Split View mode that makes this process simple.
Step-by-Step Guide to Using Split Screen on MacBook
1. Enter Full Screen Mode with Split View
- Open the first app or window you want to use.
- Hover your pointer over the green full-screen button in the top-left corner of the window.
- A menu will appear with options:
- Tile Window to Left of Screen
- Tile Window to Right of Screen
- Click either option depending on which side you want the window to occupy.
2. Select the Second App for Split View
- After selecting the first window’s position, your other open windows will appear on the opposite side.
- Click the window or app you want to use on the other side of the screen.
- Both apps will now share the screen evenly in Split View.
3. Adjust the Split Screen Size
- You can drag the vertical divider between the two windows to resize them according to your preference.
4. Exit Split View
- Move your pointer to the top of the screen to reveal the window buttons.
- Click the green full-screen button on either window to exit Split View.
- Alternatively, press Esc to exit full screen mode.
Additional Tips
- Switch windows in Split View: Hover over the green button again and select “Replace Window” to swap apps in Split View.
- Mission Control: You can see all your desktops and Split View spaces by swiping up with three or four fingers or pressing the Mission Control key (F3).
- Third-party apps: For more advanced window management, consider apps like Rectangle or Magnet, which offer customizable split-screen options.
Summary
Using Split View on your MacBook helps you multitask efficiently by placing two apps side-by-side in full screen. Just hover over the green window button, select your position, and pick the second app to get started!
For more detailed instructions, check Apple’s official guide: Use apps in Split View on Mac.
Key Takeaways
- Split screen on MacBook requires just clicking the green button in any window’s corner to place apps side by side.
- You can adjust the divider between windows to give more space to the app that needs it most.
- Exit split screen mode by pressing Escape or by clicking the green button again when hovering over either app.
Understanding Mac’s Split Screen Capabilities
Mac’s Split View feature helps users work with two apps side by side without distractions. This built-in tool has evolved over time and offers several benefits for improving workflow efficiency.
History of Split View on macOS
Split View officially launched with OS X El Capitan in 2015. Before this update, Mac users needed third-party apps to arrange windows efficiently.
When Apple introduced El Capitan, they added Split View to help users work more efficiently. This feature answered the growing need for better multitasking tools on desktop computers.
Over the years, Apple has refined Split View with each macOS update. The controls have become more intuitive and user-friendly.
Recent versions of macOS offer improved window management options. Users can now resize the split more freely and switch between different app combinations quickly.
Benefits of Using Split Screen
Working with two windows side by side saves time by eliminating constant switching between apps. This setup is perfect for comparing documents or taking notes while watching videos.
Split Screen boosts productivity by:
- Reducing distractions from other open windows
- Making it easier to drag content between applications
- Helping users stay focused on related tasks
- Creating a cleaner workspace
Students find Split View helpful when researching and writing papers. They can keep reference materials open alongside their word processor.
Professionals benefit when coding, designing, or analyzing data. For example, developers can view code and results simultaneously without toggling windows.
The feature works well with most Mac apps, including Safari, Pages, and third-party software. Users can even split their screen with different browser windows open.
Preparing Your MacBook for Split View
Before diving into split screen mode, you need to make sure your MacBook is ready to use this feature. Setting up your Mac properly will save you time and frustration later.
System Requirements and Compatibility
Split View works on most Macs running MacOS El Capitan or later. This feature was introduced in 2015 and has been included in all newer versions of MacOS.
To check your MacOS version, click the Apple menu in the top left corner of your screen. Then select “About This Mac.” The version number appears directly under the macOS name.
Older MacBooks may struggle with running multiple apps side by side. This is especially true if you’re using resource-heavy programs like video editors or design software.
Most apps support Split View, but some older applications might not work properly. Apps must be built to work with full-screen mode to function correctly in Split View.
Enabling Window Controls
The green Full-Screen Button in the upper left corner of app windows controls Split View. This button lets you enter full-screen mode or split your screen.
To enable Split View options, hover your mouse over the green button. You’ll see a dropdown menu with options to tile the window to the left or right side of your screen.
If you don’t see these options, make sure you’re running a compatible MacOS version. You may need to update your operating system.
Remember to check your Dock settings too. The Dock can sometimes get in the way when using Split View. You can set your Dock to hide automatically by going to System Preferences > Dock & Menu Bar.
Activating Split Screen Mode
Split Screen Mode on your MacBook lets you work with two apps side by side. This feature helps you multitask without constantly switching between windows. There are several ways to activate this helpful tool.
Using the Full-Screen Button
To start Split View using the green button method:
- Hover your cursor over the green button in the top-left corner of any window
- Hold down the button (don’t click it yet)
- A dropdown menu will appear with options
- Choose “Tile Window to Left of Screen” or “Tile Window to Right of Screen”
After selecting a side, your window will take up that half of the screen. Your Mac will show all other open windows on the other side. Click on the second window you want to use.
Both apps will now appear side by side in full-screen mode. The menu bar hides automatically but reappears when you move your cursor to the top of the screen.
To exit Split View, press the Escape key or click the green button on either window.
Entering Split View via Mission Control
Mission Control offers another way to arrange your split screen:
- Open the two applications you want to use side by side
- Launch Mission Control by pressing F3 or swiping up with three or four fingers on the trackpad
- Drag one window to the top of the screen until it becomes a thumbnail
- Drag a second window on top of the first thumbnail
The two applications will now share the screen equally. You can adjust the divider between them by clicking and dragging the center line.
To switch which side each app appears on, click and hold the top of either window and drag it to the opposite side.
Many users find this method helpful when the green button option doesn’t work with certain applications.
Utilizing Keyboard Shortcuts
Keyboard shortcuts make split-screen activation even faster:
- Control + Command + F: Toggle full-screen mode for the current app (needed for some split-screen methods)
- Control + Up Arrow: Launch Mission Control
- Option key + green button: Some Mac models allow you to hold the Option key while clicking the green button for additional window-sizing options
For quick adjustments when already in Split View:
- Command + Tab: Switch between open applications
- Control + Left/Right Arrow: Switch between full-screen spaces including Split View spaces
Custom shortcuts can also be created through System Preferences > Keyboard > Shortcuts tab. This option helps power users speed up their workflow significantly when using Split View regularly.
Working in Split Screen Mode
Split Screen Mode on your Mac makes it easy to work with two apps at once. You can compare documents, drag items between windows, or keep an eye on your email while working on another task.
Managing Windows and Spaces
When you’re in Split View, both windows will appear side by side in full-screen mode. To switch between apps in Split View, simply click on the window you want to use.
If you need to see your desktop or other apps, move your cursor to the top of the screen. The menu bar will appear, giving you access to app menus and controls.
Want to replace one of the windows? You can exit just one side of your Split View by pressing Escape or clicking the green button on that window. The other app will stay in full-screen mode.
To completely exit Split View, move your cursor to the top of the screen and click the red close button on either window. You can also press Escape to exit full-screen mode.
Adjusting Window Sizes
The default Split View divides your screen equally between two windows. But you can easily adjust the size of each window by dragging the vertical line that separates them.
Click and hold on the divider line, then drag left or right to make one app wider and the other narrower. This is helpful when you need more space for one app.
Some apps have minimum width requirements and won’t resize beyond certain points. If you can’t resize a window further, you’ve reached that app’s limit.
For the best experience, try to match apps that work well together. For example, pair a web browser with a note-taking app or a PDF reader with a word processor.
Streamlining Workflow with Split Screen
Split screen on Mac is a powerful feature that helps users work with multiple applications at once. This function saves time and enhances productivity by eliminating the need to switch between windows constantly.
Effective Multitasking with Split View
MacBooks make multitasking easy with the Split View feature. To activate it, hold your cursor over the green button in the top-left corner of any window. A dropdown menu will appear with options for tile window arrangements.
You can also use keyboard shortcuts for faster access. Press Control + Arrow Up to enter Mission Control, where you can see all open applications. From there, drag windows side by side.
Split View works best for certain combinations of apps. For example:
- Browser + Word processor (research while writing)
- Email + Calendar (schedule meetings while reading emails)
- Spreadsheet + PDF (reference data while analyzing)
Many professionals use this feature when they need to copy information from one document to another or compare data across applications.
Tips for Split Screen Efficiency
To get the most from split screen on Mac, arrange apps based on their importance. Put the main task on the left and supporting applications on the right to match natural reading patterns.
Adjust the split ratio by clicking and dragging the dividing line between windows. This helps when one app needs more screen space than the other.
Use Mission Control to create multiple desktops for different projects. Each desktop can have its own split screen setup, letting you switch between entire workflows with a swipe.
Consider these practical tips:
- Use keyboard shortcuts (⌘ + Tab) to switch between apps quickly
- Save frequently used split screen setups as favorites
- Turn on Do Not Disturb to prevent notifications from breaking your focus
For complex projects, try third-party apps that offer more advanced window management options than the built-in tools.
Common Applications for Split Screen
Split screen mode on a MacBook lets you work with two apps at once. This feature helps you do tasks faster without switching between windows all the time.
Comparing Documents Side by Side
Working with multiple documents is much easier with split screen. You can view two documents at the same time, making it simple to spot differences or copy content between them.
Writers and editors find this feature helpful when:
- Comparing original and edited versions of text
- Checking facts from research while writing
- Translating content from one language to another
Students can keep their notes open on one side while writing a paper on the other. This saves time and reduces errors that happen when switching windows.
Teachers can show a grading rubric on one side while reviewing student work on the other. The split view makes grading faster and more accurate.
Web Browsing and Reference
Split screen is perfect for web research. You can open two browser windows side by side or pair a browser with another app.
Common web browsing uses include:
- Comparing prices between shopping websites
- Following a recipe while watching a cooking video
- Taking notes while watching an online lecture
Researchers benefit from having search results open on one side while taking notes on the other. This setup helps them gather information without losing track of sources.
Web developers can view code in one window and see the results in another. This makes testing and debugging websites much faster.
Email and Communication
Managing email alongside other work makes split screen truly valuable. Keep your Mail app open on one side while working on related tasks on the other.
Helpful email and communication setups:
- Reading email while updating your calendar
- Referencing information while writing responses
- Keeping chat open while working on shared documents
Business professionals can keep video calls active on one side while accessing meeting materials on the other. This creates a more natural meeting experience.
Customer service teams benefit from having customer information visible while responding to inquiries. Split screen helps them provide faster, more accurate answers.
Exiting Split Screen Mode
When you’re ready to return to normal viewing on your MacBook, you can quickly exit the split screen mode. There are several simple methods to help you get back to your standard desktop view.
How to Exit Split Screen
To exit split screen view on your Mac, move your cursor to the top of the screen until the menu bar appears. You’ll see the standard window controls in the top-left corner of each app window. Click the green button in either window to exit split screen mode. This action will return both windows to their original positions on your desktop.
Another way to exit is to press the Escape key on your keyboard. This works in many cases but not all apps support this shortcut.
You can also use Mission Control to exit split screen:
- Press F3 or swipe up with three fingers on the trackpad
- Hover over the split screen space
- Click the X that appears in the corner
Returning to Standard View
When you exit split screen mode, your windows will return to their original positions on the desktop. If you want to keep just one app in full screen, you can click the green button in the window you want to keep. This removes that app from split view while leaving the other in full screen.
To access all your open apps after exiting, use the Dock at the bottom of your screen. Your recently used split screen apps will appear there.
You can also use Command + Tab to switch between open applications once you’ve returned to standard view. This keyboard shortcut shows all your open apps in a horizontal bar, making it easy to pick the one you need.
Frequently Asked Questions
MacBooks offer several methods to split the screen for multitasking. This feature helps users work with multiple applications simultaneously without constantly switching between windows.
How can I view two applications side by side on a MacBook?
Viewing two applications side by side on your MacBook is simple with Split View. First, hover your pointer over the green circle in the top-left corner of a window.
When the dropdown menu appears, select “Tile Window to Left of Screen” or “Tile Window to Right of Screen.” Your window will fill that half of the screen.
Next, choose another open application to fill the other half. The two applications will now display side by side.
What steps are involved in using a MacBook Pro’s split screen feature?
To use split screen on a MacBook Pro, start by opening the two applications you want to view together. Hold the pointer over the green button in the top-left corner of one application.
Select “Full Screen > Left of Screen” or “Right of Screen.” This places the first application on the chosen side.
Then select the second application from the thumbnails displayed on the other side of the screen. Both applications will now appear in Split View.
Is there a method to achieve a four-way split screen on a Mac?
MacOS doesn’t have a built-in four-way split screen feature. However, users can manually resize and arrange windows to create a four-way split.
Third-party window management applications like Magnet, BetterSnapTool, or Rectangle provide this functionality. These apps allow users to drag windows to different screen corners.
These tools typically offer keyboard shortcuts to quickly arrange windows in quarter-screen positions.
What are the instructions for setting up a three-way split screen on a Mac?
MacOS doesn’t natively support three-way split screens. For this layout, users need third-party window management tools.
Applications like Magnet, BetterTouchTool, or Moom enable custom window layouts, including three-way splits. These apps provide drag-and-drop functionality for window placement.
Users can also manually resize windows by dragging their corners and edges to create a custom three-way arrangement.
How do I use an external monitor to split the screen on a Mac?
Connect your external monitor to your Mac using the appropriate cable. Then go to System Preferences > Displays to adjust arrangement settings.
To use Split View across monitors, use the green button method on each screen independently. Each monitor can have its own Split View arrangement.
For more flexibility, you can use Mission Control (press Control + Up Arrow) to drag windows between displays and arrange them as needed.
Can you recommend a split screen application for Mac users?
Magnet is a popular choice that allows users to snap windows to different positions using keyboard shortcuts or by dragging to screen edges. It supports various arrangements including halves, quarters, and thirds.
Rectangle is a free, open-source alternative that provides similar functionality. It offers customizable shortcuts and different grid layouts.
BetterTouchTool provides advanced window management along with other customization features. It allows for highly personalized window layouts beyond basic splits.


