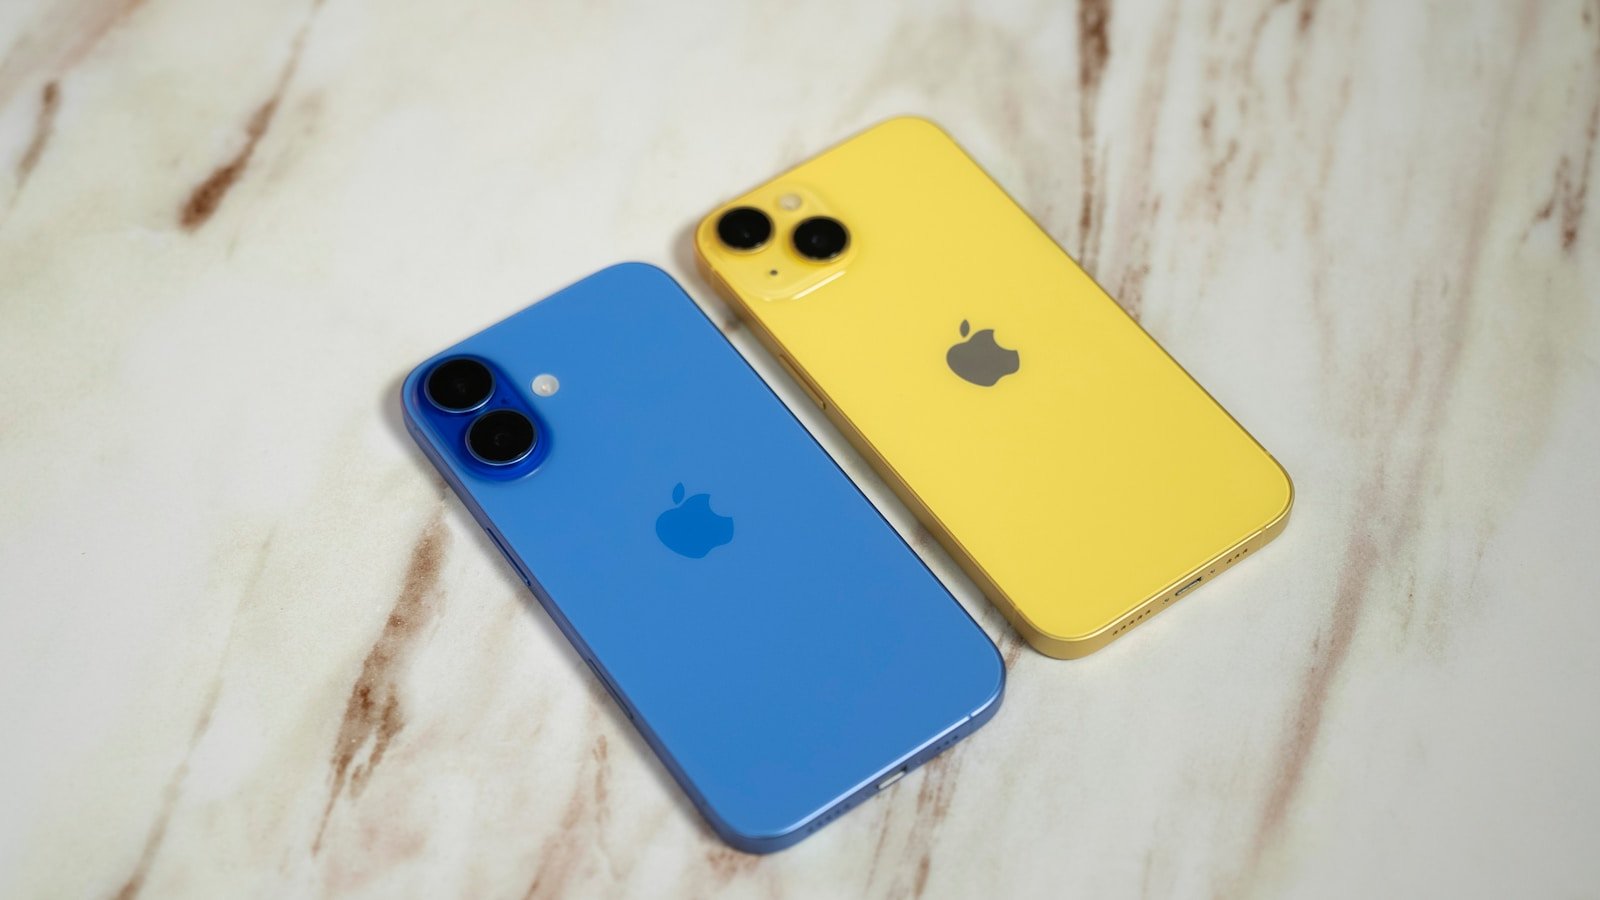
Switching from one iPhone to another can feel like a breeze. Apple has streamlined the data transfer process, making it seamless and straightforward. Users need to ensure both iPhones are ready, with the current device having WiFi and Bluetooth turned on. Having both devices charged and close to each other helps to avoid any interruptions during the switch.
During the transfer, the new iPhone will guide users through each step. It starts with a simple ‘Hello’ screen and leads to the point where one can restore from an iCloud backup or transfer directly from the old phone. This convenience is part of what makes staying within the Apple ecosystem appealing. The technology behind this process relies on proximity and Apple’s software integration.
1. Quick Start (Recommended)
Quick Start is the fastest and easiest way if both iPhones are nearby and running iOS 11 or later.
Steps:
- Turn on your new iPhone and place it near your old one.
- On your old iPhone, a Quick Start screen will appear. Tap Continue.
- Use your old iPhone’s camera to scan the animation on your new iPhone.
- Enter your old iPhone passcode on the new device.
- Follow the prompts to set up Face ID or Touch ID.
- Choose Transfer from iPhone to begin moving data directly.
- Keep both devices close and connected to power until the transfer finishes.
(source: Apple Support)
2. iCloud Backup Transfer
Good if you don’t have both iPhones with you at the same time.
Steps:
- On your old iPhone:
- Go to Settings > [your name] > iCloud > iCloud Backup.
- Tap Back Up Now and wait until the backup completes.
- On your new iPhone:
- Turn it on and follow setup prompts.
- When asked, choose Restore from iCloud Backup.
- Sign in with your Apple ID and select the most recent backup.
3. iTunes / Finder Backup Transfer (Computer Method)
Best if you want a local, offline backup.
Steps:
- Connect your old iPhone to a Mac (Finder) or Windows PC (iTunes).
- Select Back Up Now (choose Encrypt Backup if you want health and password data).
- Connect your new iPhone to the same computer.
- During setup, choose Restore from Mac or PC and select your backup.
4. Move Only Certain Data (Manual Options)
- iCloud Sync: Photos, contacts, notes, and messages can sync automatically if you enable iCloud on both devices.
- AirDrop: Send individual files, photos, or contacts from old iPhone to new.
✅ Tips for a Smooth Transfer
- Keep both devices plugged in during transfer to avoid interruptions.
- Make sure both are on the latest iOS version for best compatibility.
- If you use an Apple Watch, unpair it from the old iPhone before setting up the new one (it will automatically re‑pair).
👉 If you want the fastest, full transfer with everything intact, use Quick Start. If your old phone is unavailable, use iCloud backup instead.
Key Takeaways
- Ensuring iPhones are charged and connected to WiFi and Bluetooth is key before starting a transfer.
- The new iPhone’s setup assistant provides step-by-step guidance to transfer data.
- Direct transfer and iCloud restore are the primary methods to move data between iPhones.
Preparing for Transfer
Transferring data between iPhones is a straightforward process, but it requires careful preparation. By backing up your data, setting up the new iPhone, and performing a transfer through iCloud, you keep your photos, contacts, and app data secure.
Backing Up Your Data
Before transferring, ensure your current iPhone’s data is safe. Use iCloud backup by navigating to Settings, tapping on your Apple ID, then iCloud, and finally iCloud Backup. Make sure your iPhone is connected to Wi-Fi, then select Back Up Now. The backup may include your photos, contacts, and app data. Check your iCloud storage to make sure you have enough space for the backup.
Setting up Your New iPhone
Once your data is backed up, turn on your new iPhone. Follow the steps to complete basic setup which includes Face ID or Touch ID, and entering your Apple ID. Use Quick Start if both devices have at least iOS 12.4. Place both iPhones close together and ensure Wi-Fi and Bluetooth are on. This starts the data transfer process automatically. If you’re setting up an iPhone 13 or later, ensure it’s updated to the latest iOS, for instance, iOS 16.
Transferring Data Using iCloud
After the initial setup and when you’re on the Apps & Data screen, choose Restore from iCloud Backup. Sign in to iCloud with your Apple ID and pick the latest backup. Keep the new iPhone connected to Wi-Fi and power until the transfer finishes. If you paired an Apple Watch with your old iPhone, you can now set it up with the new one.
Transfer Techniques
When transferring data between iPhones, users have several options. These techniques ensure data like contacts, photos, and apps move smoothly to the new device.
Wired Transfer via Finder or iTunes
For Mac users with macOS Catalina or later, Finder manages iPhone backups and syncs. Connect your old iPhone to the Mac using a USB-C to Lightning cable. Open Finder, select your device, and choose to back up all your data on your Mac. On a Windows PC or on a Mac running an earlier version of macOS, iTunes serves this purpose. Connect your previous iPhone via a wired connection, open iTunes, and select ‘Sync’ to transfer your data.
Wireless Transfer via Airdrop
AirDrop allows easy, wireless transfer of files and data between Apple devices. To use AirDrop, both the sending and receiving iPhones must have Bluetooth and Wi-Fi enabled. Select the files you wish to transfer on the source iPhone, tap the ‘Share’ button, then choose the target iPhone from the AirDrop section. The receiver will get a prompt to accept the incoming files.
Transfer from Android to iPhone
Moving data from an Android to an iPhone involves a different process. Apple’s ‘Move to iOS’ app can facilitate this transfer. Download the app on your Android device, follow the onscreen directions, and enter the code displayed on your iPhone. You can transfer contacts, message history, photos, and more. Ensure both devices are connected to a Wi-Fi network and plugged into power during the transfer.


