Getting a new iPhone is exciting, but setting it up can seem tricky. Don’t worry – the process is simpler than you might think. You can set up your new iPhone in just a few minutes by using the Quick Start feature, which lets you transfer data directly from your old iPhone or by restoring from an iCloud backup.
The setup process begins as soon as you press and hold the side button until the Apple logo appears. Make sure your old iPhone is charged and has Bluetooth turned on. Then bring your new iPhone close to it. Your screen will show options to transfer data directly from your old device or restore from backup. This method saves time and ensures all your photos, apps, and messages move to your new phone.
Before you start, check if there’s a software update available for your new iPhone. Going to Settings > General > Software Update will show you if there’s anything you need to install. Having the latest software ensures your setup goes smoothly and gives you access to all the newest features.
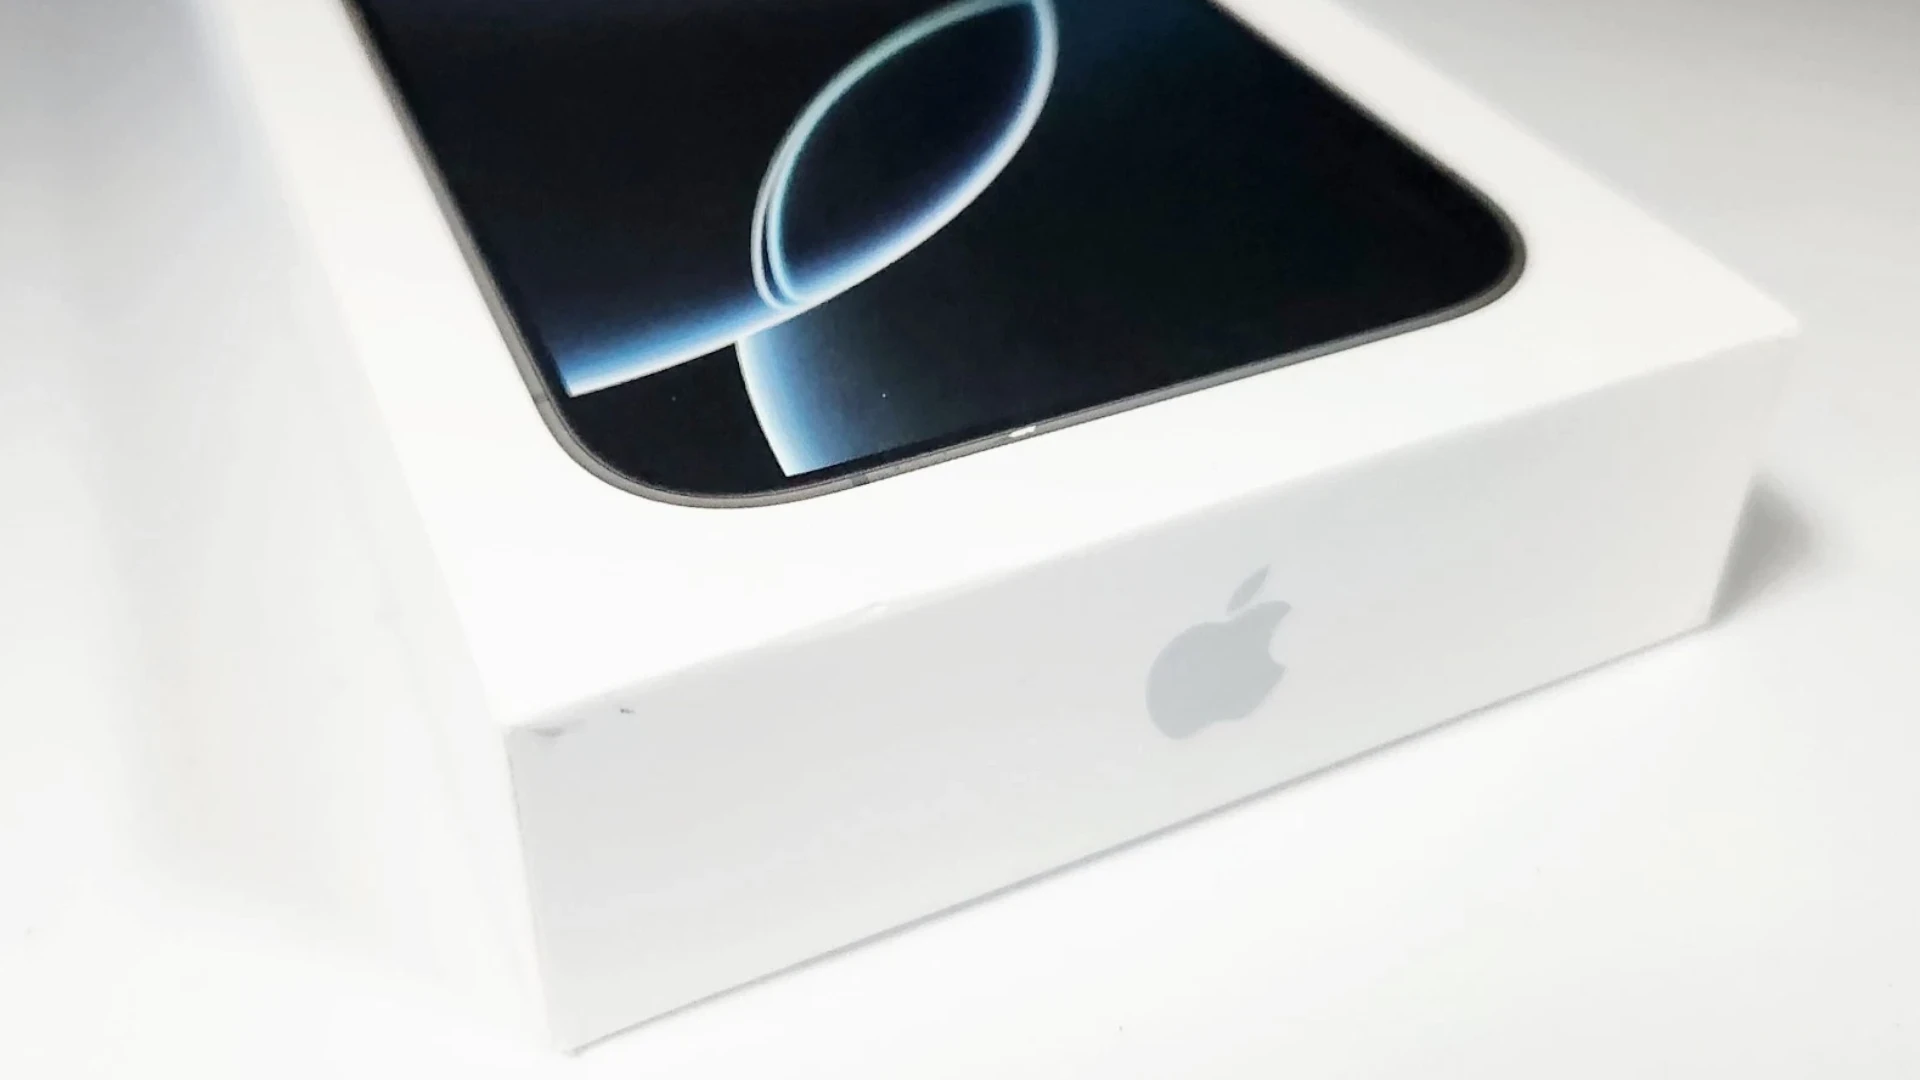
Unboxing and Powering On
Start by carefully removing your iPhone from its box. Inside, you’ll find the phone, a USB-C to Lightning cable (or USB-C to USB-C if you’re using a newer model), a SIM tray tool (for models with physical SIM), and some documentation. Apple no longer includes a charger in the box, so you’ll need a compatible power adapter if you don’t already have one.
To power on the iPhone, press and hold the Side button (on the right side) until you see the Apple logo.
Initial Setup and Language Selection
Once the phone powers on, you’ll be greeted with a “Hello” screen in multiple languages. Follow these steps:
- Swipe up (or press the Home button on models with one) to begin.
- Select your language and country or region.
- Choose whether to use Quick Start (recommended if you’re transferring from another iPhone) or Set Up Manually.
Using Quick Start for Easy Transfer
If you have another iPhone running iOS 11 or later:
- Place your new and old iPhones close together.
- A pop-up will appear on your old device asking if you want to use your Apple ID to set up the new phone.
- Follow the prompts, scan the swirling blue pattern with your old phone’s camera, and authenticate with your passcode or Face ID.
- Choose to transfer data directly or from a recent iCloud backup.
The transfer process may take a while depending on how much data you have, but everything — apps, messages, settings, Wi-Fi passwords — will carry over seamlessly.
Setting Up Manually
If you’re starting fresh or switching from Android:
- Connect to Wi-Fi.
- Sign in with your Apple ID (or create one).
- Set up Face ID or Touch ID for security and Apple Pay.
- Create a device passcode.
- Choose whether to restore from an iCloud, Mac/PC, or Android backup, or set up as a new device.
Transferring from Android
Apple offers a Move to iOS app on Android that lets you wirelessly transfer contacts, messages, photos, and more:
- On your Android device, install and open Move to iOS.
- During your iPhone setup, select Move Data from Android.
- Follow the on-screen instructions to generate a code.
- Enter the code on your Android phone, connect to the temporary Wi-Fi network, and select what data to move.
Configuring Key Settings
After setup, your iPhone will walk you through a few important features:
- Siri: Set up voice commands and choose whether to activate Siri with “Hey Siri” or by pressing the side button.
- Screen Time: Enable usage tracking and app limits to manage device habits.
- iCloud Settings: Choose what to sync — Photos, Contacts, Calendars, Notes, etc.
- App Permissions: As apps are installed, they’ll ask for access to location, microphone, camera, and notifications — manage these carefully under Settings.
Installing Essential Apps
Once you’re on the home screen, open the App Store and sign in with your Apple ID to download your must-have apps:
- Messaging: WhatsApp, Signal
- Social: Instagram, TikTok, Threads
- Productivity: Gmail, Google Drive, Notion
- Entertainment: YouTube, Spotify, Netflix
- Utilities: Authenticator apps, banking apps, weather
Apps from a previous device will usually reinstall automatically during setup if you chose a backup method.
Updating iOS
Head to Settings > General > Software Update to ensure you’re on the latest version of iOS. Apple frequently releases updates with bug fixes, new features, and important security improvements.
Pairing Accessories
If you have AirPods, an Apple Watch, or other Bluetooth accessories:
- Open the case or bring the device close to your iPhone and follow the pop-up instructions.
- For Apple Watch, use the Watch app to pair and restore from a previous backup.
- You can also connect other accessories manually by going to Settings > Bluetooth and selecting the device when it appears.
Setting Up Apple Pay
Add your debit or credit cards to use your iPhone for contactless payments:
- Go to Settings > Wallet & Apple Pay.
- Tap Add Card, then follow the prompts to scan or enter card info.
- Your bank may require a verification process via SMS or app.
- Once confirmed, you can use Apple Pay at most retailers with a contactless symbol.
Backing Up Your iPhone
Now that everything is set, it’s smart to enable backups:
- iCloud Backup: Go to Settings > [Your Name] > iCloud > iCloud Backup and turn it on.
- Mac/PC Backup: Plug your iPhone into your computer, open Finder (macOS Catalina or later) or iTunes (on Windows), and select “Back Up Now.”
Final Touches
You’re all set! Now’s the time to customize your iPhone:
- Arrange your Home Screen with folders and widgets.
- Choose a wallpaper under Settings > Wallpaper.
- Enable Dark Mode, tweak Control Center, and set up Focus Modes to control notifications.
With all these steps complete, your iPhone is now fully set up and personalized, ready to use right out of the box.
Key Takeaways
- Quick Start lets you transfer data by simply bringing your new iPhone close to your old one.
- Make sure both phones are charged and Bluetooth is turned on before starting the setup process.
- Check for software updates right away to ensure your new iPhone has the latest features and security.
Preparing for iPhone Setup
Before you begin setting up your new iPhone, taking a few preparatory steps can save you time and frustration. Having the right information and tools ready will make the process much smoother.
Understanding Your iPhone Model
The setup process varies slightly depending on which iPhone model you have. Newer models like the iPhone 15 use Face ID instead of Touch ID for security.
iPhone 15 and 14 models have no home button and use swipe gestures for navigation. These phones also feature the latest iOS version pre-installed.
iPhone 13 and 12 models share similar setup steps with newer versions. They support the most recent iOS updates and use Face ID technology.
- Look at the back of your iPhone
- Check Settings > General > About on your current iPhone
- Review the model number on the original packaging
Knowing your exact model helps you follow the right setup instructions and understand which features are available.
Checking SIM Card Compatibility
Your new iPhone needs a compatible SIM card to connect to cellular networks. Most recent iPhones use a nano-SIM card or eSIM technology.
iPhone 15 models sold in the US are eSIM-only with no physical SIM tray. International models still include a nano-SIM slot alongside eSIM capability.
iPhone 14, 13, and 12 models typically accept both physical nano-SIMs and eSIMs. Check if your carrier supports eSIM before switching.
To prepare your SIM:
- Contact your carrier to confirm compatibility
- Get a new SIM if needed
- Have your account information ready
If you’re transferring from an older iPhone, make sure your current device is updated to the latest iOS before starting the setup process. This ensures the smoothest transfer of your data and settings.
Creating or Accessing Your Apple ID
Your Apple ID is the key to all Apple services. It lets you download apps, use iCloud, and set up your new iPhone. You’ll need to either sign in with an existing ID or create a new one during setup.
Setting Up Two-Factor Authentication
Two-factor authentication adds an extra layer of security to your Apple ID. When you set it up, you’ll need both your password and a verification code to sign in. This helps keep your account safe.
To enable two-factor authentication, go to Settings on your iPhone. Tap your name at the top, then select “Password & Security.” Tap “Turn On Two-Factor Authentication” and follow the prompts.
You’ll need to provide a trusted phone number where Apple can send verification codes. You can add multiple trusted devices or phone numbers for backup.
When you sign in to a new device with your Apple ID, you’ll get a notification on your trusted devices. This notification shows a six-digit code to enter. This system helps create a more secure Apple Account.
If you get stuck during iPhone setup with Apple ID issues, you can always shut down your phone and restart. Then bypass the Apple ID setup and finish it later in Settings.
Initiating the iPhone Quick Start
Getting your new iPhone set up quickly means less time fiddling with settings and more time enjoying your device. Quick Start makes the process smooth by transferring important data and settings automatically.
Choosing Setup Options
To begin Quick Start, make sure your old iPhone is updated and running. Turn on your new iPhone and place it close to your current device. A setup screen will appear on your old iPhone asking if you want to use it to set up your new one.
Tap “Continue” when prompted. An animation will appear on your new iPhone. Hold your old device over the new one so the animation appears in the viewfinder. This connects the two devices.
When asked, enter your current iPhone passcode on your new device. This verifies you’re the owner of both phones.
You’ll then see options for setting up Face ID or Touch ID. Follow the on-screen instructions to register your face or fingerprint.
Next, you can choose to transfer all your data or set up as new. Most users pick “Transfer from iPhone” to move apps, data, and settings automatically.
If you prefer manual setup, select “Set Up Manually” instead. This gives you a fresh start with just your Apple ID information.
Restoring from iCloud Backup
Getting your new iPhone set up with all your old data is easy when you use iCloud Backup. This method brings back your apps, photos, messages, and settings just how you like them.
To start, turn on your new iPhone and follow the setup steps until you reach the Apps & Data screen. Then tap “Restore from iCloud Backup” to continue.
You’ll need to sign in with your Apple ID. This is the same account you used when making your backup.
Next, you’ll see a list of backups. Pick the most recent one or the one you want to use. Check the date and size to make sure it’s right.
What Gets Restored:
- Apps and app data
- Photos and videos
- Messages and attachments
- Device settings
- Home screen layout
- Purchase history
The restore process may take some time depending on how much data you have and your internet speed. Keep your iPhone connected to Wi-Fi and a power source during this time.
If you already set up your iPhone as new, don’t worry! You can still restore from a backup later. Go to Settings > General > Transfer or Reset iPhone > Erase All Content and Settings. Then start fresh and choose the backup option.
Some apps might need you to sign in again after the restore is done. This is normal and helps keep your accounts secure.
For a visual guide, Apple offers a helpful video tutorial showing each step of the process.
Securing Your iPhone
Protecting your new iPhone is a vital step in the setup process. Strong security measures safeguard your personal data and prevent unauthorized access to your device.
Creating a Six-Digit Passcode
A strong passcode is your first line of defense against unwanted access to your iPhone. Apple recommends using a six-digit passcode instead of a four-digit one for better security.
To set up your passcode:
- Go to Settings > Face ID & Passcode (or Touch ID & Passcode)
- Tap Turn Passcode On
- Enter a six-digit number when prompted
- Confirm by entering it again
Choose a passcode that’s hard to guess. Avoid using:
- Your birthday
- Simple sequences (like 123456)
- Repeating numbers (like 000000)
For maximum security, consider using a different passcode for your Screen Time settings than the one you use to unlock your phone.
Enabling Face ID or Touch ID
Biometric authentication adds another layer of security while making your iPhone easier to unlock. Depending on your iPhone model, you’ll have either Face ID or Touch ID available.
To set up Face ID:
- Go to Settings > Face ID & Passcode
- Enter your passcode
- Tap Set Up Face ID
- Hold your iPhone at eye level and position your face in the frame
- Move your head slowly to complete the circle
- Complete a second scan when prompted
For Touch ID setup:
- Go to Settings > Touch ID & Passcode
- Enter your passcode
- Tap Add a Fingerprint
- Place your finger on the Home button repeatedly until the process completes
You can control what Face ID or Touch ID is used for, including iPhone unlock, Apple Pay, App Store purchases, and password autofill.
Configuring Essential Services
After setting up your new iPhone, you’ll need to configure essential services to get the most out of your device. These services help you stay connected with friends and family while keeping your data safe and accessible across all your Apple devices.
Activating iMessage and FaceTime
To activate iMessage and FaceTime on your new iPhone, go to Settings and scroll down to “Messages” and “FaceTime” options.
For iMessage:
- Tap Settings > Messages
- Toggle iMessage to ON (green)
- Make sure your Apple ID is displayed correctly
For FaceTime:
- Tap Settings > FaceTime
- Toggle FaceTime to ON (green)
- Check that your phone number and Apple ID email are selected
You can customize which email addresses or phone numbers people can use to contact you. Just tap on the options under “You Can Be Reached By FaceTime At” and select your preferences.
Both services use data instead of SMS or voice minutes. This helps you save on carrier charges when texting or calling other Apple users.
Signing in to iCloud Services
iCloud keeps your important data synced across all Apple devices. To set up iCloud on your new iPhone:
- Go to Settings and tap your name at the top
- If you haven’t signed in yet, tap “Sign in to your iPhone” and enter your Apple ID
- Enter your password when prompted
After signing in, you can choose which services to enable:
| iCloud Service | What It Does |
|---|---|
| Photos | Stores and syncs your photo library |
| iCloud Backup | Automatically backs up your iPhone |
| iCloud Drive | Stores documents and app data |
| Syncs your @icloud.com email |
You get 5GB of free storage. If you need more space, you can buy more by going to Settings > [Your Name] > iCloud > Manage Storage.
To ensure your data stays backed up, make sure iCloud Backup is turned on. Your iPhone will automatically back up when connected to Wi-Fi, plugged in, and locked.
Personalising Your iPhone Experience
Your new iPhone offers many ways to make it feel like your own. You can change settings to match how you use your phone and add apps that fit your interests.
Customising Settings and Preferences
Start by adjusting your iPhone’s look and feel. Go to Settings > Wallpaper to choose a new background image for your lock screen and home screen.
Next, set up Face ID or Touch ID. This makes your phone more secure and lets you unlock it quickly. You’ll find these options in Settings > Face ID & Passcode.
Don’t forget to check your privacy settings. Go to Settings > Privacy to control which apps can use your location, photos, and other data.
Make your iPhone easier to use by changing text size. Go to Settings > Display & Brightness > Text Size to adjust how big words appear on screen.
You can also set up notifications to your liking. Choose which apps can send alerts and how they appear in Settings > Notifications.
Setting Up Apple Music and Other Apps
Apple Music lets you listen to millions of songs. Open the Music app and sign up for a free trial. You can pick your favorite artists to get music suggestions that match your taste.
The App Store has thousands of apps for work, fun, and staying in touch. To find good apps:
- Open the App Store
- Browse the “Today” tab for featured apps
- Check “Apps We Love” for staff picks
- Look at top charts for popular downloads
Set up automatic app updates by going to Settings > App Store > App Updates and turning on “Automatic Downloads.”
Try organizing your apps by topic. Put all your games in one folder and work apps in another. Just press and hold an app icon until it wiggles, then drag it onto another app to create a folder.
Frequently Asked Questions
Setting up a new iPhone involves several important steps and common issues that users face. Here are answers to the most common questions about iPhone setup.
What are the steps to transfer data from an older iPhone to a new iPhone?
To transfer data from your old iPhone to a new one, first make sure your old device is updated to iOS 18. This ensures compatibility during the transfer process.
Next, create an iCloud backup on your current iPhone. This saves all your important data securely in the cloud.
Place your new iPhone next to your old one during setup. The Quick Start screen will appear automatically. Follow the on-screen instructions to complete the data transfer.
Can I set up my new iPhone without having my previous device?
Yes, you can set up your iPhone as a new device without your previous phone. Simply press and hold the side button until the Apple logo appears.
When prompted during setup, choose “Set Up as New iPhone” instead of restoring from a backup. You’ll need to sign in with your Apple ID to access the App Store and other services.
If you have an iCloud backup but don’t have your old phone, you can still restore your data by selecting “Restore from iCloud Backup” during the setup process.
What is the process for inserting a SIM card into a new iPhone during setup?
Look for the SIM tray on the side of your iPhone. Use the SIM ejection tool that came with your iPhone, or a paperclip, to gently push into the small hole.
When the tray pops out, place your SIM card in the tray with the gold contacts facing down. Carefully slide the tray back into the phone until it clicks.
The iPhone will detect your SIM card during setup. If your phone supports eSIM, you might not need a physical SIM card at all.
How to initiate the Quick Start feature for setting up a new iPhone?
To start Quick Start, turn on your new iPhone and place it near your current iPhone. A connection screen will appear on your current device.
Tap “Continue” when you see the option to use your Apple ID to set up the new iPhone. Make sure both devices have Bluetooth turned on for this to work.
Scan the animation on the new iPhone with your current iPhone’s camera when prompted. Then follow the instructions to complete the transfer process.
How do I configure an iPad for a user who has never owned an Apple device before?
Start by pressing and holding the power button until the Apple logo appears. Follow the on-screen instructions to select your language and region.
Connect to a Wi-Fi network when prompted. This is needed to activate the device and download important setup files.
Create a new Apple ID when asked. This requires an email address and password. The Apple ID will let the user download apps and use Apple services.
Is there a way to return to the initial setup screen if I need to restart the iPhone setup process?
If you need to restart setup, go to Settings > General > Transfer or Reset iPhone. Then tap “Erase All Content and Settings.”
Confirm your choice when prompted. Your iPhone will restart and return to the initial setup screen as if it were new.
Remember to back up any important data before resetting your iPhone. The reset process erases all content and settings from the device.


