Apple Pay isn’t just for contactless purchases anymore—it’s also one of the fastest and most secure ways to send money directly from your iPhone. Whether you’re splitting dinner, paying rent to a roommate, or sending a birthday gift, Apple Pay through Apple Cash offers a seamless and private solution baked right into the Messages app.
What You’ll Need Before You Send Money
Before you can start sending funds, make sure the following are set up:
- You have an eligible iPhone or iPad running iOS 11.2 or later
- You’ve set up Apple Cash in the Wallet app (you’ll need to link a debit card)
- The recipient also has Apple Cash enabled
To enable Apple Cash:
- Open the Settings app
- Tap Wallet & Apple Pay
- Toggle on Apple Cash and follow the prompts
You’ll also need two-factor authentication turned on for your Apple ID.
How to Send Money With Apple Pay
- Open Messages and start or continue a conversation with the person you want to pay.
- Tap the Apple Cash icon (it looks like a black card with white text).
- Enter the amount you want to send.
- Tap Pay, then tap the Send button.
- Confirm with Face ID, Touch ID, or your passcode.
That’s it. The money is sent instantly, and the recipient will get a notification right away. Funds are deposited to their Apple Cash balance, which they can spend with Apple Pay or transfer to their bank account.
What Makes Apple Pay Stand Out?
Unlike traditional money transfers through banks or third-party apps, Apple Pay is deeply integrated into the iOS ecosystem. This means:
- No need to download another app like Venmo, PayPal, or Cash App
- No sharing of account numbers—Apple encrypts and anonymizes your banking data
- Instant availability of funds in most cases
Plus, Apple Pay uses Face ID or Touch ID to verify every transaction, so payments are not only quick but secure.
Are There Fees?
Sending money with Apple Pay using a debit card or Apple Cash balance is free. If you choose to send money with a credit card, there’s a 3% fee.
What About Limits?
- You can send or receive up to $10,000 per transaction, and up to $10,000 per 7-day period.
- For minors under 18 using Apple Cash Family, the limit is $2,000 per transaction and per 7-day period.
How Fast Is It?
Apple Pay transfers to another Apple Cash user are typically instant. However, if you’re transferring money from your Apple Cash balance to your bank account, you can choose:
- Instant Transfer (takes minutes, incurs a small fee)
- Standard Transfer (free, takes 1–3 business days)
Final Tip: If You Don’t See Apple Cash in Messages
Make sure both you and the recipient are in the U.S. (Apple Cash is currently U.S.-only), and check that region settings are set correctly under Settings > General > Language & Region.
Apple Pay makes sending money as easy as sending a text—and with Apple’s focus on privacy and convenience, it’s no surprise that millions of iPhone users are switching to it for quick person-to-person payments.
Key Takeaways
- You can send money through the Messages app using Apple Cash on your iPhone or iPad
- Money transfers with Apple Pay are protected by Face ID or Touch ID for added security
- Sending money with Apple Pay is free when using a debit card but may have fees with credit cards
Setting Up Apple Pay
Before you can send money with Apple Pay, you need to set up the service on your device. Apple Pay works with many Apple devices and requires adding at least one payment card to your digital wallet.
Compatibility Check for Devices
Apple Pay works with iPhone models with Face ID or Touch ID, except for iPhone 5s. iPad models with Touch ID or Face ID can also use Apple Pay. The Apple Watch pairs with your iPhone to enable payments on the go.
Mac computers with Touch ID have built-in Apple Pay support. Other Mac models can use Apple Pay when paired with an iPhone or Apple Watch.
Make sure your device runs the latest version of iOS, watchOS, or macOS. Older software might not support all Apple Pay features.
Your device needs an internet connection during setup. It also requires an Apple ID signed in to iCloud.
Adding a Payment Method
To add a card to Apple Pay, open the Wallet app on your iPhone or iPad. Tap the plus sign in the upper right corner to start.
You can add:
- Credit cards
- Debit cards
- Prepaid cards
- Apple Cash
The setup process is simple:
- Position your card in the frame to scan it
- Verify the card details
- Accept the terms and conditions
- Complete verification from your bank
Some banks might send you a code via text or email. Others might ask you to call or use their app to finish verification.
You can set up Apple Cash by going to Settings > Wallet & Apple Pay and turning on Apple Cash.
Security Measures for Setup
Apple Pay uses several layers of security to protect your information. Your actual card numbers are never stored on your device or Apple’s servers.
Device security features:
- Face ID
- Touch ID
- Passcode protection
Each transaction uses a unique code instead of your card number. This makes Apple Pay more secure than physical cards.
Apple doesn’t track or store information about what you buy. The company can’t see how much you paid or where you shopped.
Two-factor authentication for your Apple ID adds extra protection. Turn this on in your Apple ID settings for the best security.
If your device is lost or stolen, use Find My to put it in Lost Mode or erase it remotely.
Using Apple Wallet and Apple Cash
Apple Wallet makes sending money as easy as sending a text message. With Apple Cash, you can quickly transfer funds to friends and family right from your iPhone, without dealing with cash or checks.
Navigating the Wallet App
The Wallet app comes pre-installed on your iPhone and serves as your digital financial hub. To find it, look for the black and white wallet icon on your home screen. When you open the app, you’ll see all your payment cards, including Apple Cash if it’s set up.
To send money with Apple Cash, first open the Wallet app and tap on your Apple Cash card. You’ll see your current balance at the top. Tap the “Send” button to transfer money to someone else.
You can also send money directly through the Messages app. Just open a conversation, tap the plus icon, then the Apple Pay button, and enter the amount you want to send.
Understanding Apple Cash
Apple Cash functions like a digital prepaid card in your Wallet app. It’s backed by Green Dot Bank and lets you send, receive, and request money from other Apple users.
When someone sends you money, it goes to your Apple Cash card. You can use these funds to:
- Send to others
- Make purchases with Apple Pay
- Transfer to your bank account
- Pay your Apple Card balance
There are no fees to send or receive money when using a debit card. Credit card transfers incur a small percentage fee.
Daily limits apply to transactions—you can send or receive up to $10,000 per transaction or within 7 days.
Setting Up Apple Cash
To use Apple Cash, you need to be at least 18 years old and a U.S. resident with a compatible device. The setup process is simple and takes just a few minutes.
First, enable Apple Cash in your Wallet app by tapping on the Apple Cash card and following the prompts. You’ll need to:
- Verify your identity
- Accept the terms and conditions
- Link an eligible debit card to fund transfers
After setup, you can add money to your Apple Cash balance from any debit card in your Wallet. Your Apple Cash card will appear black with a green “cash” icon.
To receive money, the sender must have your phone number or email address that’s linked to your Apple ID. When someone sends you money, you’ll need to manually accept it the first time.
Making Person-to-Person Payments
Apple Pay makes sending money to friends and family quick and easy. You can transfer funds with just a few taps using Messages, request payments when someone owes you money, or simply ask Siri to handle the transaction for you.
Sending Money with Messages
The Messages app offers the simplest way to send money directly to another person. To get started, open a conversation with the recipient in Messages. Tap the Apple Pay button (looks like a dollar sign) at the bottom of the screen.
Enter the amount you want to send. You can also add a message about what the payment is for if you’d like.
Tap “Pay” and then confirm with Face ID, Touch ID, or your passcode. The money will be sent from your Apple Cash card or linked debit card.
The recipient will get a message showing the payment. They’ll need to have Apple Cash set up to accept the funds. First-time users may need to accept the terms and conditions.
Requesting Money via iMessage
Need someone to pay you back? You can easily request money through iMessage.
Open Messages and select a conversation with the person who owes you money. Tap the Apple Pay button and enter the amount they owe.
Instead of tapping “Pay,” tap “Request” and send the payment request. The person will receive a notification they can tap to complete the payment.
They can fulfill your request with just a few taps. Once they pay, the money goes directly to your Apple Cash card, which you can use for purchases or transfer to your bank account.
For regular payments, you can set up recurring payment requests by tapping “Show Keypad” and selecting “Send Recurring Payment.”
Using Siri for Transactions
The fastest way to send or request money is by using Siri voice commands. This hands-free option works when you’re busy or on the go.
To send money, activate Siri and say something like: “Send $20 to John for lunch.” Siri will confirm the recipient and amount before sending.
For payment requests, say: “Ask Emma for $15 for movie tickets.” Siri will create the request and send it through Messages.
You’ll need to confirm transactions with Face ID, Touch ID, or your passcode. This security step ensures nobody else can send payments using your voice.
Siri can also check your Apple Cash balance or transaction history. Just ask “What’s my Apple Cash balance?” to get a quick update on your funds.
Privacy and Security in Transactions
Apple Pay protects your personal information during money transfers. The system uses special codes instead of sharing your actual card details with merchants, keeping your data safe from potential theft.
Apple’s Commitment to Privacy
Apple designed Apple Pay with privacy as a priority. When you make a payment, your actual card numbers aren’t stored on your device or Apple’s servers. Instead, Apple Pay creates a unique device number that’s encrypted and stored safely.
Your full card details are never shared with merchants. This means stores can’t track your purchases across different locations or link them to your identity.
Apple doesn’t collect information about what you buy, where you shop, or how much you spend. Your transaction data remains private – even from Apple itself.
For Mac users, you can check and manage privacy settings by going to System Settings > Privacy & Security > Privacy > Location.
Security Checks During Transactions
Every Apple Pay transaction goes through multiple security checks. Before processing your payment, the system verifies your identity using Face ID, Touch ID, or your passcode.
These checks help prevent transaction fraud and unauthorized payments. Your payment information is encrypted during transmission, making it extremely difficult for hackers to intercept.
When paying in apps, Apple receives encrypted transaction data and sends it to the right developer or merchant. This process adds another layer of protection for your information.
Apple Pay works like an alias for your physical card, keeping your actual card details private while still providing merchants with the necessary billing information to complete your purchase.
Troubleshooting and Support
Even with a well-designed system like Apple Pay, you may encounter issues that need quick solutions. Here are the most common problems and their fixes to keep your digital payments running smoothly.
Common Issues with Apple Pay
If Apple Pay isn’t working properly, try some basic fixes first. Restart your device as this often resolves temporary glitches. This simple step clears the memory and reestablishes connections.
Check that your cards are properly set up in the Wallet app. Sometimes cards become inactive or expire without notice. Verify that your card information is current and valid.
Make sure you’re in an area with good internet connection. Apple Pay requires either cellular data or Wi-Fi to process transactions. Poor connections can cause payment failures.
For in-store payments, confirm the terminal accepts Apple Pay. Look for the contactless payment symbol or Apple Pay logo. Not all stores have updated their payment systems to accept digital wallets.
Resolving Payment Failures
When sending money to friends or family, verify that both parties have Apple Cash set up correctly. Both sender and recipient need valid Apple Cash accounts.
If a payment fails, check your account balance. Insufficient funds are a common reason for declined transactions. You may need to add money to your Apple Cash balance.
Identity verification issues can block payments. Users may need to verify their identity to send or receive larger amounts. This is part of Apple’s security measures to prevent fraud.
Try selecting your payment card manually instead of using the default. Sometimes specific cards have temporary restrictions or transaction limits that prevent successful payments.
Contacting Apple Pay Support
For persistent issues, Apple’s official support offers several contact options. Their website provides detailed guides and troubleshooting steps for specific problems.
The Apple Support app on your device provides direct access to help. You can chat with a representative or schedule a call at your convenience. This often resolves complex issues faster than trying to fix them yourself.
Visit an Apple Store for in-person assistance if online support doesn’t solve your problem. Genius Bar technicians can examine both software and hardware issues that might affect Apple Pay.
Before contacting support, check the Apple system status page to see if there are known outages. Sometimes the problem affects all users and Apple is already working on a fix.
Apple Pay in Retail Environments
Shopping at stores with Apple Pay is quick and easy. You can use it at many retail locations that show the Apple Pay symbol or contactless payment icons.
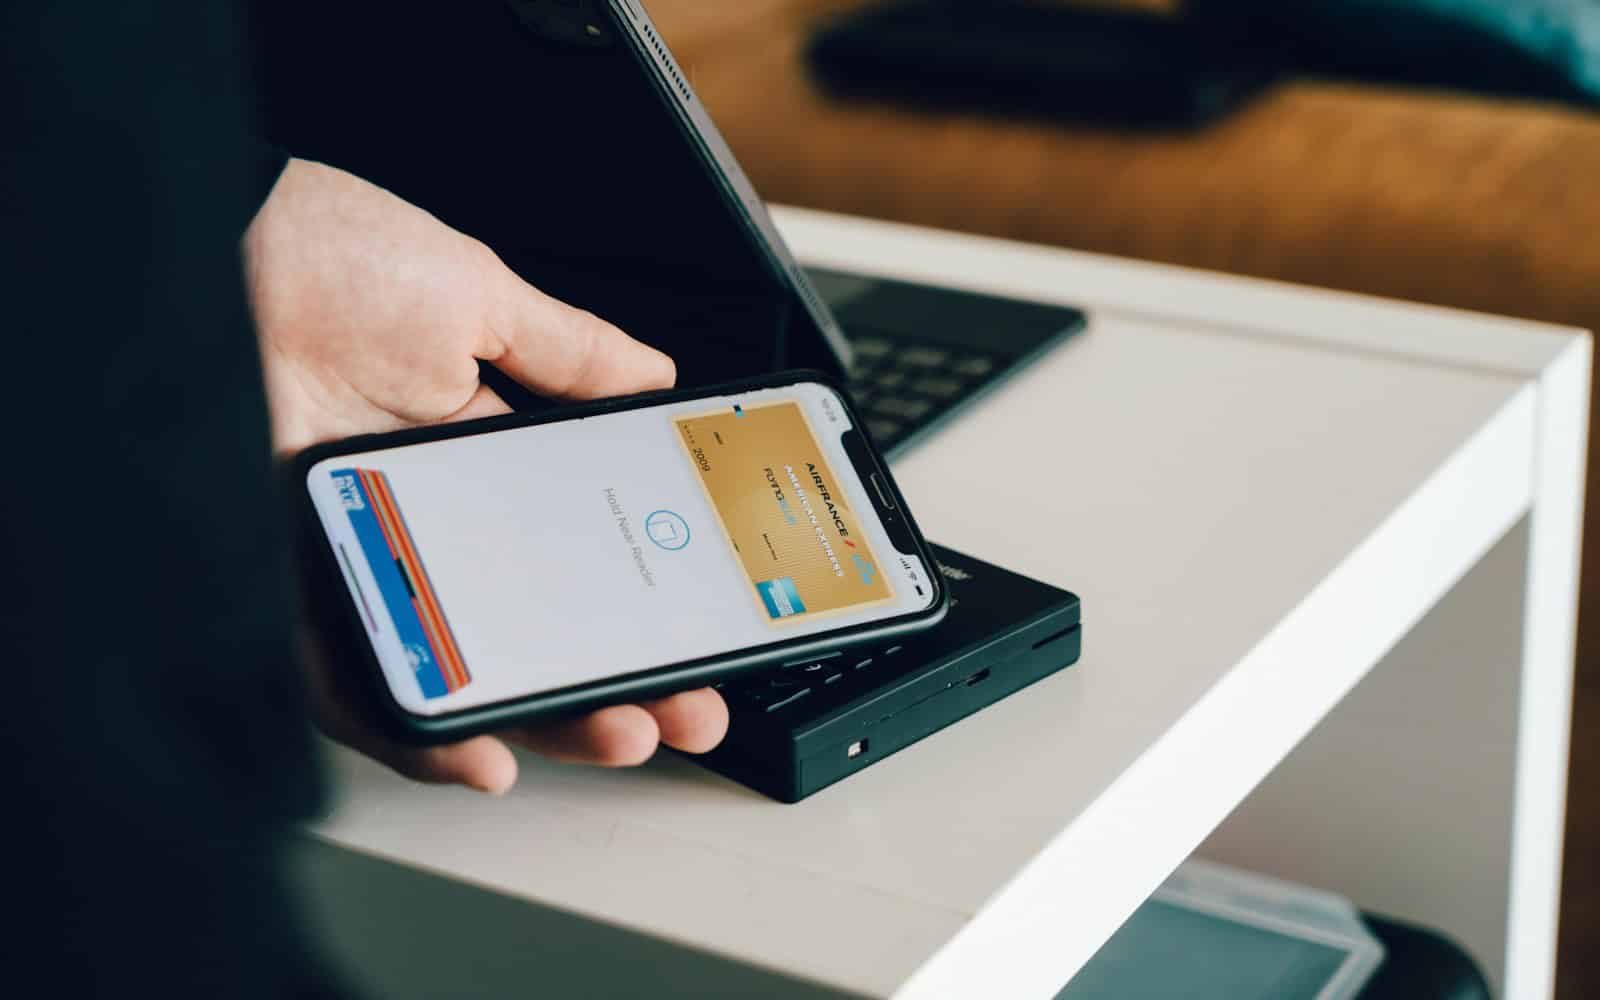
To make a purchase, simply hold your iPhone near the payment device with your finger on Touch ID. If you have an iPhone with Face ID, double-click the side button and look at your screen.
Your default card will appear on screen. Want to use a different card? Just tap the card shown and pick another one.
Compatible Devices:
- iPhone with Face ID
- iPhone with Touch ID
- Apple Watch
When the payment goes through, you’ll feel a gentle tap and see “Done” with a checkmark on your screen. No need to show ID or sign anything!
Many major retailers accept Apple Pay at their Point of Sale terminals. Look for stores like Target, Walgreens, McDonald’s, and Best Buy.
Apple Pay works at many places you shop daily:
- Grocery stores
- Pharmacies
- Restaurants
- Gas stations
- Retail shops
The system uses special security that keeps your card details private. Stores never see your actual card number, making shopping safer.
You can also use Apple Pay with your Apple Watch. Just double-click the side button and hold the watch near the reader.
For the best experience, make sure your device is updated to the latest iOS version. This ensures all security features work properly when making purchases.
Managing Your Transaction History
Apple Pay makes it easy to keep track of your spending. Checking your transaction history helps you stay on top of your finances.
To view your Apple Pay transactions, open the Wallet app on your iPhone. Tap any card to see a list of your recent payments. For more details about a specific purchase, simply tap on that transaction.
If you use Apple Cash, you can check those transactions too. Go to Settings > Wallet & Apple Pay, then tap your Apple Cash card and select the Transactions tab.
Apple Pay keeps your transaction history private and secure. Your full card number isn’t stored on your device or Apple’s servers. Instead, a unique code is used for each transaction.
You can also spot unusual activity by checking your history regularly. This adds an extra layer of security to your Apple Pay experience.
Having trouble with a purchase? Tap on any transaction to report an issue. Apple makes it simple to dispute charges you don’t recognize.
Transaction history helps you:
- Track spending habits
- Spot unauthorized charges
- Keep receipts organized
- Monitor recurring payments
Apple automatically organizes your transaction data by date and merchant. This makes finding specific purchases quick and easy.
Remember that your transaction history is kept private. Apple’s strong encryption helps protect your financial information from unauthorized access.
Frequently Asked Questions
Apple Pay lets you send and receive money quickly through your iPhone or iPad. You can use credit cards, debit cards, or Apple Cash for person-to-person payments.
What are the steps to send money using Apple Pay on an iPhone?
Sending money with Apple Pay is simple. First, open the Messages app and start a new conversation or tap an existing one.
Then tap the Apple Cash button and enter the amount you want to send. You can add a message if you wish.
Finally, review the payment details and confirm with Face ID, Touch ID, or your passcode to complete the transaction.
How can one receive money through Apple Pay?
When someone sends you money, it appears as a message in your conversation. Tap “Accept” to receive the funds.
The money goes directly to your Apple Cash card. You can use this balance for future Apple Pay purchases or transfer it to your bank account.
If you haven’t set up Apple Cash yet, you’ll be prompted to do so when receiving your first payment.
What is the procedure to set up Apple Cash on an iOS device?
To set up Apple Cash, go to Settings on your iPhone and tap “Wallet & Apple Pay.” Select “Apple Cash” and follow the on-screen instructions.
You’ll need to verify your identity with basic personal information. This usually takes just a few minutes.
Once verified, your Apple Cash card will appear in your Wallet app and be ready to use for sending or receiving money.
How does one use a credit card to send money via Apple Pay?
To use a credit card with Apple Pay, first add it to your Wallet app. Go to Settings, then “Wallet & Apple Pay,” and tap “Add Card.”
When sending money, your default payment method will be used. To change it, tap the “>” button during the payment process and select your preferred card.
Note that some banks may charge a fee when using credit cards for person-to-person payments through Apple Pay.
How can I acquire an Apple Cash card?
The Apple Cash card is automatically created when you set up Apple Cash. It’s a virtual card that lives in your Wallet app.
To get started, open the Wallet app and tap the “+” button. Select “Apple Cash” and follow the setup instructions.
There’s no application process or credit check required for Apple Cash, making it accessible to most Apple users.
What is the process for transferring Apple Cash to another individual?
To transfer Apple Cash to someone else, open the Wallet app on your iPhone and tap your Apple Cash card.
Tap “Send” or “Request,” then select or add the person you want to send money to. Enter the amount and tap “Next.”
Review the details and authorize the payment with Face ID, Touch ID, or your passcode. The recipient will get a notification when the money arrives.


