When a partition is greyed out in Disk Utility on a Mac, users may feel stuck. Disk Utility is a powerful Mac tool used for managing partitions and storage devices. However, issues can arise, such as a partition being unresponsive or appearing greyed out. This can happen for several reasons such as the drive being in use by another process or a malfunction in the file system. Understanding why these issues occur is key to determining the appropriate steps to take for resolution.
Troubleshooting a greyed out partition involves a series of systematic checks and actions. Users may need to first ensure their Mac is not currently using the partition. This can include quitting applications that may be accessing the disk. If necessary, one might need to restart the Mac and try to access the partition again through Disk Utility. It is essential to handle these situations with care to prevent data loss and further complications.
Troubleshooting Greyed Out Partition Options in Disk Utility
Disk Utility is a handy built-in tool on your Mac for managing drives and volumes. However, you might run into a situation where the “Partition” option is greyed out. This can be frustrating, but don’t fret! There are several common reasons and solutions for this issue.
Common Reasons for a Greyed Out Partition Button
- You’ve Selected a Volume, Not a Disk: Disk Utility works at two levels: the physical disk and its volumes (like “Macintosh HD”). You need to select the disk itself to see partitioning options. Look for the disk in the sidebar, usually with the manufacturer’s name and storage capacity.
- Time Machine Backup Disk: If the disk is used for Time Machine backups, partitioning is disabled to protect the backup integrity. You’ll need to stop using it for Time Machine or choose another disk for backups.
- MBR Partition Table: Older drives might use the Master Boot Record (MBR) partitioning scheme, which Disk Utility doesn’t fully support for partitioning. You’ll need to erase the drive and reformat it with the GUID Partition Map (GPT) scheme.
Troubleshooting Steps
- Check Your Selection: Double-check that you’ve selected the disk and not a volume within it. The disk will be listed at the top of the sidebar, while volumes are indented underneath.
- Disable Time Machine: If the disk is used for Time Machine backups, open Time Machine preferences and disable backups. You can also choose a different backup disk.
- Reformat with GPT: If the disk uses the MBR scheme, you’ll need to erase and reformat it. Be sure to back up any important data first! In Disk Utility, select the disk, click “Erase,” choose “GUID Partition Map” as the scheme, and select a file system (APFS is recommended for newer Macs).
Troubleshooting Table
| Issue | Solution |
|---|---|
| Selected a volume instead of a disk | Select the disk in the sidebar. |
| Disk used for Time Machine backups | Disable Time Machine backups or choose a different disk. |
| Disk uses MBR partition table | Erase and reformat with GUID Partition Map scheme. |
If you’re still facing issues after trying these steps, you might need to use Terminal commands or seek help from Apple Support. Remember, partitioning a disk can lead to data loss, so always back up important files beforehand!
Key Takeaways
- Disk Utility on Mac can sometimes show a partition as greyed out.
- Identifying the cause is crucial for resolving partition accessibility issues.
- Methodical troubleshooting can restore access to greyed out partitions.
Understanding Partition Issues on Mac
When partitions on a Mac are greyed out in Disk Utility, it indicates an issue accessing certain disk management functions.
Common Causes for Greyed-Out Partitions
Several factors may cause a partition to appear greyed out in Disk Utility. One common cause is the disk not being mounted properly. To fix this, users may need to mount the partition manually. For internal drives, this is straightforward, but for external hard drives or USB drives, users need to check their connection and power supply.
Another common issue stems from the drive’s partition map. If the disk uses an MBR (Master Boot Record) rather than a GUID Partition Map, it may not be fully compatible with Mac systems. This incompatibility can lead to greyed-out partitions.
Partition Map Types and Compatibility
Mac systems work best with GUID Partition Maps which are optimized for Intel-based computers. This map type is required for booting macOS and fully supports all features in Disk Utility. On the other hand, MBR is often used for drives intended for older Windows systems and might only work partially with Mac, often leading to partition options being greyed out.
The type of the partition map has a significant impact on the performance, and it is essential to ensure that the disk uses a GUID Partition Map for optimal compatibility with Mac systems.
File Systems and Greyed-Out Partitions
The file system of a volume can also cause greyed-out partitions. Mac OS Extended (Journaled), also known as HFS+, is the preferred file system for Macs. External drives formatted with FAT32 or exFAT may work with Macs, but NTFS drives, typically used in Windows systems, are read-only on Macs. This results in a greyed-out Partition option because macOS cannot write to NTFS without the help of third-party software. To resolve this, users may have to format their hard disk to a file system that is compatible with macOS, like exFAT for sharing between Windows and Mac systems or Mac OS Extended for use solely with Mac.
Troubleshooting and Resolving Partition Problems
Facing a partition that is grayed out in Disk Utility can be bothersome. Rest assured, there are several methods to repair the issue on a Mac. These range from the straightforward use of built-in repair tools to more advanced solutions using command-line operations.
Using Disk Utility’s First Aid for Repair
When partitions are unavailable, First Aid in Disk Utility is the first tool to use. It can fix many disk problems. To start, launch Disk Utility and select the grayed-out partition or drive. Then click First Aid and Run. This process will check and repair errors in the file system that could cause the partition to be grayed out.
Repartitioning and Formatting Solutions
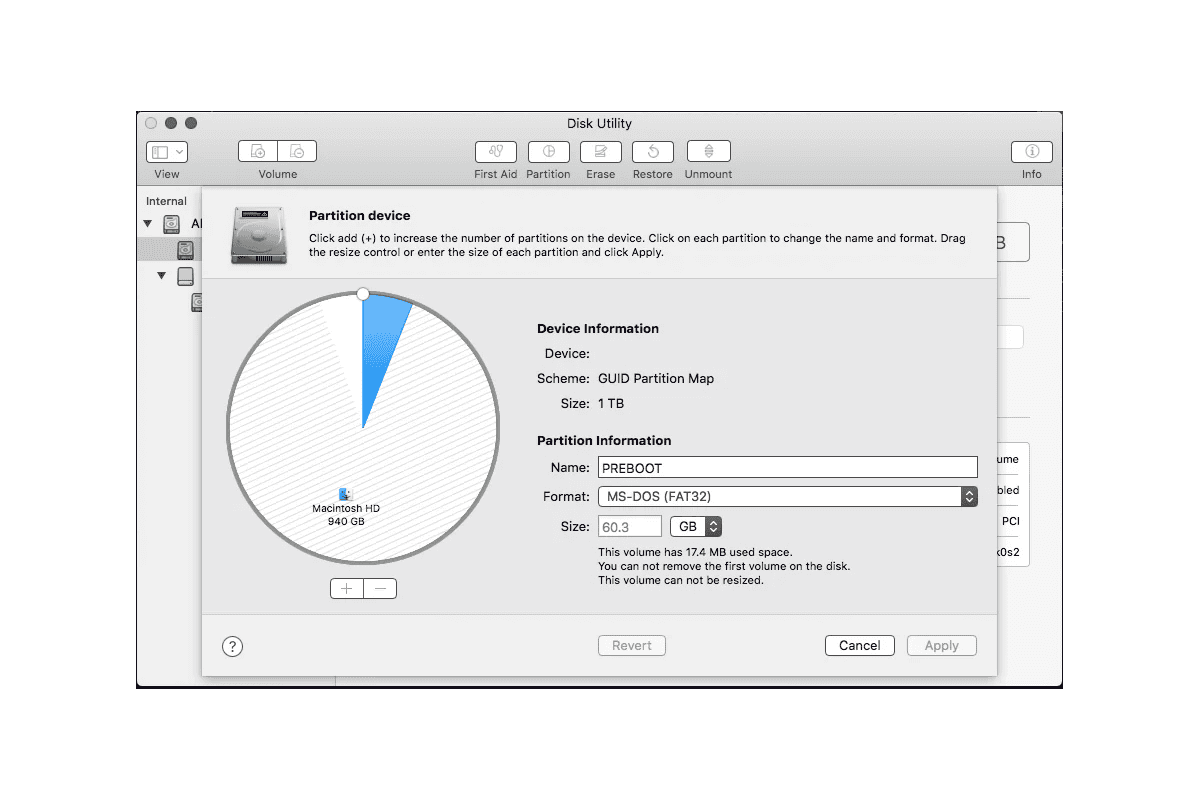
If First Aid does not resolve the issue, repartitioning the drive may be necessary. Repartitioning deletes all data, so back up important files first. To repartition, select the drive in Disk Utility and choose Partition. Click the + button to create a new partition. Set the required size and click Apply. If repartitioning is not possible, attempt to erase the disk which will allow you to create a fresh partition map. Use Erase and select the right format for your needs, like APFS for newer macOS versions or Mac OS Extended (Journaled) for older ones.
Advanced Solutions with Terminal and Diskutil
For more complex issues, Terminal and the command diskutil may help. To start, open Terminal, and if necessary, unmount the drive with diskutil unmountDisk /dev/diskX (replace ‘X’ with the disk identifier). Then, you can repair the disk using diskutil repairDisk /dev/diskX or resize a partition with diskutil resizeVolume /dev/diskXsY size. Be cautious with these commands as they can lead to data loss. If comfortable with Terminal, these advanced steps can sometimes resolve issues that Disk Utility’s graphical interface cannot.


