Connecting to WiFi on your Mac is a simple process that takes just a few clicks. Whether you have a new MacBook or an older Mac desktop, getting online is essential for work, entertainment, and staying in touch with others. To connect to WiFi on a Mac, click the WiFi icon in the menu bar at the top of your screen, select your network, and enter the password when prompted.
Many Mac users don’t realize how easy it is to manage their wireless connections. Your Mac automatically remembers networks you’ve connected to before, making it simple to get online at your favorite places. If you’re having trouble connecting, there are quick fixes that can help you solve common WiFi problems without calling tech support.
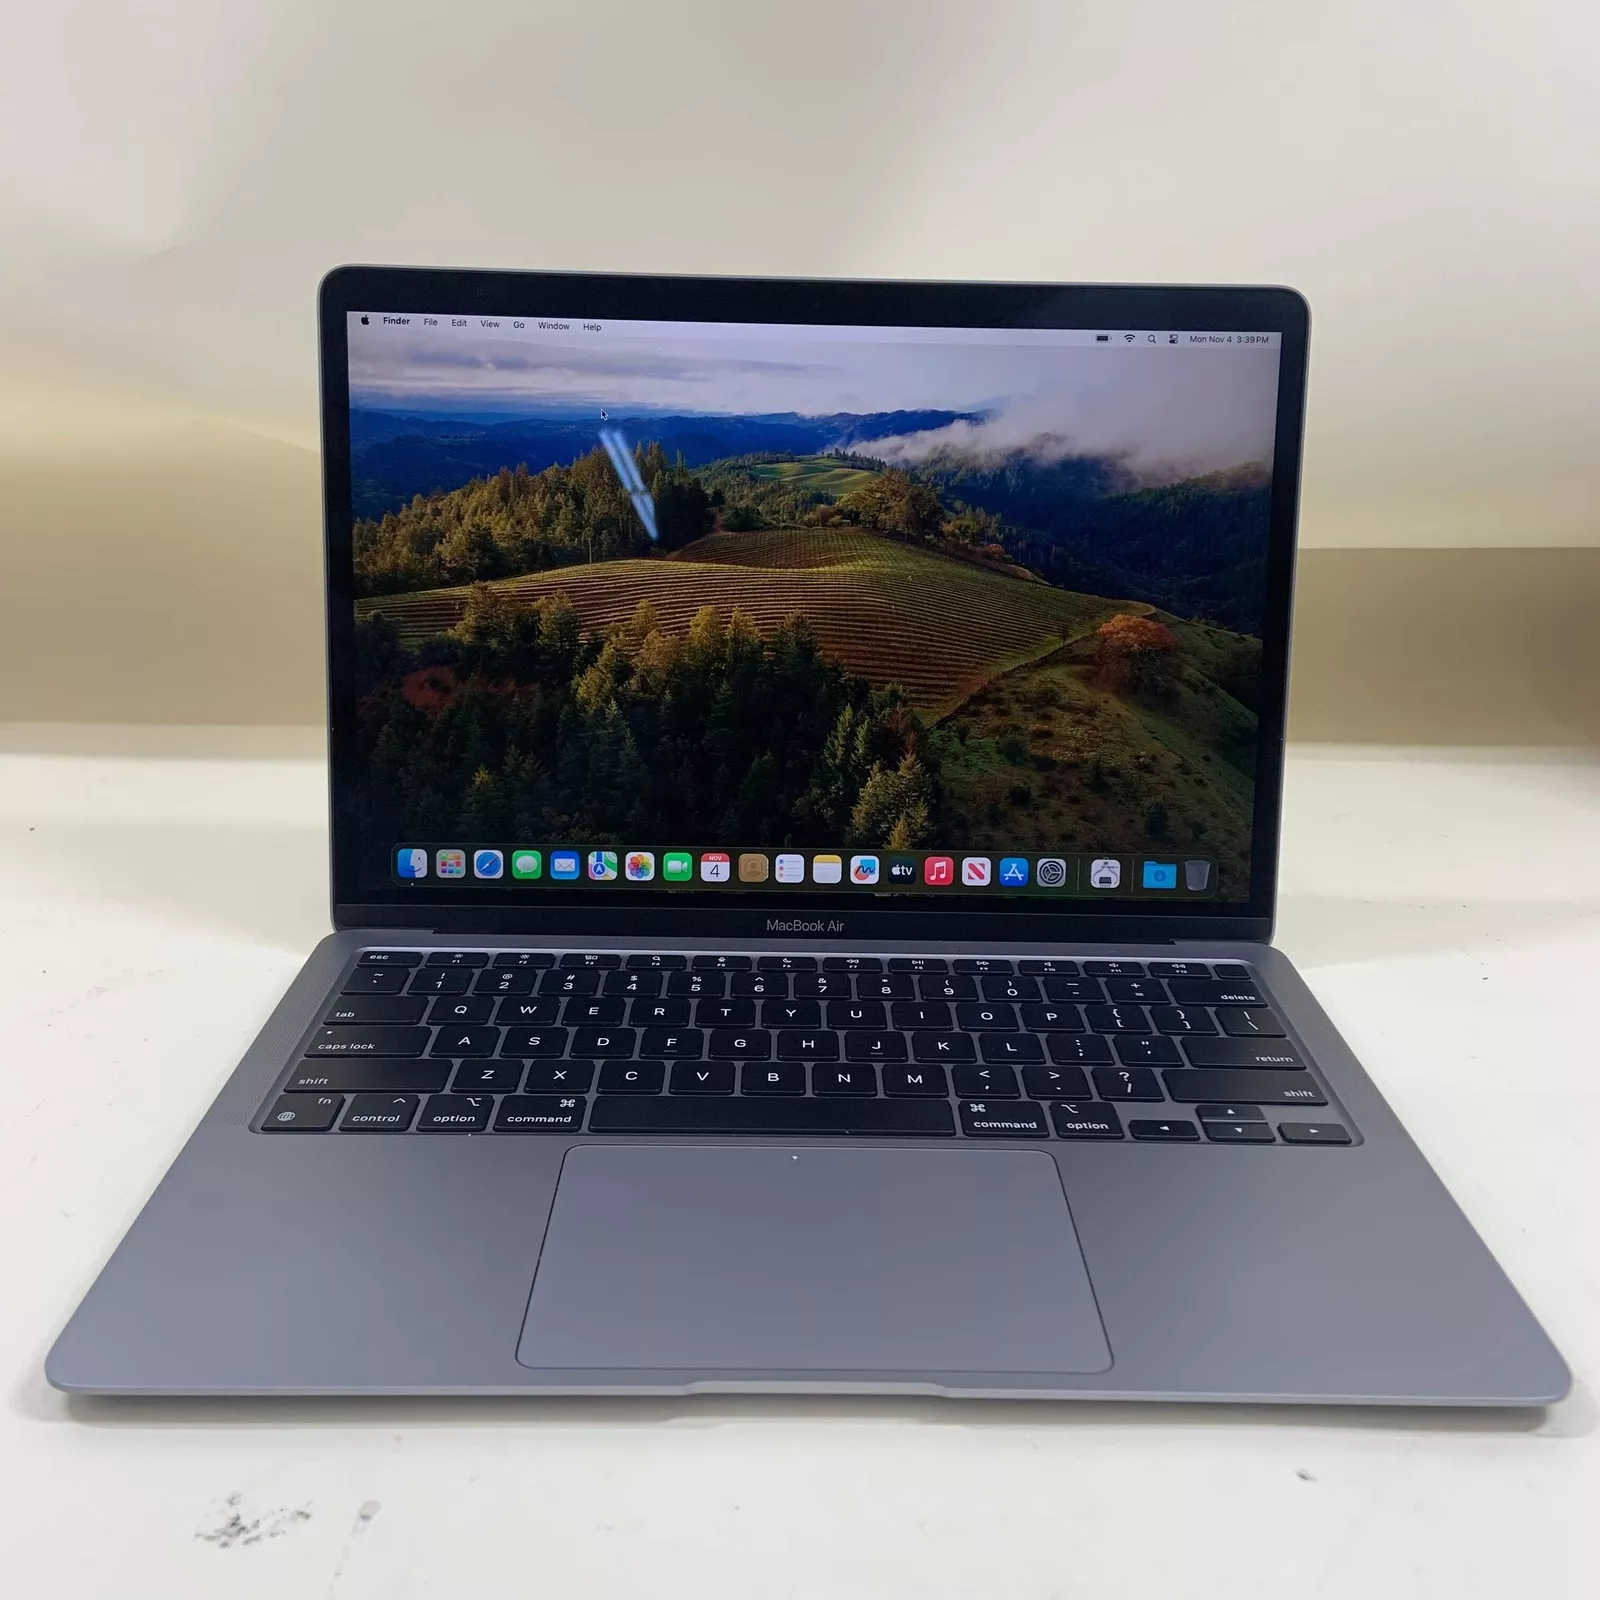
How To Connect To Wi-Fi On MacBook Or Mac
Connecting your MacBook or Mac to Wi-Fi is a quick and simple process, whether you’re using macOS Ventura, Sonoma, or an earlier version. Here’s a step-by-step guide to help you get online in seconds.
1. Open System Settings (or System Preferences)
Depending on your macOS version:
- On macOS Ventura or later, click the Apple menu > System Settings.
- On macOS Monterey or earlier, click System Preferences.
2. Go to the Wi-Fi Section
- In System Settings, scroll down and click Wi-Fi in the left-hand menu.
- In System Preferences, click the Network icon, then select Wi-Fi from the list on the left.
3. Turn On Wi-Fi
- If Wi-Fi is off, click the toggle switch to turn it on.
- On older systems, check the box that says Turn Wi-Fi On.
You’ll now see a list of available wireless networks.
4. Choose Your Network
- Find your Wi-Fi network name (SSID) from the list and click on it.
- If it’s a hidden network, click Other… and enter the network name manually.
5. Enter the Wi-Fi Password
- If the network is password-protected, a prompt will appear.
- Enter the password and click Join.
Once you’re connected, a Wi-Fi symbol will appear in your menu bar.
6. Optional: Set Network to Auto-Join
macOS usually remembers the network and auto-connects next time. To make sure:
- In System Settings, click on the network name > Auto-Join toggle.
- In System Preferences, click Advanced, then check the box next to the network under Preferred Networks.
7. Troubleshooting Connection Issues
If your Mac won’t connect:
- Restart your router and Mac.
- Forget the network and reconnect by clicking Wi-Fi Options > Forget This Network.
- Check the date/time settings — wrong system time can block connection.
- Try resetting network settings with System Settings > General > Transfer or Reset > Reset Network Settings (available in newer versions).
Now your Mac should be online and ready to browse, stream, or work. Let me know if you need help with hotspot setups or fixing a slow connection.
Key Takeaways
- Click the WiFi icon in the menu bar, choose your network, and enter the password to connect to WiFi on any Mac
- For connection problems, try turning WiFi off and on or removing and re-adding your network
- Macs with no WiFi option can use an Ethernet cable for a fast, reliable wired internet connection
Understanding WiFi Connectivity on Mac
WiFi technology allows Mac computers to connect to wireless networks easily. Apple has integrated robust wireless capabilities into their operating systems from Mac OS X through the latest macOS versions.
WiFi Technology Basics
WiFi lets your Mac connect to the internet without cables. It works by sending data through radio waves between your computer and a router. Most modern routers support different WiFi standards like 802.11ac or 802.11ax (WiFi 6), offering various speeds and ranges.
Your Mac has a built-in wireless card that catches these signals. When you connect to WiFi on your MacBook, your computer scans for available networks nearby.
WiFi networks come in two main types:
- Open networks: Anyone can join without a password
- Secure networks: Require passwords and use encryption (WPA2/WPA3)
Signal strength affects your connection quality. The closer you are to the router, the stronger your connection will be. Walls and other obstacles can weaken the signal.
Mac OS X and macOS Monterey
Apple’s approach to WiFi has evolved significantly from Mac OS X to recent versions like macOS Monterey. The WiFi menu has become more user-friendly with each update.
In older Mac OS X versions, users accessed WiFi through the AirPort menu. Modern macOS versions show a WiFi icon in the menu bar at the top of the screen. Click this icon to see and join available networks.
macOS Monterey introduced advanced features like:
- Private WiFi addresses for better security
- Improved handoff between Apple devices
- Smart network switching
To adjust WiFi settings on modern Macs, choose Apple menu > System Settings, then click WiFi in the sidebar. This menu lets you turn WiFi on/off, join networks automatically, and create network profiles.
Initial Setup for Connecting to WiFi
When you first start your Mac, connecting to WiFi is essential for internet access. This process involves turning on your WiFi capability and navigating through your system’s network settings.
Turning on WiFi on MacBook
On a new Mac, WiFi should be on by default. Look for the WiFi icon in the menu bar at the top right of your screen. If you don’t see it, you can turn it on quickly.
Click on the Apple menu in the top left corner, then select “System Preferences.”
Next, click on “Network.” In the list on the left side, select “WiFi” and click the “Turn WiFi On” button if it’s not already on.
During the initial setup of a new Mac, you’ll be asked to choose a WiFi network and enter your password. This happens before you complete your first login.
If your keyboard isn’t working yet, you can use the on-screen keyboard or connect a wired keyboard temporarily.
Navigating Network Preferences
The Network preferences panel is your control center for all WiFi connections on Mac.
To get there, click the Apple menu > System Preferences > Network. Select “WiFi” from the left sidebar.
Here you’ll see several important options:
- Network Name: Shows available WiFi networks
- Automatically join this network: Checkbox for auto-connection
- Show WiFi status in menu bar: Keeps the WiFi icon visible
- Advanced: Contains more detailed settings
If you need to connect to a specific network, click on its name from the dropdown list and enter the password when prompted.
For more control, click the “Advanced” button to manage preferred networks, set up custom DNS, and configure other network settings.
Connecting to a WiFi Network
Connecting your Mac to WiFi is simple and takes just a few clicks. Getting online allows you to browse the web, check email, and use online services.
Selecting the Correct Network
To connect your MacBook or Mac desktop to WiFi, first look at the menu bar at the top of your screen. Click on the WiFi icon, which looks like a series of curved lines. This opens a dropdown menu showing all available networks in your area.
If you don’t see the WiFi icon, you can also open System Preferences by clicking the Apple menu and selecting “System Preferences.” Then click on “Network” and select “Wi-Fi” from the left sidebar.
The list shows all nearby networks. Look for your home or office network name (SSID). Networks with a lock icon require a password. If you’re in a public place, you might see multiple networks.
Some networks may appear with full signal strength (more bars) while others show weaker signals. Choose a strong signal when possible for better performance.
Inputting Password for Access
After clicking on your chosen network, a password prompt will appear if the network is secured. Type the correct password carefully, paying attention to uppercase and lowercase letters.
Passwords are case-sensitive, so “Password123” is different from “password123”. If you’re not sure about your password, check with your network administrator or look for it on your router.
For home networks, the default password is often printed on your router or modem. You can check the “Show password” box to see what you’re typing and avoid mistakes.
The “Remember this network” option is usually checked by default. This saves your password so you won’t need to enter it again when you return to this location.
Click “Join” after entering the password. Your Mac will attempt to connect, and the WiFi icon in the menu bar will animate until connection is complete.
Advanced Network Settings
Mac computers offer several advanced network options that can improve your internet experience. These settings help solve connection issues and optimize how your Mac interacts with networks.
Configuring DNS Settings
DNS settings control how your Mac translates website names into IP addresses. You can change these settings to improve browsing speed or security.
To access DNS settings on your Mac, open System Settings and click Network in the sidebar. Select Wi-Fi or Ethernet, then click the “Advanced” button.
Click the “DNS” tab to view your current settings. Here you can add custom DNS servers by clicking the “+” button under the DNS Servers list. Popular options include:
- Google DNS: 8.8.8.8 and 8.8.4.4
- Cloudflare: 1.1.1.1 and 1.0.0.1
Using custom DNS servers can make web browsing faster and more reliable. They can also help bypass certain regional restrictions.
Remember to click “OK” and then “Apply” to save your changes.
Setting the Correct Time Zone
The right time zone setting is crucial for network functions. Wrong time settings can cause problems with secure websites, email, and other online services.
To check your Mac’s time zone, go to Apple menu > System Settings. Click “General” in the sidebar, then select “Date & Time.”
Make sure “Set time zone automatically using current location” is enabled. This uses your network location to set the correct time zone.
If you prefer to set it manually, uncheck this option and click the map to select your location. You can also choose your time zone from the dropdown menu.
Accurate time settings ensure proper certificate validation for secure websites. This prevents security warnings and connection errors.
Renewing DHCP Lease
DHCP lease renewal helps fix connection problems by getting a fresh IP address from your router. This often solves issues when your Mac won’t connect to Wi-Fi.
To renew your DHCP lease, open System Settings and select Network from the sidebar. Click on Wi-Fi, then click the “Advanced” button.
Select the “TCP/IP” tab. Look for the “Renew DHCP Lease” button and click it. This requests a new IP address from your router.
For more stubborn connection issues, try these steps:
- Click the “−” button next to your problem network
- Click “Apply”
- Click the “+” button to add it back
- Reconnect to your Wi-Fi network
This process is particularly useful when you’ve moved to a new location or when your router has been recently restarted.
Troubleshooting WiFi Issues
When your Mac won’t connect to WiFi, several common problems might be to blame. These issues range from incorrect network settings to hardware problems, but most can be fixed with some simple troubleshooting steps.
Verifying IP Address Configuration
IP address issues often cause WiFi connection problems on Macs. To check your IP settings:
- Click the Apple menu and select System Preferences (or System Settings in newer macOS)
- Choose Network and select WiFi
- Click the Advanced button
- Select the TCP/IP tab
Look for your IP address. If it starts with 169.254.x.x, your Mac couldn’t get a proper address from the router. Try clicking the Renew DHCP Lease button to request a new IP address.
Sometimes manually setting your IP can help. Ask your network administrator for the correct settings if you’re on a business network. For home networks, try resetting your DHCP settings by clicking “Renew DHCP Lease” in the Advanced settings.
Checking Router and Modem
Router problems often cause WiFi issues that affect all devices, not just your Mac.
First, check if other devices can connect. If they can’t, the router may need attention.
Try these steps:
- Restart your router and modem by unplugging them for 30 seconds
- Make sure your Mac is within good range of the router
- Check if there are too many devices connected to your network
Router settings matter too. Log into your router (usually by typing 192.168.0.1 or 192.168.1.1 in a browser) and check that:
- MAC filtering isn’t blocking your device
- The WiFi channel isn’t congested
- Your router firmware is updated
Sometimes older routers struggle with newer Macs. If possible, test connecting to a different WiFi network to rule out Mac-specific issues.
Using Wireless Diagnostics Tool
Apple includes a powerful Wireless Diagnostics tool that can identify and fix many WiFi problems.
To open this tool:
- Hold down the Option key and click the WiFi icon in the menu bar
- Select Open Wireless Diagnostics
- Follow the on-screen instructions
The tool will run several tests and suggest fixes. It checks for:
- Signal strength issues
- Channel conflicts
- Router configuration problems
- Hardware malfunctions
The Performance section shows real-time data about your connection. Pay attention to the Signal Quality and Noise readings—good signal should be above -70 dBm, and noise below -75 dBm.
Wireless Diagnostics also offers helpful logs you can save and share with technical support if needed. These logs provide detailed information that can help identify complex problems.
WiFi Keeps Disconnecting on MacBook
If your MacBook connects but keeps dropping the connection, several specific issues might be at play.
Power management settings can cause disconnections. To fix this:
- Go to System Preferences > Energy Saver
- Uncheck “Put hard disks to sleep when possible”
- Adjust other power settings that might be affecting WiFi
Interference from other devices often causes random disconnections. Move away from:
- Microwave ovens
- Cordless phones
- Bluetooth devices
- USB 3.0 hard drives
Try creating a new network location to reset network settings:
- Go to System Preferences > Network
- Click the Location dropdown
- Select “Edit Locations”
- Create a new location and try connecting again
If your WiFi still keeps disconnecting, try removing and re-adding your WiFi network from your preferred networks list. This often fixes stubborn connection issues.
Wired Alternatives to WiFi
While WiFi is convenient, wired connections offer more stability and often faster speeds for your Mac. These options can be especially useful when you need reliable internet for important tasks.
Connecting to the Internet with Ethernet
To connect your Mac to the internet using a wired connection, you’ll need an Ethernet cable and access to an Ethernet port. Many newer MacBook models don’t include Ethernet ports, so you might need an adapter.
Simply plug one end of the Ethernet cable into your Mac (or adapter) and the other end into your router or wall outlet. Your Mac should detect the connection automatically.
Wired connections offer several benefits:
- Faster speeds than most WiFi connections
- More stable connection with less interference
- Better security as the signal doesn’t broadcast wirelessly
You can check if your Ethernet connection is working by looking at the Network preferences. Click the Apple menu, select System Preferences, then Network. The Ethernet connection should show as “Connected” with a green indicator.
For MacBooks that lack an Ethernet port, you can share internet from other devices through USB or Thunderbolt. This creates a local network connection that bypasses WiFi completely.
Frequent Updates and Software Maintenance
Keeping your Mac’s software up to date is crucial for maintaining a stable WiFi connection. Regular updates fix bugs that may affect your network performance and add new features to improve connectivity.
Checking for macOS Software Updates
To check for software updates on your Mac, click the Apple icon in the top-left corner of your screen. Select “System Settings” (or “System Preferences” on older macOS versions) from the dropdown menu.
In the settings window, scroll down and click Network to check your connection status before updating. Then go back and select “General” followed by “Software Update.”
Your Mac will automatically check for available updates. If updates are found, click “Update Now” or “Upgrade Now” to install them.
If you see a message saying you’re not connected to the internet, try creating a new network location. Go to System Settings > Network > Location > Edit Locations and create a new one.
Set your Mac to update automatically by checking the box that says “Automatically keep my Mac up to date.” This ensures you never miss important updates that could fix WiFi connectivity issues.
Synchronizing with Other Devices
Mac computers work seamlessly with other Apple devices, allowing you to share internet connections and sync data between them. This feature is especially useful when you’re on the go or when your primary Wi-Fi connection isn’t available.
Connecting to iPhone’s Personal Hotspot
Your iPhone can share its internet connection with your Mac through a feature called Personal Hotspot. This turns your iPhone into a portable Wi-Fi hotspot.
To connect your Mac to your iPhone’s hotspot:
- On your iPhone, go to Settings > Personal Hotspot and toggle it on
- Make sure Wi-Fi and Bluetooth are enabled on both devices
- On your Mac, click the Wi-Fi icon in the menu bar
- Look for your iPhone in the list of available networks
- Click on your iPhone’s name to connect
If both devices use the same Apple ID, the connection is even easier. Your iPhone will automatically appear in the Wi-Fi menu on your Mac, even when Personal Hotspot isn’t active on the phone.
For a more stable connection, you can also connect your iPhone to your Mac using a USB cable. This method uses less battery power and provides a more reliable connection.
Remember that using Personal Hotspot will count against your mobile data plan. Keep an eye on your usage to avoid unexpected charges from your internet service provider.
Optimizing MacBook Air WiFi Performance
Is your MacBook Air having WiFi issues? Many users face problems with slow connections or their WiFi keeps disconnecting on their MacBook. Let’s fix that!
Check Your Router Settings
Make sure your router uses these recommended settings for best security and performance:
- WPA3 or WPA2 security
- 5GHz band when possible
- Unique channel settings
- Latest firmware
Position Matters
The placement of your MacBook and router can make a big difference. Keep them away from walls, metal objects, and other electronics.
Try to place your router higher up and in a central location. This helps the signal reach your MacBook Air better.
Fix Speed Issues
If your internet connection seems slow, try these quick fixes:
- Restart your router and MacBook Air
- Update your macOS to the latest version
- Reset your network settings
- Turn WiFi off and on again
Advanced Tweaks
You can improve WiFi speed by checking which band you’re on. Alt+click the WiFi icon in the menu bar to see your connection details.
For best results, connect to the 5GHz band rather than 2.4GHz when you’re close to your router.
Remove Network Clutter
Delete old networks you no longer use. Go to System Preferences > Network > Advanced and remove unused networks from the list.
Frequently Asked Questions
Mac users often face common issues when connecting to WiFi networks. These questions cover basic connection methods, troubleshooting steps, and alternative internet options for both MacBooks and desktop Macs.
What steps are needed to connect a MacBook Air to a WiFi network?
Connecting your MacBook Air to WiFi is simple. Click the WiFi icon in the menu bar at the top right of your screen.
Select your network from the dropdown list that appears. If you don’t see the network you want, wait a few seconds as your Mac scans for networks.
When prompted, enter the password for the network. Check the box that says “Remember this network” if you want to connect automatically in the future. Click Join to complete the connection process.
How can I troubleshoot my Mac not connecting to my WiFi?
If your Mac won’t connect to WiFi, try turning WiFi off and on again. Click the WiFi icon in the menu bar and toggle it off, wait 10 seconds, then turn it back on.
Restart your Mac, as this often fixes connection problems. Also check your date and time settings as incorrect settings can prevent connections.
Try opening Network Preferences by clicking on the WiFi icon while holding the Option key. This shows more network details and options.
Remove the network from your saved networks list and reconnect. Go to System Settings > Network > WiFi > Advanced, find the network, and click the minus sign to remove it.
Check for macOS updates as outdated software can cause WiFi problems. Also restart your WiFi router by unplugging it for 30 seconds.
What are the methods for connecting a Mac desktop to WiFi?
Mac desktop computers like iMacs and Mac minis can connect to WiFi through the built-in wireless card. Click the WiFi icon in the menu bar and select your network.
For older Mac desktops without built-in WiFi, you can use a USB WiFi adapter. Plug it in, install any required drivers, and then connect through the WiFi menu.
The most reliable option for desktops is using Ethernet if possible. Connect an Ethernet cable from your router directly to your Mac for a faster, more stable connection.
How do I find and use the WiFi icon on my Mac to connect to the internet?
The WiFi icon appears in the menu bar at the top right of your screen. It looks like a fan or wedge with curved lines.
If you don’t see the WiFi icon, go to System Settings > Network and make sure WiFi is turned on. You can also check “Show in menu bar” to make the icon visible.
To use the icon, simply click on it to see available networks. Open Wireless Diagnostics by holding the Option key while clicking the WiFi icon if you need to troubleshoot connection issues.
Is it possible to connect to WiFi on a Mac before logging in to the system?
Yes, Macs can connect to WiFi before you log in if the network was previously connected. Your Mac remembers networks you’ve joined before.
For new networks, you’ll need to log in first. After logging in once and connecting to WiFi, your Mac will automatically connect to that network in the future, even at the login screen.
This feature helps with network-based recovery options and using internet recovery to reinstall macOS if needed.
What alternatives do I have for getting internet on my MacBook if WiFi is not available?
You can use your iPhone or iPad as a Personal Hotspot to share its cellular data connection. Enable Personal Hotspot in your iPhone’s settings, then connect to it from your Mac like any other WiFi network.
USB tethering is another option. Connect your phone to your Mac with a USB cable and enable tethering in your phone’s settings for a faster, more stable connection than WiFi hotspot.
Public WiFi at libraries, coffee shops, and other businesses offers free internet access. Many hotels and airports also provide WiFi for travelers.
Ethernet adapters work well for MacBooks without Ethernet ports. USB-C or Thunderbolt to Ethernet adapters let you connect directly to a wired network for better speed and reliability.


