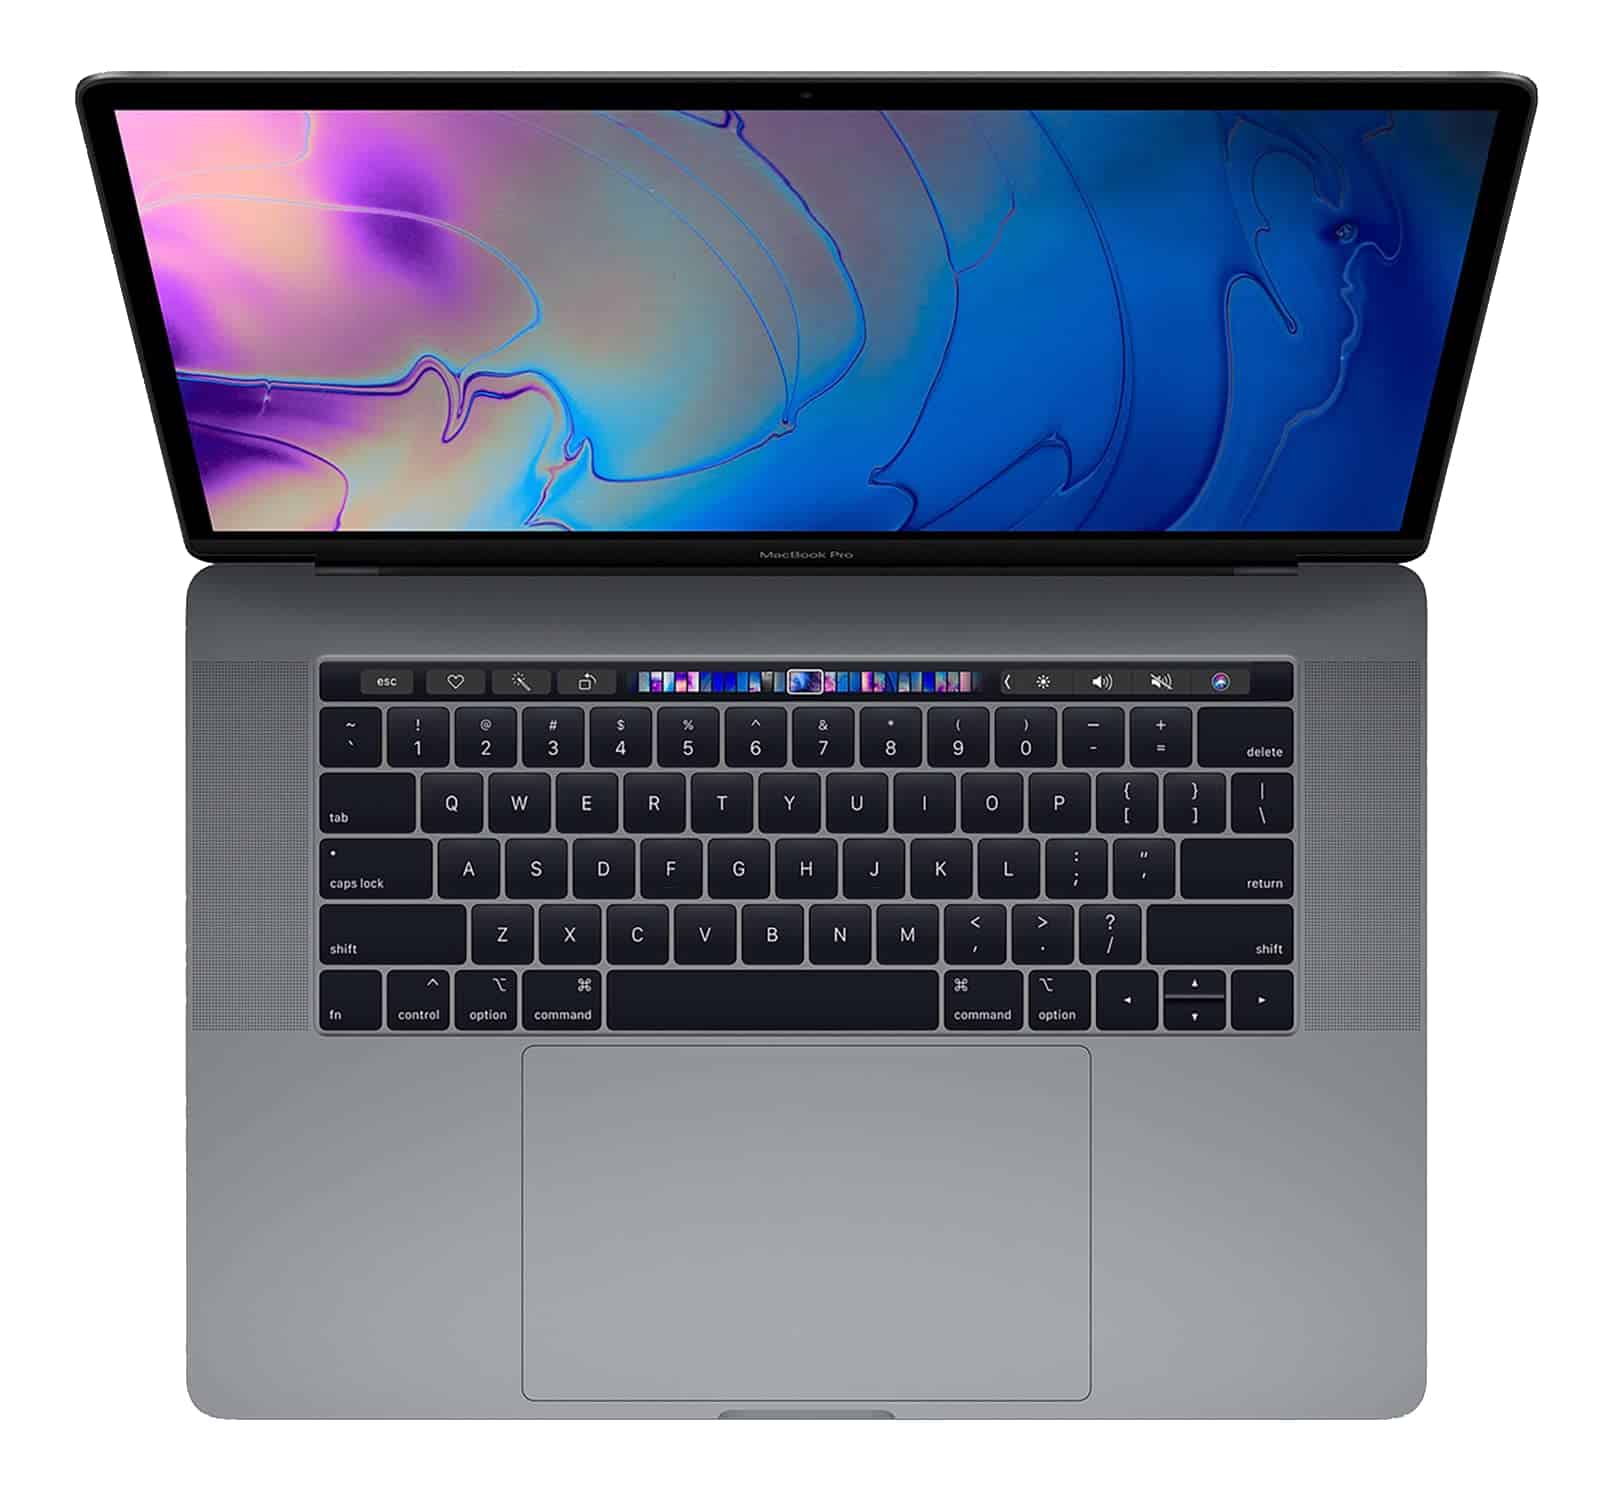
MacBook Pro display issues can be frustrating. A cracked screen or dead pixels can disrupt your work and daily life. Replacing a MacBook Pro display is often possible but can be complex and costly.
You have options when facing a damaged MacBook Pro screen. Apple’s official repair service offers professional repairs with genuine parts. They guarantee their work for 90 days or the remaining warranty period. For older models, third-party repair shops may provide more affordable solutions.
DIY repair is an option for tech-savvy users. iFixit offers guides and replacement parts for various MacBook Pro models. But be careful – some newer models have screens that need Apple’s special configuration tool after replacement. This limits DIY options for recent MacBooks.
| Repair Option | Pros | Cons |
|---|---|---|
| Apple Service | Genuine parts, warranty | Expensive, may take time |
| Third-party | Often cheaper, faster | Quality may vary |
| DIY | Lowest cost, learn skills | Risk of damage, limited for new models |
MacBook Pro Display Replacement
A cracked or malfunctioning display is one of the most common MacBook Pro issues. Whether you dropped your laptop or the screen just gave out, you’ll need to decide between professional repair and a DIY replacement.
💰 1. Cost of MacBook Pro Display Replacement
The cost depends on your MacBook Pro model, warranty status, and where you get it repaired.
Apple Store / Authorized Service
- Out of Warranty:
- 13-inch models: $450–$600
- 14-inch models (M1/M2/M3): $550–$700
- 16-inch models: $650–$850
- AppleCare+: $99 service fee (covers accidental damage).
(Source: Apple Support, TechGearoid)
Third-Party Repair Shops
- Typically 20–40% cheaper than Apple.
- Costs range $300–$600 depending on the model.
- Quality varies—make sure parts are OEM or high-grade replacements.
DIY Replacement
- Replacement screens: $200–$450 (depending on model and supplier).
- Tools: ~$30–$50 (precision screwdrivers, spudger, suction cups).
- Risk: DIY can void warranty and is challenging for newer MacBooks.
🔧 2. DIY MacBook Pro Screen Replacement
⚠️ Difficulty: High. Apple’s Retina displays are tightly integrated, and newer models use laminated glass + display assemblies. If you’re not confident, professional repair is safer.
Tools You’ll Need
- Pentalobe screwdriver (P5)
- Torx screwdriver (T3/T5)
- Plastic spudger
- Suction cups
- Replacement display assembly
Steps (Simplified)
- Power Off & Unplug your MacBook.
- Remove the Bottom Case: Unscrew with a P5 screwdriver.
- Disconnect the Battery: Essential for safety.
- Disconnect Display Cables: Carefully detach display flex cables.
- Remove the Damaged Display: Unscrew hinges and lift the assembly.
- Install the New Display: Align hinges, reconnect flex cables.
- Reconnect Battery & Close Up: Replace the bottom cover and screws.
- Test the Screen: Boot up to ensure everything works.
👉 Full teardown guides with photos are available on iFixit.
🛑 3. Risks of DIY
- Voiding Warranty: Apple won’t cover self-repairs.
- Damage Risk: Flex cables and connectors are fragile.
- No Waterproofing: Apple reseals devices with adhesives you may not replicate.
- Touch ID / True Tone Issues: Some features may not work with non-Apple parts.
🧾 4. When to Choose Which Option
- Apple Store: Best for newer MacBooks, if you want guaranteed parts and warranty protection.
- Third-Party Repair: Good balance of cost and quality, especially for older models.
- DIY: Best for tech-savvy users, out-of-warranty laptops, or when you want to save money.
✅ Key Takeaways
- Apple repair costs $450–$850 without AppleCare+.
- Third-party repair is cheaper but quality varies.
- DIY can save ~$200–$400 but is risky.
- For newer MacBook Pros (M1/M2/M3), professional repair is strongly recommended.
✨ Bottom Line:
Replacing a MacBook Pro display can be expensive, but you have options. If you’re under warranty or AppleCare+, stick with Apple. If not, weigh the savings of a third-party or DIY repair against the risks.
Understanding MacBook Pro Display Replacement
MacBook Pro screen replacement can be necessary due to various issues. The process involves identifying your specific model and assessing the need for a new display.
Identifying Your MacBook Pro Model
To start the screen replacement process, you need to know your MacBook Pro’s exact model. You can find this information by clicking the Apple menu and selecting “About This Mac.” The year and screen size will be displayed.
For more detailed information, look at the serial number on the bottom of your MacBook. You can enter this on Apple’s website to get full specifications.
Newer models like the 16-inch MacBook Pro from 2021 have different repair procedures than older versions. Knowing your model helps ensure you get the right replacement parts and follow the correct steps.
Determining the Need for Screen Replacement
Several signs indicate you might need a new MacBook Pro display:
- Cracked or shattered screen
- Dead pixels or discoloration
- Flickering or distorted image
- Backlight issues
If you’re under AppleCare+ or Apple Limited Warranty, screen replacement might be covered. Check your coverage before proceeding with a repair.
For minor issues, try software fixes first. Update your macOS and reset the PRAM/NVRAM. If problems persist, it’s likely a hardware issue requiring replacement.
Remember, attempting DIY repairs can void your warranty. Consider professional service for complex screen replacements to ensure proper installation and maintain your MacBook Pro’s integrity.
Preparation and Tools Required
Replacing a MacBook Pro display requires specific tools and careful preparation. Safety and proper handling are crucial for a successful repair.
Gathering Necessary Tools
To replace a MacBook Pro display, you’ll need several specialized tools. A P5 Pentalobe driver is essential for removing the lower case screws. You’ll also need a suction handle and opening picks to separate the display from the body.
A spudger helps disconnect delicate cables. T5 Torx drivers may be needed for certain components. Tweezers assist with handling small parts.
Consider purchasing a Pro Tech Toolkit that includes all necessary tools for Mac repairs.
Learning About Replacement Values and Policies
Before starting, check your MacBook Pro’s warranty status. AppleCare+ may cover display replacement if the issue stems from a manufacturing defect.
Research the cost of replacement parts. Genuine Apple parts ensure compatibility but may be pricier. Third-party options exist but may affect features like True Tone functionality.
Consider the value of professional repair versus DIY. Weigh the costs against your technical skills and the risk of further damage.
Environmental Considerations and Safety
Work in a clean, well-lit area. Use an anti-static mat to prevent damage from electrical discharge. Ensure proper ventilation, especially if using cleaning solvents.
Discharge your MacBook Pro’s battery below 25% to reduce fire risk from accidental puncture.
Organize screws and parts as you remove them. A magnetic screw mat helps keep tiny components in order.
Wear safety glasses to protect your eyes from small parts or debris.
| Tool | Purpose |
|---|---|
| P5 Pentalobe Driver | Remove lower case screws |
| Suction Handle | Lift display assembly |
| Opening Picks | Separate display from body |
| Spudger | Disconnect cables safely |
| T5 Torx Driver | Remove internal screws |
| Tweezers | Handle small components |
The Step-by-Step Replacement Procedure
Replacing a MacBook Pro display requires careful handling and attention to detail. The process involves several key stages, from accessing internal components to installing the new screen.
Opening the Lower Case and Accessing the Display
Start by powering off your MacBook Pro and unplugging all cables. Flip the laptop upside-down and remove the six screws securing the lower case using a P5 Pentalobe screwdriver. Two screws are 6.7 mm long, while four are 3.4 mm. Keep track of screw locations for reassembly.
Gently pry up the lower case, starting from the hinge area. Be careful not to damage any internal components. Once opened, you’ll see the battery, logic board, and other internal parts.
Place the MacBook Pro on a soft, clean surface to protect the keyboard and trackpad during the repair process.
Disconnecting Cables and Components
Locate the battery connector on the logic board. Use a spudger tool to gently disconnect it. This step is crucial for safety and prevents short circuits during the repair.
Find the display cable. It’s usually a wide, flat cable near the hinge area. Carefully lift the locking flap on the ZIF connector and slide the cable out.
Disconnect any additional cables linked to the display, such as the camera or Wi-Fi antenna cables. These may vary depending on your MacBook Pro model.
| Component | Location | Tool Needed |
|---|---|---|
| Battery connector | Logic board | Spudger |
| Display cable | Near hinge | Fingertips |
| Camera/Wi-Fi cables | Top of logic board | Tweezers |
Removing the Old Display
Unscrew the display hinge screws using a T5 or T8 Torx screwdriver. The number and size of screws may vary by model.
Carefully lift the display assembly away from the lower body. Be mindful of any remaining cables or connectors.
If there are hidden clips securing the display, gently release them. Work slowly to avoid damaging the screen or other components.
Once all connections are free, lift the old display off the MacBook Pro body. Set it aside in a safe place.
Attaching the New Display
Unpack the new screen replacement carefully. Check for any protective films or stickers and remove them if present.
Align the new display with the MacBook Pro body. Make sure it fits properly in the chassis.
Reconnect all cables you disconnected earlier. This includes the main display cable, camera cable, and Wi-Fi antenna cables if applicable.
Secure the display hinges with the screws you removed earlier. Ensure they’re tightened properly but don’t over-tighten.
Double-check all connections before closing the MacBook Pro. Reattach the lower case and secure it with the six Pentalobe screws.
Post-Replacement Steps and Quality Assurance
After replacing your MacBook Pro display, it’s crucial to verify its functionality and consider professional options. These steps ensure your device works as intended and maintains its quality.
Testing the New Display
Start by powering on your MacBook Pro. Check for any dead pixels, color inconsistencies, or brightness issues. Test the touch functionality if your model has a Touch Bar. Verify that the display hinges move smoothly without resistance.
Connect to an external monitor to compare image quality. This helps identify any potential issues with the new screen. Run Apple’s built-in display diagnostic tools to catch less obvious problems.
Test the camera and microphone to ensure they weren’t damaged during replacement. Open Photo Booth or FaceTime to check video quality. Record a short audio clip to verify microphone function.
Lastly, check for any light leakage around the edges of the display in a dark room. This could indicate an improper seal or fitting.
Professional Service Options
If you encounter issues or lack confidence in DIY repairs, consider professional services. Apple Stores and Apple Authorized Service Providers offer expert MacBook Pro display replacements. They use genuine Apple parts and provide warranties on their work.
For older models, third-party repair shops may offer more affordable options. However, ensure they use high-quality replacement parts to maintain your device’s performance.
| Service Option | Pros | Cons |
|---|---|---|
| Apple Store | Genuine parts, warranty | Higher cost |
| Authorized Provider | Apple-certified, often local | May have longer wait times |
| Third-party Repair | Potentially cheaper | Quality may vary |
iFixit provides guides for DIY enthusiasts. But remember, improper repairs can void your warranty. Weigh the risks and benefits before deciding on a repair method.
Frequently Asked Questions
MacBook Pro screen replacement involves several key considerations. Cost factors, repair procedures, and finding reliable services are important aspects to understand.
How is the cost determined for replacing a MacBook Pro screen?
The cost of a MacBook Pro screen replacement varies based on the model and repair location. Apple’s out-of-warranty service typically ranges from $450 to $850. Third-party repair shops may offer lower prices. Factors affecting cost include screen size, resolution, and parts availability.
What steps are involved in MacBook Pro 16-inch screen replacement?
MacBook Pro 16-inch screen replacement involves several steps. First, discharge the battery below 25% for safety. Remove the lower case screws and disconnect the battery. Detach display cables and remove hinge screws. Carefully separate the old screen and install the new one, reconnecting all components.
Where can I find third-party parts for MacBook Pro display repairs?
You can find third-party MacBook Pro display parts from online retailers specializing in laptop components. Some reputable sources include iFixit, Amazon, and eBay. Ensure the part is compatible with your specific MacBook Pro model before purchasing.
Are there specific tool kits recommended for MacBook Pro screen replacements?
Yes, specialized tool kits are recommended for MacBook Pro screen replacements. A basic kit should include:
- P5 Pentalobe screwdriver
- T5 and T8 Torx screwdrivers
- Spudger
- Tweezers
- Anti-static wrist strap
iFixit offers comprehensive tool kits designed for MacBook repairs.
What are the differences in screen replacement procedures between the 13-inch and 15-inch MacBook Pro models?
The main differences in screen replacement procedures for 13-inch and 15-inch MacBook Pro models are:
- Screw placement and quantity
- Cable configurations
- Hinge design
13-inch models typically have fewer screws and simpler cable layouts. 15-inch models may require more careful handling due to larger screen size.
How can I locate a reputable MacBook screen repair service nearby?
To find a reputable MacBook screen repair service:
- Check Apple’s authorized service provider list
- Read online reviews on platforms like Yelp or Google
- Ask for recommendations in local tech forums
- Compare quotes from multiple repair shops
Prioritize technicians with Apple certification and positive customer feedback.


