
Switching from a Windows PC to a Mac can be smooth with the right tools. Apple’s Migration Assistant helps you move your files, settings, and accounts easily. You can transfer contacts, calendars, email accounts, and more from your Windows PC to your new Mac using Migration Assistant.
The process is straightforward. You’ll need to download Windows Migration Assistant on your PC. Then, connect both computers to the same network. The software guides you through selecting the data you want to move. It copies your chosen information to your Mac, making the transition painless.
Migration Assistant works with recent versions of Windows and macOS. You’ll need Windows 10 or later on your PC and macOS Sonoma 14.4 or newer on your Mac. The tool handles most common file types and settings, so you can start using your new Mac quickly.
| Feature | Windows PC | New Mac |
|---|---|---|
| Operating System | Windows 10+ | macOS Sonoma 14.4+ |
| Migration Tool | Windows Migration Assistant | Built-in Migration Assistant |
| Data Transferred | Contacts, calendars, email accounts, files | Same as Windows PC |
| Network Connection | Required | Required |
Apple’s Migration Assistant is a tool that helps you transfer data from your PC to your Mac. It can transfer your documents, apps, user accounts, and settings.
Here’s how to use it:
- Make sure both your PC and Mac are up to date. You’ll need to install the latest software updates on both computers.
- Connect your computers to the same network. You can do this wirelessly or with an Ethernet cable. If you’re transferring wirelessly, make sure both computers have Wi-Fi turned on and are near each other.
- Open Migration Assistant on your Mac. You can find it in the Utilities folder of your Applications folder.
- Follow the onscreen instructions. Migration Assistant will guide you through the process of transferring your data. You’ll need to select the information you want to transfer and enter your administrator password.
- Wait for the transfer to complete. This can take a while, depending on how much data you’re transferring.
- Log in to your new Mac. Once the transfer is complete, you can log in to your new Mac and start using your data.
Here are some additional tips:
- Make sure you have enough storage space on your Mac. You’ll need enough space to store all the data you’re transferring from your PC.
- If you have any antivirus, firewall, or VPN software installed on your PC, turn it off before you start the transfer. This can interfere with the transfer process.
- If you’re transferring a lot of data, it’s a good idea to connect your computers with an Ethernet cable. This will be faster than transferring wirelessly.
- If you have any problems with the transfer, you can contact Apple Support for help.
Here are some resources that you may find helpful:
Understanding Migration Assistant
Migration Assistant simplifies transferring data from a PC to a Mac. This tool helps move files, settings, and applications seamlessly between different operating systems.
Overview of Migration Assistant for Mac
Migration Assistant comes pre-installed on Mac computers. It transfers information from a Windows PC to your new Mac. The process involves installing Windows Migration Assistant on your PC first.
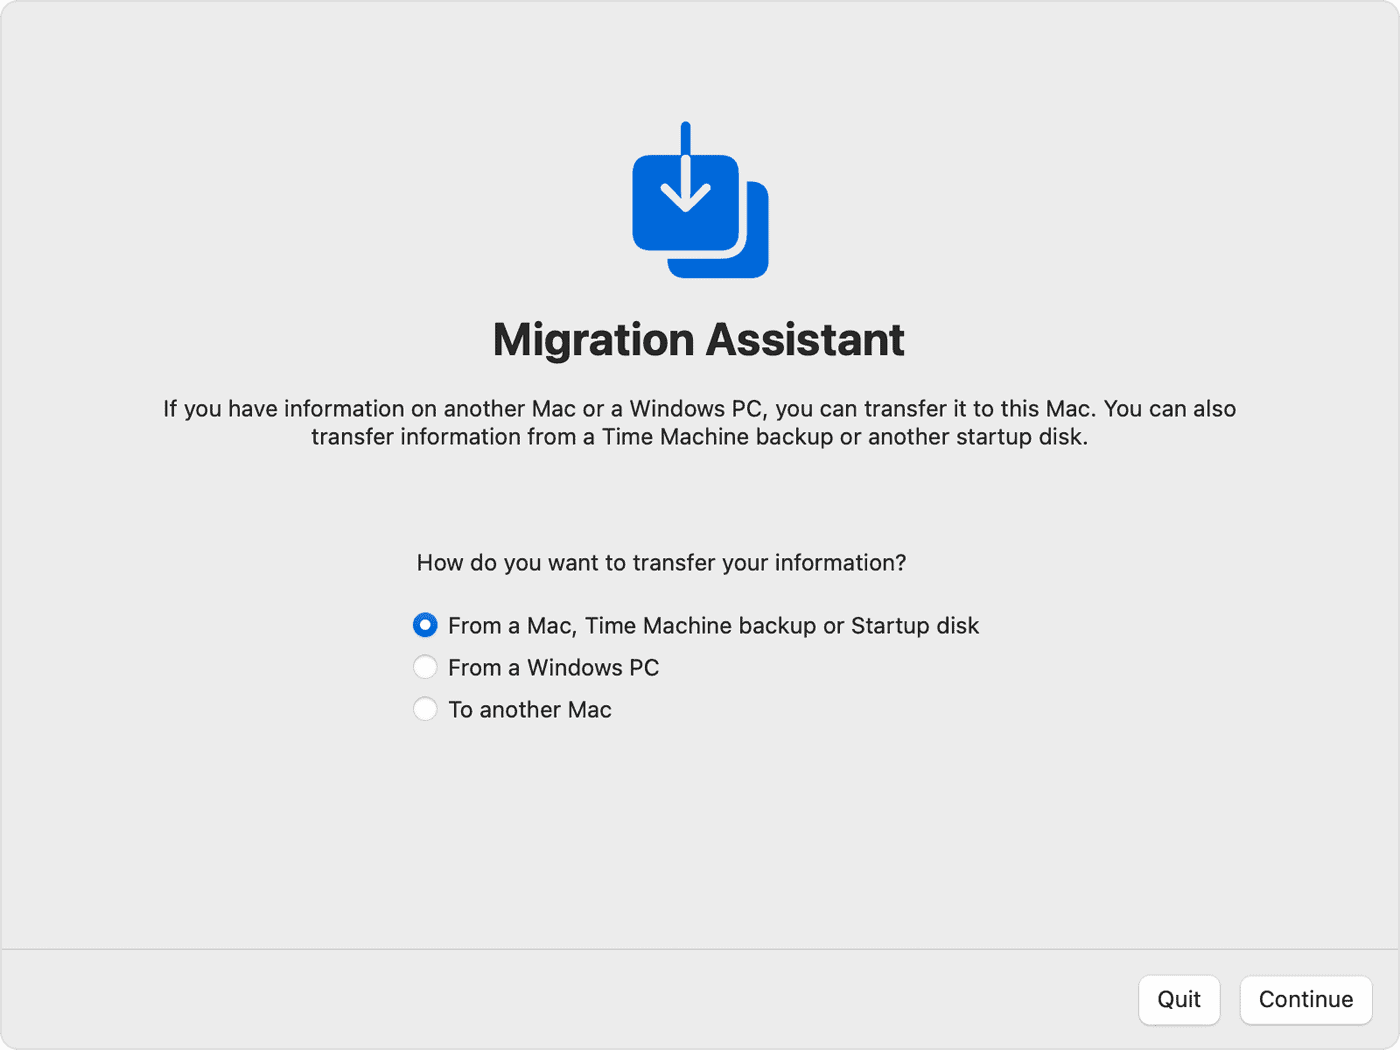
To start, open Migration Assistant on your Mac. Select “From a Windows PC” when asked how to transfer data. Your Mac will then scan for available PCs on the network.
Once connected, you can choose which items to transfer. These may include:
- User accounts
- Documents and files
- Applications
- Email, contacts, and calendars
- System settings
The transfer time depends on the amount of data and your network speed.
Compatibility and System Requirements
Migration Assistant works with recent macOS versions. It supports transfers from Windows PCs to Macs running macOS Sonoma, Ventura, Monterey, and earlier versions.
For Windows, you need:
- Windows 7 or later
- Enough free space on your Mac for transferred data
- Both computers on the same network
| macOS Version | Supported Windows Versions |
|---|---|
| Sonoma | Windows 7 and later |
| Ventura | Windows 7 and later |
| Monterey | Windows 7 and later |
| Big Sur | Windows 7 and later |
Check Apple’s website for the latest compatibility info. Ensure both computers are up-to-date before starting the migration process.
Preparing for Migration
Successful migration from a PC to a Mac requires careful preparation. Key steps include securing your data, ensuring your hardware is ready, and updating software on both systems.
Ensuring Data Security and Backup
Before migrating, back up your Windows PC data. Use Windows built-in backup tools or third-party software. Create multiple backups on different devices or cloud storage.
Check your backups to ensure they’re complete and accessible. Verify important files, documents, and settings are included.
Run a full system scan with your antivirus software. Remove any detected malware to prevent transferring it to your new Mac.
Enable firewall protection on both your PC and Mac to safeguard data during transfer.
Meeting Hardware and Connectivity Requirements
Ensure both your PC and Mac meet the minimum system requirements for migration. Check that your Mac is running macOS Sonoma 14.4 or later for compatibility with the latest Migration Assistant.
Prepare a fast, reliable connection method:
| Connection Type | Speed | Recommended Use |
|---|---|---|
| Ethernet | Fast | Large transfers |
| Wi-Fi | Varies | Smaller transfers |
| Thunderbolt | Fastest | Direct connection |
| USB-C | Fast | Direct connection |
Choose the fastest available option for your setup. Use an Ethernet cable for large data transfers if possible.
Ensure both computers are plugged into power sources to prevent interruptions.
Updating Software on Windows PC and Mac
Update your Windows PC to the latest version. Open Settings > Update & Security > Windows Update. Install all available updates, including optional ones.
On your Mac, click the Apple menu > System Settings > General > Software Update. Install any available updates.
Download the latest Windows Migration Assistant compatible with your Mac’s OS version.
Update critical software on your PC, including browsers, office suites, and creative applications. This ensures compatibility with Mac versions.
Migration Process
Migration Assistant simplifies transferring data from a PC to a Mac. It handles files, applications, and settings to make your new Mac feel familiar right away.
Using Migration Assistant to Transfer Information
Start by connecting your PC and Mac to the same network. Open Migration Assistant on both devices. Select “From a Windows PC” on your Mac and follow the prompts. Choose the data you want to transfer:
- User accounts
- Documents and files
- Applications
- System settings
Migration Assistant will estimate the transfer time based on your selection. The process may take several hours depending on the amount of data.
During transfer, avoid using either computer to prevent errors. Migration Assistant copies data without altering your PC, so your original files remain intact.
Troubleshooting Common Issues
If Migration Assistant fails to connect, check your network settings. Ensure both devices are on the same Wi-Fi network or use an Ethernet cable for a direct connection.
Compatibility issues may arise with older Windows versions. Update your PC’s operating system if possible. For persistent problems, try these steps:
- Restart both computers
- Temporarily disable firewalls
- Check for software conflicts
If transfer seems stuck, be patient. Large files can take time to copy. For unresolved issues, Apple Support offers additional guidance.
| Issue | Solution |
|---|---|
| Connection failure | Check network, use Ethernet |
| Slow transfer | Be patient, avoid interruptions |
| Incompatible files | Update software, check formats |
Post-Migration Setup
After transferring your data from PC to Mac using Migration Assistant, you’ll need to configure your new system and import data into applications. This ensures a smooth transition and optimal setup on your Mac.
Configuring System Settings and Preferences
Open System Settings on your Mac to customize your experience. Adjust display resolution and brightness to suit your needs. Set up your Apple ID and iCloud account to sync data across devices. Configure your trackpad or mouse sensitivity for comfortable navigation.
Enable FileVault for enhanced security by encrypting your startup disk. Set up Touch ID if your Mac supports it for quick logins and purchases. Customize your Dock by adding frequently used apps and removing others.
Choose your default web browser and email client. Safari and Mail are pre-installed, but you can use alternatives if preferred. Adjust energy saver settings to balance performance and battery life on MacBooks.
Importing Data into Applications
Many apps will automatically detect and import data from your migrated files. Open Mail to see your messages and account settings. Your contacts should appear in the Contacts app automatically.
For cloud storage, set up iCloud Drive or install Google Drive to access your files. Some apps may require manual importing. In Photos, choose File > Import to add pictures from your external drive.
| Application | Import Method |
|---|---|
| Automatic | |
| Contacts | Automatic |
| Calendar | Automatic |
| Photos | Manual Import |
| Documents | iCloud/Manual |
Check your apps for any missing data and import manually if needed. Large file transfers may take time, so be patient during this process. Organize your files in Finder to match your previous PC structure for easy navigation.
Frequently Asked Questions
Migration Assistant simplifies transferring data from a Windows PC to a Mac. Here are answers to common questions about using this tool effectively.
How can I download and install the Windows Migration Assistant for macOS?
You can download Windows Migration Assistant from Apple’s official support website. Choose the version that matches your Mac’s operating system. Install it on your Windows PC by following the on-screen instructions.
What steps are involved in using Migration Assistant to transfer data from a PC to a Mac?
Start by connecting both computers to the same network. Launch Migration Assistant on your Mac and Windows PC. Select the option to transfer from a Windows PC on your Mac. Follow the prompts to pair the devices and select the data you want to transfer.
Does Windows Migration Assistant transfer all types of files and settings from a Windows PC to a Mac?
Migration Assistant transfers many file types and settings but not everything. It moves user accounts, documents, photos, music, and bookmarks. Some applications and system settings may not transfer due to compatibility issues.
What is the process for transferring files from a Windows 10 PC to a Mac using Migration Assistant?
The process is similar for Windows 10. Install Migration Assistant on your PC. Connect both devices to the same network. Start the transfer on your Mac and follow the step-by-step instructions to select and move your data.
Why might the Migration Assistant fail to work during the PC to Mac transfer, and how can this be resolved?
Migration Assistant may fail due to network issues, incompatible software versions, or insufficient disk space. Ensure both devices are on the same network, update Migration Assistant, and free up space on your Mac. Restarting both computers can also help resolve issues.
Is it possible to migrate an entire Windows operating system to a Mac using Migration Assistant?
No, Migration Assistant doesn’t transfer the entire Windows operating system. It moves personal files and some settings. To run Windows on a Mac, you’ll need to use virtualization software or Boot Camp Assistant for Intel-based Macs.
| Feature | Transfers to Mac | Doesn’t Transfer |
|---|---|---|
| Documents | Yes | No |
| Photos | Yes | No |
| Music | Yes | No |
| User Accounts | Yes | No |
| Bookmarks | Yes | No |
| Applications | No | Yes |
| Windows OS | No | Yes |


