Customizing the icons on a Mac is a simple way to personalize and enhance your computing experience. Whether you want your folders to stand out or need to give an app a new look, changing icons on a Mac is straightforward. With a few clicks, you can replace the default icons with ones that better reflect your style or help you organize your files more efficiently. This flexibility adds a layer of individuality to your desktop and can make navigation more intuitive.
On a Mac, you can change icons for files, folders, and applications using the built-in options macOS provides. The process involves copying the desired image and pasting it onto the icon you wish to change, or dragging and dropping an ICNS file directly. For users looking for more advanced customization, various tools and techniques are available to create a fully unique icon set. These methods can range from using image editing software to converting images into icon-compatible formats.
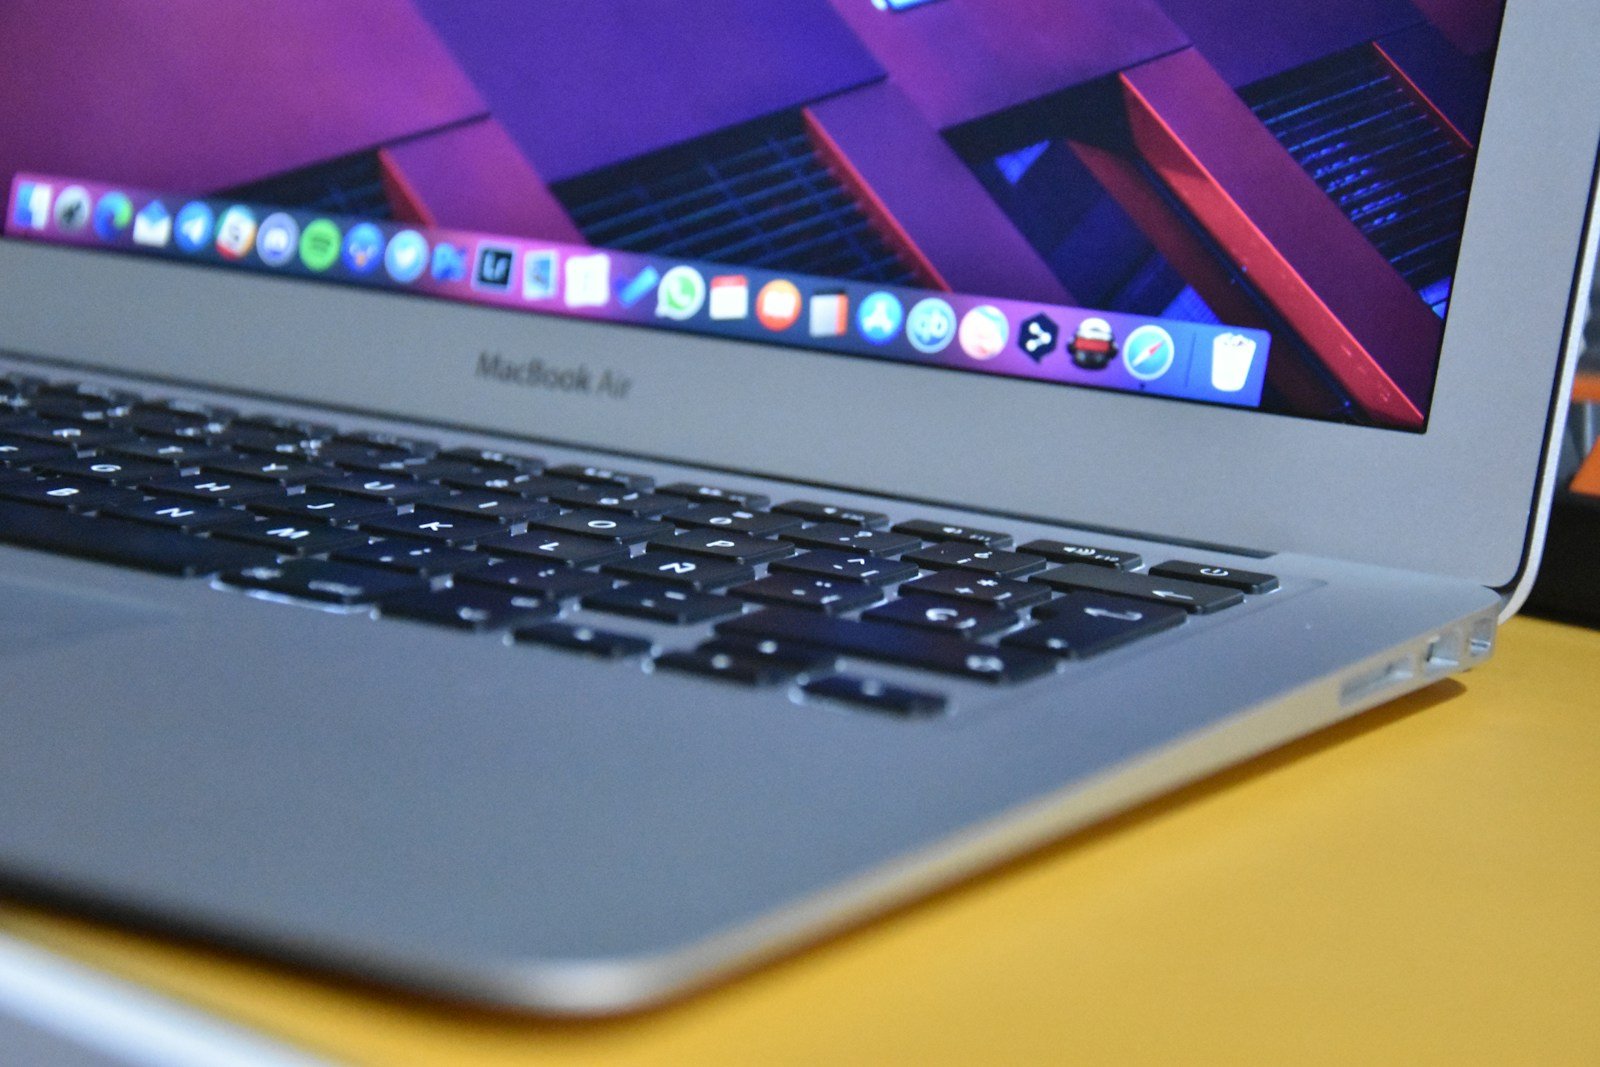
How to Change Icons on Mac (Step-by-Step Guide)
Customizing icons on macOS is a great way to personalize your Mac and make files, folders, and apps easier to identify. This guide walks you through simple, safe, and reversible ways to change icons on a Mac.
1. What You Can Change
You can change icons for:
- ✅ Apps
- ✅ Folders
- ✅ Individual files
- ✅ External drives & disks
⚠️ Note: System-protected apps and folders may revert to default icons after macOS updates.
2. Prepare Your New Icon
Icon Requirements
For best results:
- Format: PNG or ICNS
- Size: 512 × 512 px or higher
- Transparent background (recommended)
Where to Find Icons
- macOS app icons (from other apps)
- Icon websites (search “macOS icons”)
- Create your own using design tools
3. How to Change an Icon (Standard Method)
Step-by-Step:
- Open the image you want to use in Preview
- Press Command (⌘) + A to select the image
- Press Command (⌘) + C to copy it
- Right-click the file, folder, or app
- Select Get Info
- Click the small icon in the top-left corner of the Info window
- Press Command (⌘) + V to paste
✅ The icon updates instantly.
4. Changing App Icons (Applications Folder)
- Open Finder → Applications
- Right-click the app → Get Info
- Select the app icon (top-left)
- Paste your copied image
🔐 You may be prompted for an administrator password.
5. Change Folder Icons in Bulk
macOS does not support changing multiple folder icons at once natively, but you can:
- Manually repeat the steps
- Use third-party tools (with caution)
💡 Tip: Duplicate a folder with a custom icon to reuse it quickly.
6. Restore the Default Icon
If you want to revert:
- Right-click the item → Get Info
- Click the custom icon
- Press Delete
- Close the window
✅ The original macOS icon will return.
7. Changing Drive & Disk Icons
- Connect the external drive
- Right-click the drive → Get Info
- Paste a new icon into the top-left corner
⚠️ Some drives may require permissions to be changed.
8. Troubleshooting Common Issues
Icon Doesn’t Change
- Make sure you copied the image (not the file)
- Confirm you selected the small icon in the Info window
- Restart Finder (Option + Right-click Finder → Relaunch)
Icon Resets After Restart
- macOS updates may overwrite app icons
- System Integrity Protection (SIP) can block changes
Blurry Icons
- Use higher-resolution images
- Avoid images smaller than 256 × 256 px
9. Best Practices
✔ Keep original icons backed up
✔ Use high-resolution PNGs
✔ Avoid changing system-critical apps
✔ Reapply icons after major macOS updates
10. Summary
- Copy an image
- Open Get Info
- Paste into the icon
- Delete to revert
Custom icons are a simple way to personalize your Mac without modifying system files.
Key Takeaways
- Customizing icons adds personal style and can improve navigation.
- Mac users can easily change icons using simple copy and paste methods.
- For unique designs, advanced techniques and tools are available.
Changing Desktop and App Icons
Customizing your Mac’s icons can give your desktop a personal touch and keep your workflow organized. Whether you prefer to change app icons for a fresh look or need folder icons that stand out, MacOS provides straightforward methods for these adjustments.
Using System Preferences
For global changes such as adjusting the size of your dock icons, MacOS System Preferences is the go-to. You can access it by clicking the Apple icon at the top left corner and selecting “System Preferences”. Under “Dock & Menu Bar”, use the slider to resize the icons as desired.
Leveraging Finder to Customize Icons
To change an individual file or folder icon, Finder’s “Get Info” feature is quite intuitive. First, you’ll need an image or icon file, which you can convert to an icon using the Preview app if it’s not already in ICNS format. Here’s a step-by-step rundown:
- Right-click the app, file, or folder in Finder and select Get Info or use the Command + I keyboard shortcut.
- Click the icon in the top corner of the “Get Info” window to highlight it.
- Copy an icon from Preview or any other source.
- Return to the “Get Info” window and select the highlighted icon.
- Paste the new icon with Command + V.
When pasting the icon, if the option isn’t available, ensure you’re clicking the small icon in the “Get Info” window before attempting to paste again.
Using Third-Party Applications
For those who seek extra convenience or additional features, third-party applications are available for Mac icon customization. Apps like CandyBar, though outdated for newer versions of macOS, have historically been popular for handling a bulk change of icons. Be sure to check each app’s compatibility with your current macOS version and make sure it is from a reliable developer before downloading.
Advanced Icon Customization Techniques
Changing icons on a Mac can make your desktop look more personal. This section outlines advanced methods for creating and applying custom icons. These include designing your own icons, using Terminal commands, and troubleshooting common problems.
Creating Custom Icons with Graphic Software
Designing icons calls for graphic software like Photoshop. Photoshop or similar programs can create icons that save as PNG or JPG files. For Mac use, save your design as a PNG and convert it to ICNS using Preview or online tools. This ICNS format works well for Mac icons.
- Design your icon in your chosen software.
- Save the file as a PNG.
- Convert the PNG to an ICNS file using Preview or online converters.
- Follow the standard process to apply your new icon.
Scripting Changes in Terminal
The Terminal app allows script-based icon changes. This method is efficient for changing multiple icons at once.
A basic script could look like this:
- Use
cpto copy the ICNS file to the folder’s resources. - Use
setfileiconto apply the icon. - For system folders, disable System Integrity Protection temporarily.
- After changes, reset System Integrity Protection for safety.
Scripts are powerful. Backup files before you try this method to prevent data loss.
Handling Icon Issues and Troubleshooting
Sometimes icon changes do not show right away. In such cases, the first step is to restart the Mac. If the issue persists, check these points:
- Verify the ICNS file is not corrupt.
- Ensure you have permissions to edit the file or folder.
- Reapply the icon to override the previous settings.
A bug can occur where icons revert to default. Maintaining a backup of your custom icons helps restore them quickly. Regular system updates may also solve icon-related issues. If problems persist, consider seeking help on Mac user forums or support channels.


