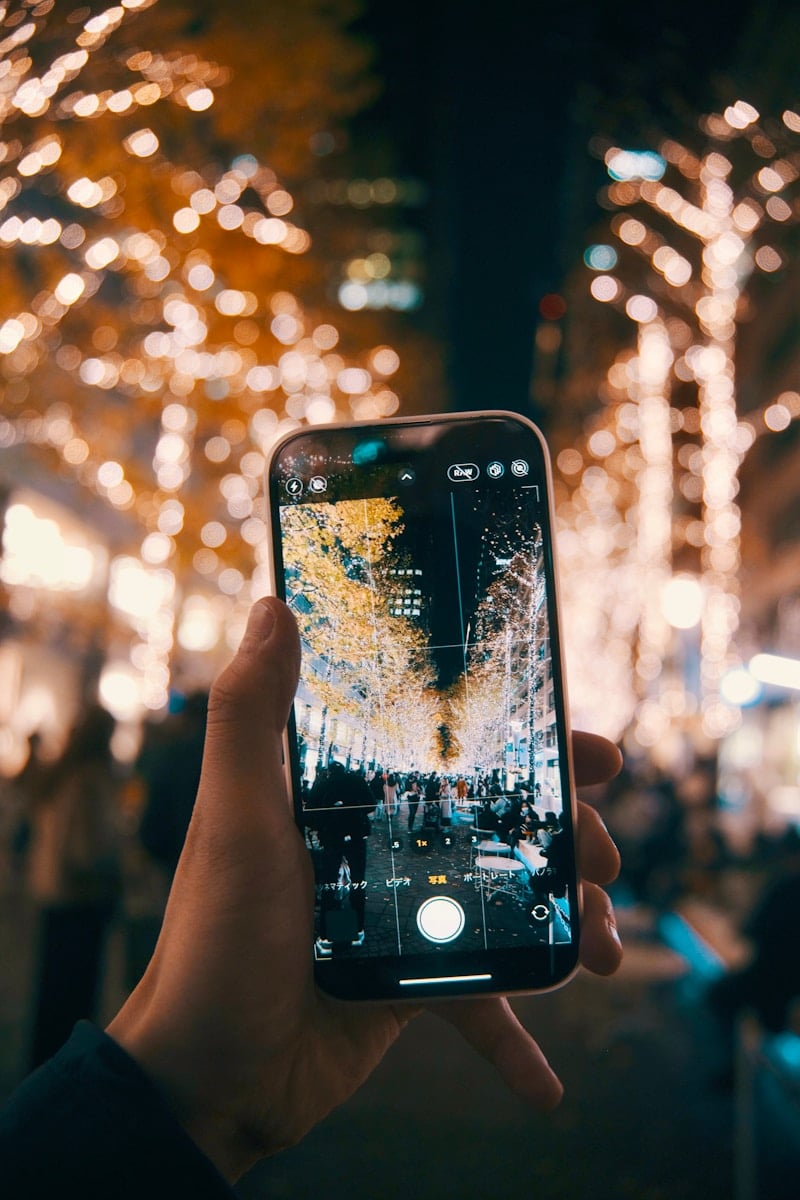
Capturing images in low light has often challenged photographers, but the Night Mode feature on the iPhone’s camera app brings a solution to this problem. It allows users to take clearer, brighter photos in dark settings without needing additional equipment. The iPhone uses advanced software algorithms to enhance photos taken in dimly-lit environments, making it an excellent tool for night photography.
Using Night Mode is straightforward. The feature activates automatically on compatible iPhone models when the camera detects a low-light situation. For more control over the final image, users can adjust the exposure settings manually within the camera app. By doing so, even amateur photographers can take advantage of the low-light capabilities of their iPhone to produce impressive photos after sunset.
✅ Supported iPhones
Night Mode is available on:
- iPhone 11 and later (all models, including Pro and Pro Max)
- Works on rear cameras and, on newer models, the front camera as well.
🌙 How to Turn On Night Mode
- Open the Camera App
- Launch the Camera app like you normally would.
- Check for the Night Mode Icon
- If you’re in a low-light setting, you’ll see a crescent moon icon at the top of the screen.
- If it’s yellow, Night Mode is active.
- If it’s gray, Night Mode is available but not currently active.
- Adjust the Exposure Time (Optional)
- Tap the moon icon.
- Use the slider above the shutter button to adjust the exposure time (e.g., 1–3 seconds, or longer on a tripod).
- Longer times capture more light but require you to hold the phone steady.
- Take the Photo
- Hold your iPhone still (or use a tripod for best results).
- Tap the shutter button.
- The camera will automatically process the image for brightness and detail.
⚙️ Tips for Better Night Mode Photos
- Stay steady: Even small movements can blur the photo.
- Use a tripod: For maximum exposure times and sharpness.
- Experiment with exposure: Shorter times for less blur, longer times for more light.
- Avoid flash: Night Mode usually works better without it.
- Use ultra-wide or telephoto carefully: On some models, Night Mode may not be available on all lenses.
❓ FAQ
Q: Can I force Night Mode in bright conditions?
- No, Night Mode only activates in low light.
Q: Can I turn Night Mode off?
- Yes. Tap the moon icon and drag the slider to “Off.”
Q: Does Night Mode work in Portrait mode?
- Yes, on newer iPhones (12 Pro and later).
✅ Summary
- Night Mode turns on automatically in low light.
- Look for the crescent moon icon in the Camera app.
- Adjust exposure for brighter or sharper results.
- Hold steady (or use a tripod) for the best photos.
👉 With a little practice, Night Mode can make your iPhone photos look like they were taken with professional gear.
Key Takeaways
- Night Mode enhances photo quality in low-light conditions.
- It activates automatically on supported iPhones.
- Users can manually adjust Night Mode settings.
Understanding Night Mode on iPhone
Apple’s Night Mode is a powerful feature that helps you take brighter, clearer photos in low-light conditions. Instead of using a harsh flash, Night Mode uses longer exposure times and smart processing to capture more detail. Here’s how to use it.
Night mode is a camera feature on iPhone that improves photos taken in low light conditions. It automatically adjusts the camera settings to capture more detail and brighter images when the ambient light is not sufficient.
What is Night Mode
Night mode is a feature designed to enhance iPhone photos in dark environments. It works by extending the shutter speed, which allows more light to hit the sensor of the camera, resulting in brighter images with reduced noise.
Technological Insights
The technology behind Night mode involves a combination of longer exposure times and software algorithms. These adjust parameters like ISO, which controls the camera’s sensitivity to light, and apply optical image stabilization (OIS) to keep the photo sharp despite the longer exposure.
Compatibility and Availability
Night mode is available on iPhone models starting from the iPhone 11 series. These include:
- iPhone 11
- iPhone 11 Pro
- iPhone 11 Pro Max
- iPhone 12
- iPhone 12 Mini
- iPhone 12 Pro
- iPhone 12 Pro Max
- iPhone 13
- iPhone 13 Pro
- iPhone 13 Pro Max
Users must have iOS 17 or later to ensure compatibility with Night mode features.
Activating and Using Night Mode
Night Mode on iPhone cameras allows for brighter photos in low light without the need for flash. By following these simple steps, you can take advantage of this feature to capture stunning low-light images.
Enabling Night Mode
To activate Night Mode on your iPhone, open the Camera app and look for the moon icon. This icon appears at the top of the screen in low-light environments. On some iPhone models, Night Mode activates automatically. If your iPhone supports manual activation, you can tap the moon icon to turn Night Mode on or off.
Optimizing Night Photography
For the best low-light photos, keep your iPhone steady. Use a tripod or rest your iPhone on a stable surface to prevent camera shake and blur. If you’re holding your iPhone, lock your arms by your side and hold your breath as you capture the photo. You can also use a timer to reduce shake when pressing the shutter button.
Advanced Settings and Considerations
Pro models offer additional control over Night Mode photography. You can manually adjust the exposure time by tapping on the night mode icon when it’s yellow and using the slider to extend the exposure time. For users seeking the highest quality, consider using ProRAW to capture more image data. When setting up for longer exposure times, ensure the iPhone remains extremely steady to avoid blurring the photo. Remember, longer exposures mean more light capture, but they also require more time, so be prepared to hold still.


