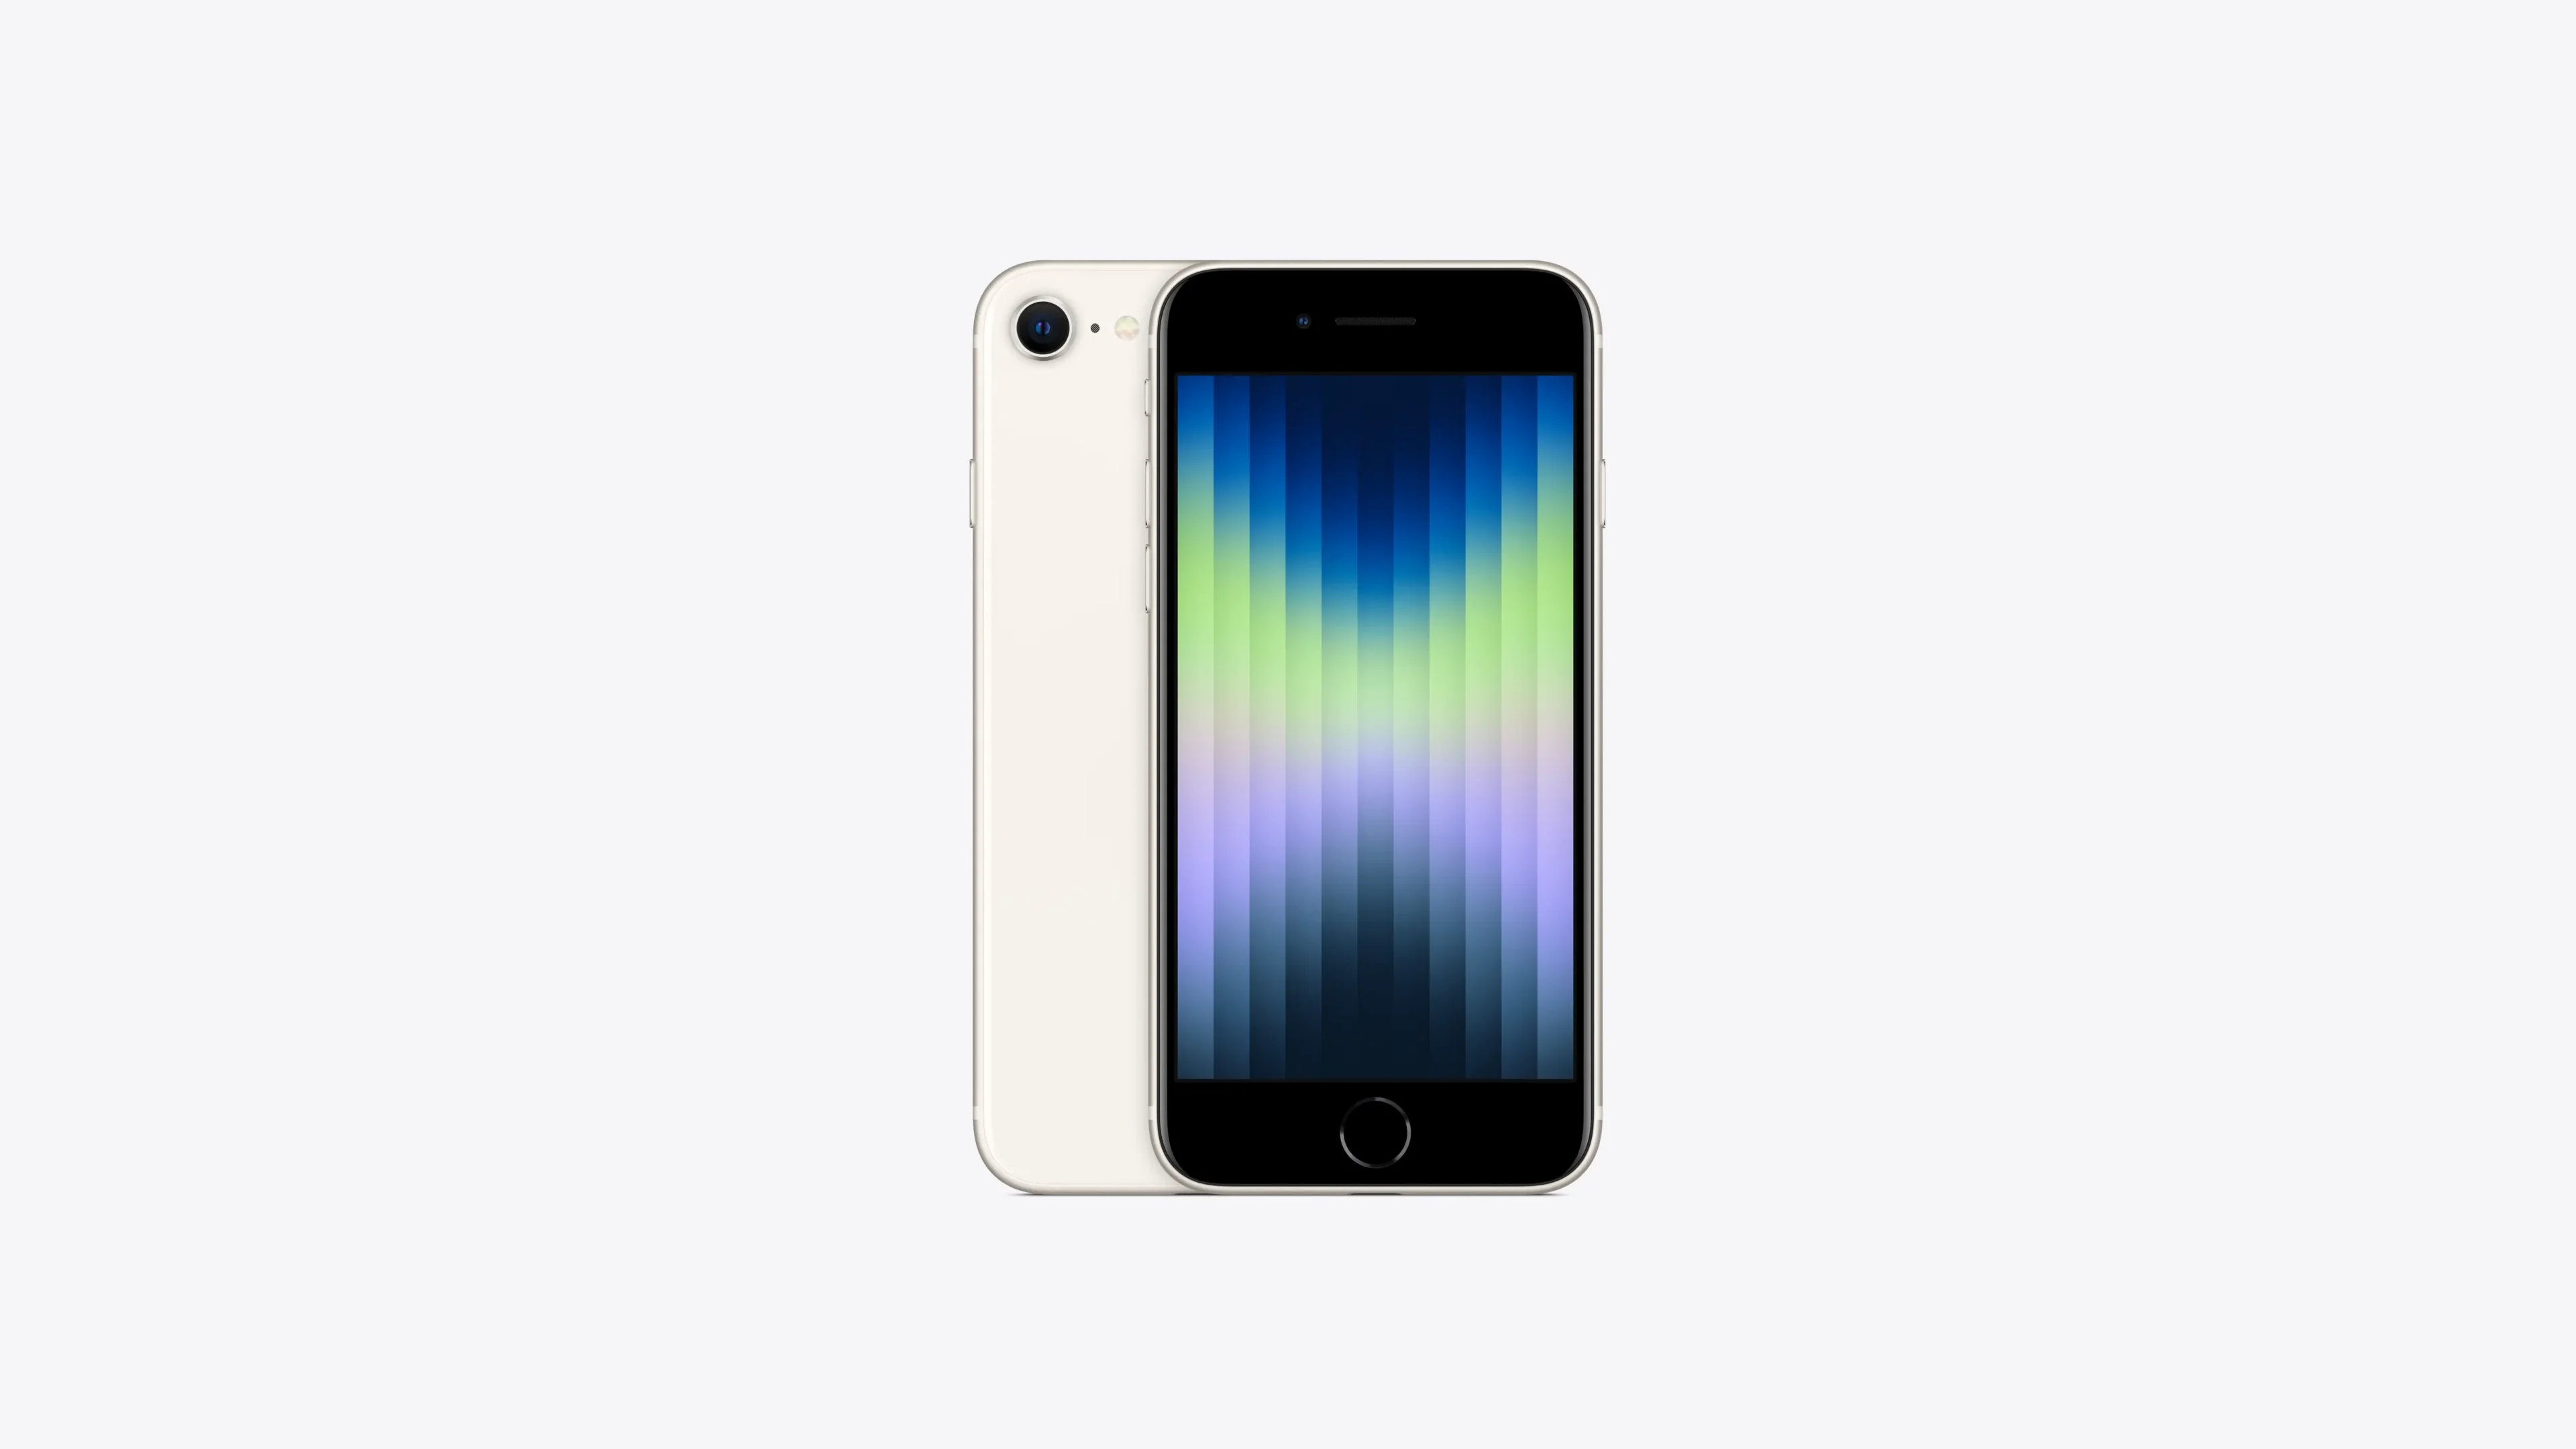
Screen recording on the iPhone SE is a straightforward process that allows you to capture live content directly from your screen. It comes in handy for a variety of reasons such as creating tutorials, preserving a video clip, or documenting software bugs. This feature is built into iOS 15 and can be easily accessed through the Control Center after a quick setup in the Settings app.
Setting up screen recording takes only a few taps. You need to add the screen recording function to the Control Center by navigating to the Settings app. This one-time setup allows for quick access whenever you need to record your screen. With the feature enabled, you can start recording with just a couple of steps and your video will be saved directly to the Photos app.
Using screen recording is just as simple. Once you start a recording, everything on your screen, including audio, is captured until you choose to stop it. This can be done through the Control Center or by tapping the status bar at the top of your iPhone SE. This function provides a convenient way to share or save the ongoings of your device’s screen.
How to Screen Record on iPhone SE
The iPhone SE has a built‑in screen recording tool that lets you capture video of what’s happening on your screen — with or without sound.
Step 1: Add Screen Recording to Control Center
- Open the Settings app.
- Tap Control Center.
- Scroll down and tap the green + next to Screen Recording.
- Now, the Screen Recording button will appear in your Control Center.
Step 2: Start a Screen Recording
- Swipe down from the top‑right corner of the screen (on SE 2nd/3rd gen) to open Control Center.
- On the original iPhone SE (1st gen), swipe up from the bottom.
- Tap the Record button (a solid circle inside another circle).
- You’ll see a 3‑second countdown before recording begins.
- While recording, the status bar (or Dynamic Island / top indicator) will turn red.
Step 3: Record with Sound (Optional)
- In Control Center, press and hold the Record button.
- Tap the Microphone icon to turn it on (red = active).
- Tap Start Recording.
👉 Now your recording will include both screen activity and audio from your microphone.
Step 4: Stop the Recording
- Tap the red status bar (or red pill at the top) and choose Stop,
OR - Open Control Center and tap the Record button again.
The recording will automatically save to your Photos app.
✅ Tips
- You can edit, trim, or share the video directly from the Photos app.
- Some apps (like streaming services) may block screen recording for copyright reasons.
- If you don’t see the option, make sure your iPhone SE is updated to the latest iOS version.
Key Takeaways
- Screen recording can be activated on the iPhone SE via the Control Center.
- Initial setup requires adding the feature in the Settings app.
- Recordings are easily started and stopped and get saved to the Photos app.
Setting Up Screen Recording on iPhone SE
Before using the screen recording feature on your iPhone SE, add it to the Control Center for quick access. This guide will take you through the necessary steps using the Settings app.
Accessing the Control Center
On iPhone SE models, including those similar to the iPhone 8, access the Control Center by swiping up from the bottom edge of the screen. Users with an iPhone SE 2020 edition need to swipe down from the top-right corner.
Adding Screen Recording to Control Center
First, open the Settings app on your iPhone SE. Scroll down and tap on Control Center. Here you will find a list of controls that you can add to or remove from the Control Center. To add screen recording, look for the Screen Recording button under More Controls and tap the plus icon next to it. The button now moves to the Include section at the top, making it accessible from the Control Center. Now you can record what happens on your phone screen by tapping the Screen Recording icon—a solid circle inside a ring—from the Control Center. The recording starts after a brief countdown, capturing video of your screen’s activity.
Using Screen Recording
To capture activities on your iPhone SE, screen recording is an essential feature. It allows you to save a video file to your photo library and share memorable content with family and friends. Here’s how you can start recording your screen, capture audio, and manage your recordings.
Starting and Stopping Screen Recording
To start screen recording, follow these steps:
- Open Settings.
- Navigate to Control Center.
- Add Screen Recording by tapping the plus icon next to it.
- Swipe down to access the Control Center.
- Tap the Record button, which is a solid circle inside a ring.
- There’s a three-second countdown before recording begins, indicated by a red status bar at the top of your screen.
To stop recording:
- Tap the red status bar at the top and confirm by tapping Stop. Alternatively, go back to the Control Center and press the Record button again.
Capturing Audio with Screen Recording
If you want to record sound with your video, here’s what you do:
- Before starting the recording, press and hold the Record button.
- Tap the Microphone icon to turn audio recording on.
- Then start recording by tapping Start Recording.
Managing Recorded Content
Once you stop recording, your video file will be saved automatically in the Photos app, under your camera roll. You can then view, edit, or share the recording. Keep an eye on your available storage space, as video files can be large and fill up your iPhone’s storage quickly.


