When the camera lens on an iPhone cracks, it may seem like a big problem. Even though iPhones are durable, their camera lenses can still get damaged when dropped or hit. But a cracked lens doesn’t mean your camera is done for. Fixing a cracked lens involves getting the right tools and parts, following precise instructions, and handling the delicate parts carefully. You need to understand how bad the damage is. You have to do more than replace the glass – you also need to make sure the camera still works. This means taking apart your iPhone, taking out the broken lens, and putting in a new one. Some people choose to do it themselves, using guides and kits. But you can also get professional help.
Cracked Camera Lens? No Problem! Your DIY Fix
A cracked iPhone camera lens can be a real bummer, especially if you love taking photos. But don’t worry, it’s usually a fixable issue. You can either take it to a professional or roll up your sleeves and try a DIY repair. Let’s walk through the steps, so you can decide what’s best for you.
Assess the Damage: How Bad Is It?
First things first, check out the damage. Is it just a small crack, or is the lens completely shattered? This will help you decide if a DIY repair is doable or if you need professional help.
Minor cracks might not affect your photos too much, but bigger ones could lead to blurry images or even block the lens entirely.
DIY Repair: Is It for You?
If you’re up for a challenge and the damage isn’t too bad, a DIY repair might be worth a shot. It’s definitely cheaper than a professional fix, but it does require some patience and a steady hand.
You’ll need a few tools and a replacement lens, which you can usually find online. There are plenty of tutorials available to guide you through the process, but be warned, it can be a bit fiddly.
Tools You’ll Need:
| Tool | Why You Need It |
|---|---|
| Replacement camera lens | This is the obvious one! Match it to your iPhone model. |
| Heat gun or hair dryer | To soften the adhesive holding the old lens. |
| Tweezers | To carefully remove the broken lens and position the new one. |
| Small suction cup (optional) | Can help lift the old lens if it’s stubborn. |
| Pry tool (optional) | A thin, flat tool to help pry up the lens. |
| Alcohol wipes | To clean the camera area before installing the new lens. |
| Camera lens adhesive (optional) | Some replacements come with it, others don’t. |
Steps to Follow:
- Prep Your Phone: Turn off your iPhone and remove any case or screen protector.
- Heat It Up: Gently heat the damaged lens with a heat gun or hair dryer to loosen the adhesive. Don’t overheat it!
- Remove the Old Lens: Use tweezers or a suction cup to carefully lift the old lens. A pry tool can help if needed.
- Clean the Area: Clean the camera area with an alcohol wipe to remove any leftover adhesive.
- Apply Adhesive (If Needed): If your replacement lens doesn’t come with adhesive, apply a small amount around the camera opening.
- Install the New Lens: Carefully position the new lens over the camera opening and press down gently to secure it.
Professional Repair: The Safer Option
If you’re not comfortable with DIY repairs or the damage is extensive, it’s best to leave it to the pros. Apple or authorized repair shops can replace the lens for you, ensuring a proper and safe fix.
It might cost a bit more, but you’ll have peace of mind knowing your phone is in good hands.
Tips for Preventing Future Cracks:
- Use a protective case.
- Avoid dropping your phone.
- Handle it with care, especially around the camera area.
- Consider a camera lens protector.
Key Takeaways
- Cracked iPhone camera lenses can be repaired with the right approach.
- Understanding the damage extent is necessary before starting a repair.
- Step-by-step guides and proper tools assist in self-repair.
Understanding iPhone Camera Lens Damage
When an iPhone camera lens cracks or breaks, it affects photo quality and may call for professional repair. This section explores the types of lens damage, how they impact image capture, and the point at which a repair expert should take over.
Types of Camera Lens Damage
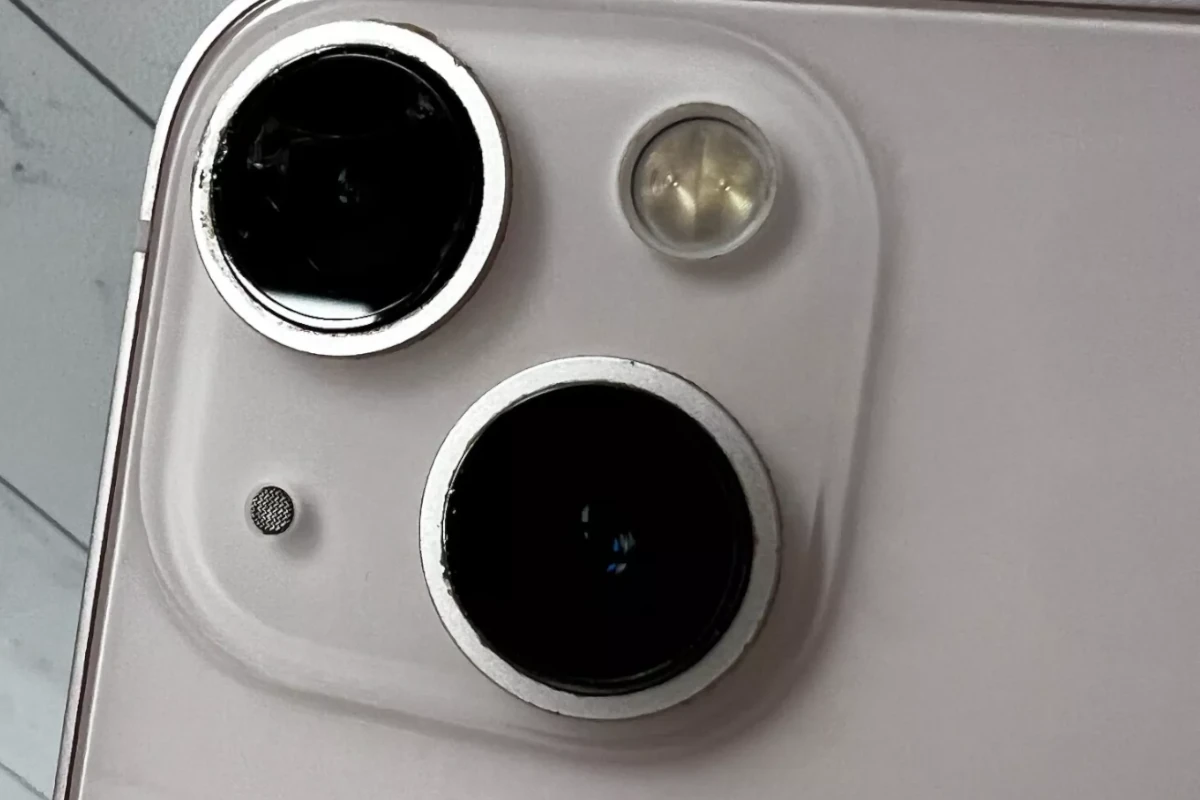
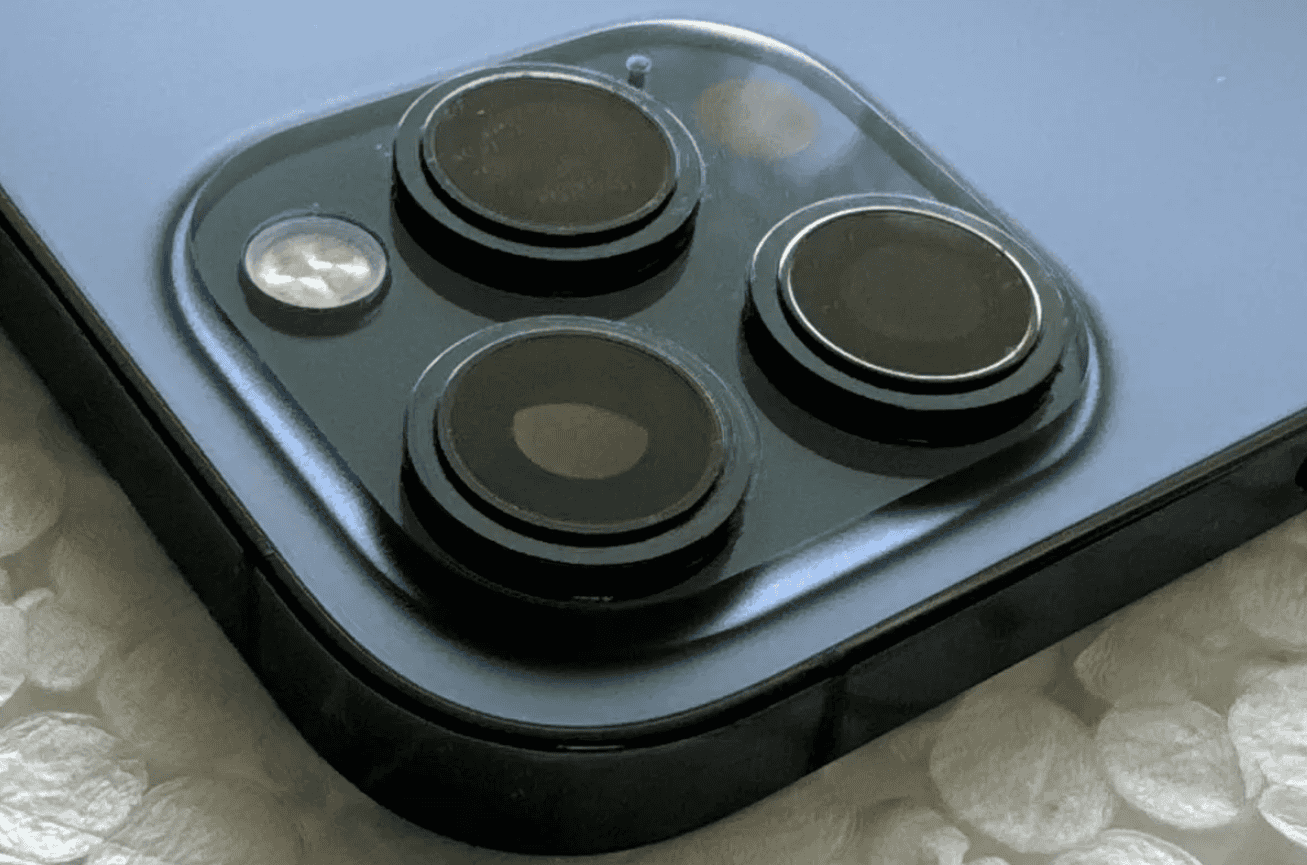
Damage to the iPhone camera lens can vary. Some have fine scratches while others might show large cracks. Fine scratches might come from everyday use while deeper, more significant cracks often result from drops or direct impacts.
Impact on Photo and Video Quality
A damaged lens can lead to poor photo and video quality. Small scratches might cause slight blurs or glares in images. Larger cracks can create more obvious distortions, like lines or black spots, which ruin photos.
When to Seek Professional Repair
For minor scratches, a DIY repair kit may suffice. However, if the camera glass is shattered or the damage affects the camera sensor, it’s wise to seek professional repair. A professional can ensure the correct parts are used and that the camera is restored properly without further damage.
Comprehensive Repair Solutions
This section details the key steps and considerations for repairing a cracked iPhone camera lens. It covers initial damage assessment, DIY repair methods, and professional repair options, including important tools and procedures that ensure safety and quality.
Assessing the Damage
First, it’s important to understand the extent of the damage. A careful examination will determine if it’s just the lens that’s cracked or if the underlying camera is affected too. A magnifying glass helps spot small cracks. Avoid touching the lens directly as oils from the skin can cause further damage.
DIY Lens Repair Options
For those who prefer a hands-on approach, DIY lens repair is possible with the right tools. Precision tweezers, a screwdriver, a spudger, and a microfiber cloth are typically required. Remember, the lens is delicate, so proceed with caution. Use a suction cup to remove the lens, take off any broken pieces, clean carefully with the cloth, and then apply the replacement lens with appropriate adhesive. It’s crucial to disconnect the battery before attempting any repairs to avoid short circuits. If working near the ribbon cables and logic board, take extra care not to damage these sensitive components. iPhone disassembly might void the warranty; hence, check Apple’s policy before starting.
Professional Repair Services
Professional help from a trusted repair service like uBreakiFix by Asurion ensures quality repairs, often with a low price guarantee. These services offer a complementary diagnostic to assess the damage and a cost evaluation. With trained professionals, the risk of causing further damage to your iPhone is minimized. These repair providers are equipped with the necessary tools, training, and customer service expertise. They perform lens replacements with precision and offer speedy service for convenience. Opting for professional repairs may be the safer route for those less experienced with electronic repairs, especially since the complexities of iPhone camera repair may require special skills beyond basic disassembly.


