
Restoring an iPad to its original factory settings can be crucial when one needs to fix a software issue or prepare the device for a new user. It’s a process that removes all personal data and settings from the iPad, reverting it to the state it was in when it left the factory. This action is often a last resort but can resolve persistent problems or erase personal information securely before selling or giving away the device.
Before initiating a restore, it’s essential to back up important data to avoid losing photos, documents, and other personal items. Users should ensure they have the latest version of the software required for the process and turn off services like Find My iPad. A factory restore is not only a crucial troubleshooting step but is also straightforward to perform once the user has taken the appropriate preparatory steps.

How to Restore Your iPad: A Step-by-Step Professional Guide
Important Pre-Restore Checklist
- Backup Your Data: Restoring will erase all content, so make sure to back up your iPad via iCloud or your computer.
- Disable Find My iPad: Go to Settings > [Your Name] > Find My > Find My iPad and toggle it off. You’ll need your Apple ID password.
Method 1: Restore Using iPad Settings
- Open the Settings app.
- Tap General.
- Scroll down and select Transfer or Reset iPad.
- Tap Erase All Content and Settings.
- Enter your passcode if prompted and confirm the reset.
Your iPad will restart and begin the erasure process. Once complete, it will reboot as if it were brand new.
Method 2: Restore Using a Computer
- Connect your iPad to your Mac or Windows PC using a USB cable.
- Open:
- Finder if you’re on macOS Catalina or later
- iTunes if you’re on macOS Mojave or earlier or using a PC
- If prompted, enter your passcode and choose Trust This Computer.
- Put your iPad into recovery mode:
- Without Home Button: Press and release Volume Up, then Volume Down, then hold the Top button until the recovery screen appears.
- With Home Button: Hold the Home and Top (or Side) buttons until the recovery screen appears.
- On your computer, select your iPad when it appears.
- Click Restore and follow the prompts to reinstall iPadOS.
This method is especially useful if your iPad is frozen, stuck on the Apple logo, or otherwise unresponsive.
Method 3: Restore from iCloud Backup
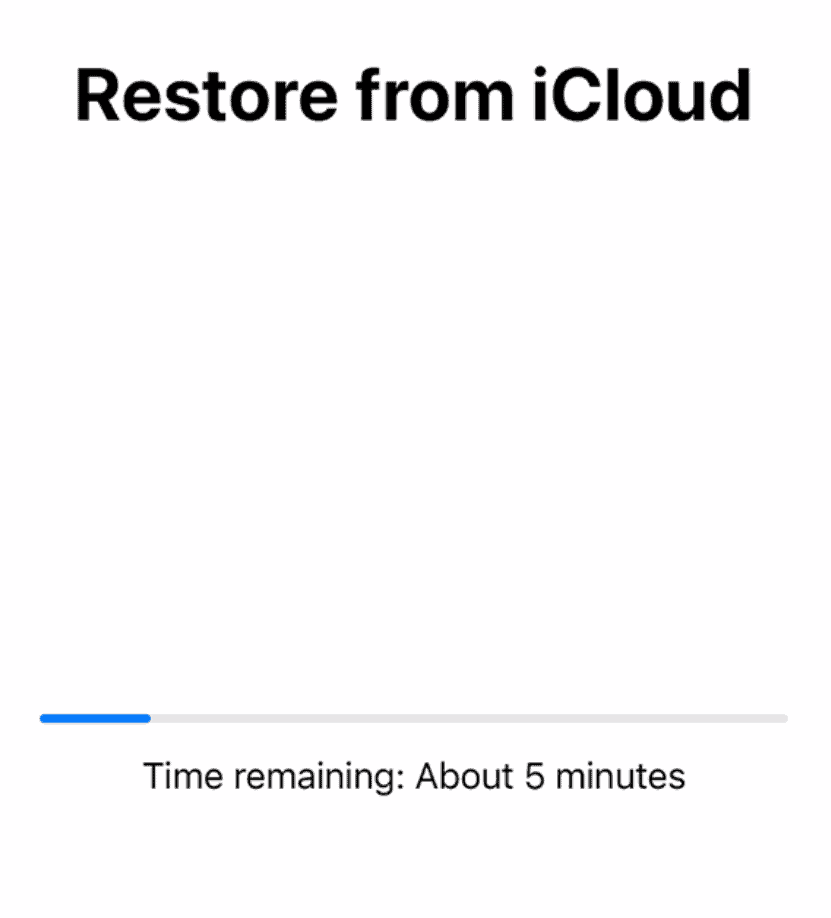
- After resetting your iPad, follow the setup prompts.
- Choose Restore from iCloud Backup.
- Sign in using your Apple ID and select the appropriate backup.
Ensure your iPad remains connected to a strong Wi-Fi network until the process completes.
Troubleshooting Tips
- If iPad Won’t Restore: Make sure you’re using an updated version of iTunes or Finder. Try another USB cable or port.
- Stuck in Recovery Mode: If restoration fails multiple times, contact Apple Support or visit an Apple Store.
Need a Visual Walkthrough?
Watch this helpful tutorial on YouTube:
How to Restore Your iPhone or iPad Using iTunes or Finder
With the right method, restoring your iPad can be a smooth and effective solution to many performance or software issues.
Key Takeaways
- Restoring an iPad removes all data and reverts it to factory settings.
- Backing up data is vital before a factory restore to prevent data loss.
- Updating software and turning off certain services is essential in preparation.
Preparing for iPad Restore
Before restoring an iPad, there are essential steps to ensure a smooth process. From understanding what a restore entails to ensuring your device meets compatibility requirements, the preparation phase is critical.
Understanding the Restore Process
A restore returns the iPad to its original factory settings. This process erases all data, including apps, settings, and personal files. Conducting a restore is useful if an iPad is malfunctioning or preparing for a new owner.
Backup Options
Backup to iCloud:
- Connect to a stable Wi-Fi network.
- Go to Settings > [Your Name] > iCloud > iCloud Backup.
- Hit ‘Back Up Now’ and wait for the process to complete.
Backup to iTunes:
- Open iTunes on a Mac with macOS Mojave 10.14 or earlier or on a PC.
- Connect the iPad to the computer via USB.
- Select the iPad icon in iTunes.
- Choose ‘Back Up Now’ under the backups section.
Remember to sign out of the Apple ID on the iPad before restoring.
Ensuring Compatibility
Verify the iPad has the latest version of iOS or iPadOS for a smooth restore:
- Visit Settings > General > Software Update.
- Update the Mac or PC to the latest macOS or a compatible operating system, such as macOS Catalina, or have the latest iTunes version installed.
- Ensure the device has sufficient charge or is connected to power during the restore process.
By following each of these steps, your iPad will be well-prepared for a factory restore.
Executing the Restore
When restoring an iPad, it’s crucial to use the correct tools and follow the step-by-step process. This ensures the device operates with the latest operating system without losing vital data.
Using Finder or iTunes
Depending on the iPad model and the computer’s operating system, use Finder or iTunes to start the restore process. For macOS Catalina and later, open Finder. For earlier macOS versions or on a Windows PC, open iTunes. Connect the iPad to the computer with a cable. If asked, enter the passcode and select “Trust This Computer” on the iPad. Choose the iPad when it appears in the application. If the iPad needs an update, select “Check for Update” first. To start the restore, pick “Restore iPad.”
Handling Errors During Restore
Sometimes, an error message may appear during the restore process. If this happens, ensure that the computer has the latest software updates and that the cable and USB port are working properly. If errors persist, place the iPad in recovery mode: press and quickly release the volume up button, then the volume down button. Press and hold the top button until the recovery mode screen appears. On the computer, choose “Update” to reinstall the operating system without erasing data. Select “Restore” only if “Update” doesn’t fix the issue.
Resetting to Factory Settings
For a fresh start, reset the iPad to factory settings. This erases all content and settings. Before doing this, backup important data. To reset, go to “Settings” and tap “General.” Scroll down and select “Reset.” Tap “Erase All Content and Settings.” After the erase, the iPad restarts and shows the setup screen. Follow the on-screen steps. If you can’t access settings, use Finder or iTunes as described for a force restart and complete reset.