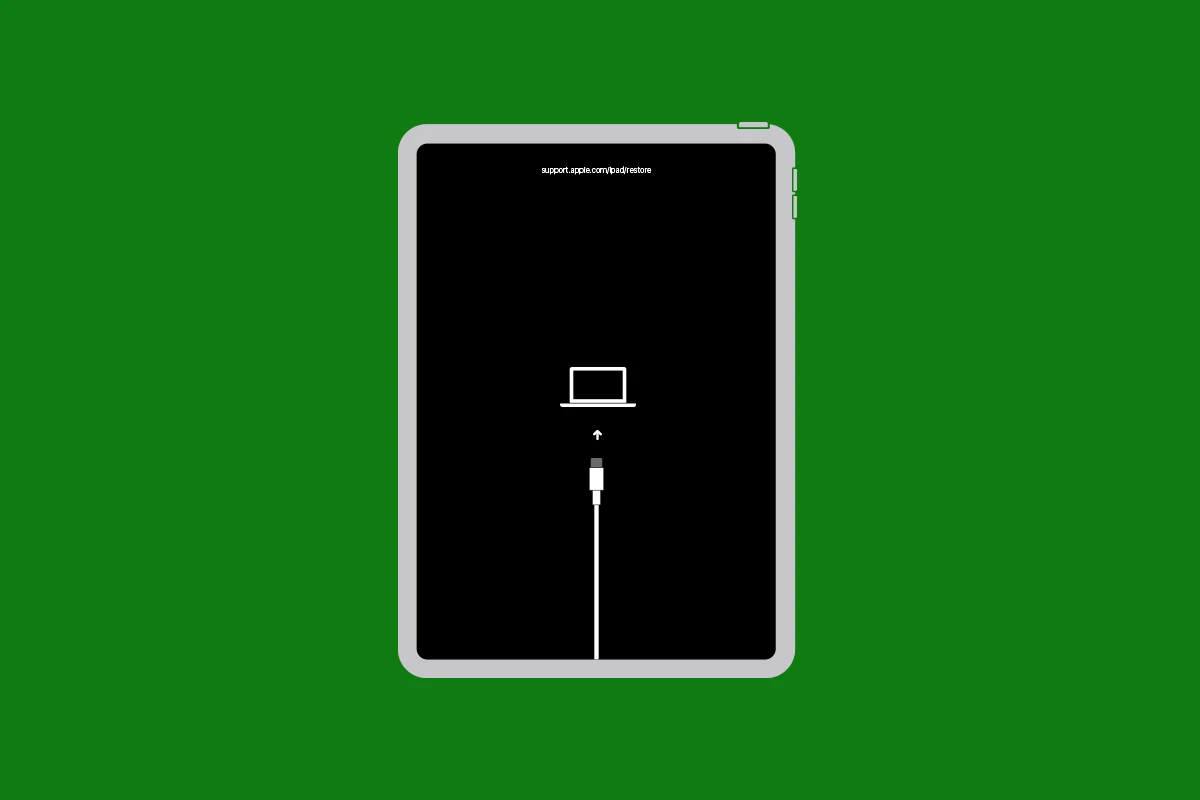
Putting an iPad into recovery mode can be an essential step when facing issues with the device. Recovery mode is a failsafe in iTunes that allows you to update the operating system or restore the iPad to its factory settings. This can come in handy when you need to troubleshoot software problems or remove data from the device that is causing it to malfunction.
Different models of the iPad have different methods for entering recovery mode. For newer models without a Home button, the process involves pressing and releasing volume buttons and holding the top button. iPads with a Home button require holding both the Home and the top buttons simultaneously. Once the device is in recovery mode, it can be updated or restored using a computer.
iPad Recovery Mode Guide
Sometimes, your iPad might encounter issues that a simple restart can’t fix. In these scenarios, Recovery Mode can be a lifesaver. It’s a special state that allows you to restore your iPad using iTunes or Finder on your computer. Here’s how to enter Recovery Mode for different iPad models:
For iPads with a Home Button:
- Connect: Plug your iPad into your computer using a USB or USB-C cable.
- Press and Hold: Press and hold both the Home button and the Top (or Side) button simultaneously.
- Keep Holding: Continue holding both buttons even when the Apple logo appears.
- Release: Only release the buttons when you see the recovery mode screen (an image of a cable and an iTunes logo).
For iPads without a Home Button:
- Connect: Plug your iPad into your computer using a USB or USB-C cable.
- Quick Presses: Press and quickly release the Volume Up button.
- Another Quick Press: Press and quickly release the Volume Down button.
- Press and Hold: Press and hold the Top button until your iPad enters recovery mode.
Troubleshooting Tips
- Software Update: If you see an option to update your iPad’s software, try that first. It might fix the problem without needing a full restore.
- Restore as a Last Resort: Restoring your iPad erases all data. If you have a backup, you can restore from it later.
Additional Notes:
- Mac Users: If your Mac runs macOS Catalina or later, use Finder. If your Mac runs an earlier version, or you’re using a PC, use iTunes.
- Apple Support: For further assistance, visit Apple’s support page on updating or restoring your iPad.
Key Takeaways
- Recovery mode is useful for troubleshooting or resetting an iPad.
- Methods for entering recovery mode vary between iPad models.
- A computer is needed to restore or update an iPad in recovery mode.
Entering Recovery Mode on Different iPad Models
Entering Recovery Mode can assist with troubleshooting your iPad if it’s not functioning as expected. The process varies slightly between older iPad models with a Home button and newer models equipped with Face ID.
Using the Home Button on Older iPads
Older iPads like the iPad Air, iPad Mini, and early iPad Pro models rely on the Home button to enter Recovery Mode. First, connect the iPad to a computer and open iTunes if using a Windows PC or Finder if on macOS Catalina or later. Next, press and hold the Home button on the iPad. At the same time, continue to hold the button while you see the Apple logo and until the Recovery Mode screen appears. iTunes or Finder will then notify you that the device has entered Recovery Mode.
Using Volume Buttons on iPad with Face ID
For iPad Pro models without a Home button, you’ll utilize the volume and top buttons. Connect your iPad Pro to your computer before you start. Then quickly press and release the Volume Up button followed by the Volume Down button. Immediately after, press and hold the Top button. Keep holding until the device begins to restart. You will know you are in Recovery Mode when the iPad shows the Recovery Mode screen. Your computer’s iTunes or Finder application should detect the device in Recovery Mode at this point.
Restoring or Updating iPad Using a Computer
When an iPad encounters issues, using a computer to restore or update the device can often resolve the problem. This section guides users through the process using iTunes on a PC or Finder on a Mac.
Utilizing iTunes or Finder for Recovery
For iPads running into problems, recovery through iTunes or Finder is a reliable method. On a Mac with macOS Catalina or later, open Finder. On a PC or Mac with an earlier version of macOS, open iTunes. Connect the iPad to the computer with a USB cable. If the iPad has a Home button, press Home and the top button together. For iPads without a Home button, press and quickly release the volume up button, then the volume down, then hold the top button. Keep holding until the iPad enters recovery mode.
Troubleshooting Issues During the Process
Sometimes, restoring or updating the iPad may not go smoothly. Apple Support suggests ensuring both iTunes and the macOS are up to date. On Windows PCs, users should download the latest iTunes version from the Microsoft Store. Check the USB cable and connection if the device is not recognized. In some cases, it may be necessary to use DFU mode for deeper troubleshooting or a force restart if the iPad is stuck in a boot loop or on the Apple logo screen.
Exiting Recovery Mode After Completion
Once the iPad update or restore is complete, it’s time to exit recovery mode. Simply disconnect the iPad from the computer and press and hold the top button. The Apple logo will appear, and the device will boot into its usual setting. If reset, the iPad returns to factory settings, ready for setup as a new iPad or to restore data from a backup.


