Recording the screen of an iPhone has become a common task for many users. Whether it’s to capture a high score in a game, create a tutorial, or save an online video, iOS 11 and later versions provide a built-in screen recording feature. This function is easily accessible and does not require any third-party apps, making it a convenient tool for iPhone users.
Before starting a screen recording, users must ensure the screen recording feature is added to the Control Center. This is done by going to the iPhone’s settings and customizing the Control Center options. It allows for quick access to the recording function. Once set up, a simple tap on the screen recording button from the Control Center starts the process.
During a screen record session, the iPhone captures everything that appears on the screen. This includes app usage, phone navigation, and live content. With the addition of the microphone’s audio, it’s possible to provide commentary or explanation, making tutorials and demonstrations more effective. When the recording is finished, the file is saved directly to the iPhone’s photo gallery for easy viewing and sharing.

Screen Recording Made Easy: Your iPhone Guide
Setting Up Screen Recording
First things first, you need to add Screen Recording to your Control Center. This handy shortcut will make screen recording a breeze.
- Open the Settings app on your iPhone.
- Scroll down and tap on “Control Center.”
- In the “More Controls” section, find “Screen Recording.”
- Tap the plus (+) button next to it to add it to your “Included Controls.”
Starting Your Screen Recording
Now that Screen Recording is in your Control Center, follow these simple steps:
- Swipe down from the top-right corner of your screen (or swipe up from the bottom if your iPhone has a Home button) to open Control Center.
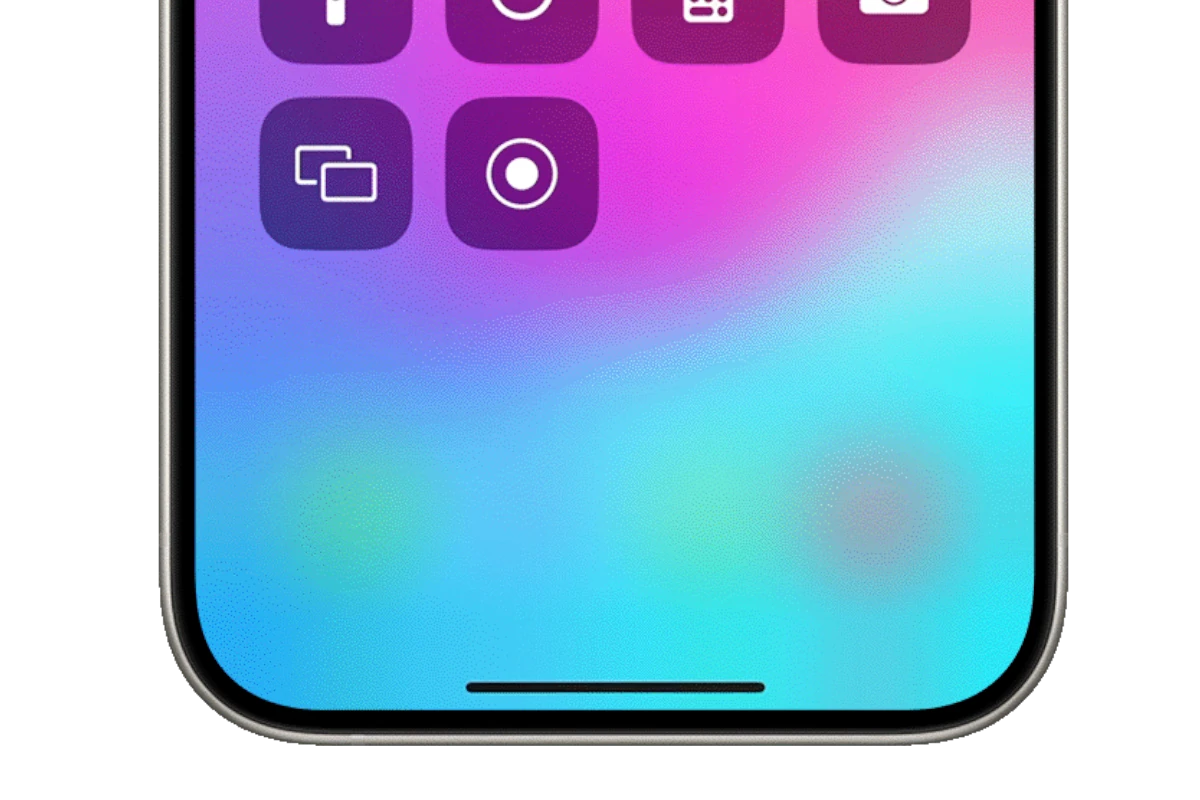
- Tap the Screen Recording button (it looks like a solid circle inside a thin circle). You can also long-press the button to turn on the microphone for audio recording.
- A three-second countdown will begin. Get ready to capture your screen!
Recording Your Screen
Once the countdown ends, your screen recording starts automatically. You’ll notice a red bar at the top of your screen, indicating that recording is in progress. Go ahead and do whatever you want to capture on your screen.
Stopping Your Screen Recording
When you’re finished recording, you have two options:
- Tap the red bar at the top of your screen, then tap “Stop.”
- Open Control Center and tap the Screen Recording button again.
Accessing Your Screen Recording
Your screen recording is automatically saved to your Photos app.
- Open the Photos app.
- You’ll see your most recent recording in the “Recents” album or the “For You” tab.
- Alternatively, you can find all your screen recordings in the “Albums” tab, under “Media Types.”
Additional Tips
- If you’re recording a gameplay video, you can turn on “Do Not Disturb” mode to avoid interruptions from notifications.
- Experiment with different microphone settings to get the best audio quality.
- Use a video editing app to trim, edit, or add effects to your screen recording.
Screen recording is a versatile tool that can be used for tutorials, gameplay videos, presentations, and more. With these easy steps, you can now capture anything you want on your iPhone screen.
Key Takeaways
- The screen recording feature is built into iOS 11 and later versions.
- Users need to add the recording function to the Control Center before use.
- Recorded content is saved to the iPhone’s gallery for convenient access.
Preparing Your iPhone for Screen Recording
To record your iPhone’s screen, you first need to set up the Control Center. It’s a simple process that allows you to capture everything happening on your screen.
Accessing the Control Center
To access the Control Center, users with iPhone X or later should swipe down from the top right corner of the screen. If you have an iPhone 8 or earlier, swipe up from the bottom edge of the screen. This is where you’ll find the tools for screen recording.
Adding the Screen Recording Button
The screen recording function may not be visible in the Control Center by default. Add it by going to the Settings app. Scroll down and tap on Control Center. From there, locate More Controls and press the Add button next to Screen Recording. The control will then be included in the Included Controls section and appear within the Control Center. You’re now ready to start recording your screen with just a tap on the new Screen Recording button.
Recording Your iPhone Screen
This section provides a step-by-step guide on recording your iPhone screen, with or without sound. It simplifies adding audio and stopping the recording process.
Starting the Recording Process
Before you can record your screen, add the Screen Recording tool to your Control Center. Do this through Settings > Control Center > Customize Controls. Then, tap the + next to Screen Recording. To begin recording, open the Control Center:
- On an iPhone with Face ID, swipe down from the upper-right corner.
- On an iPhone without Face ID, swipe up from the bottom edge.
Next, tap the record icon followed by the microphone button to capture sound if needed. A 3-second countdown begins before recording your screen.
Additional Recording Options
While recording, you can include audio from your microphone by long-pressing the record button before starting and then tapping the Microphone Audio button to turn it on. This will capture your voice or any other ambient noise.
Stopping the Recording
To stop recording your screen, you have two options:
- Open Control Center and tap the record icon again.
- Tap the red status bar at the top of your screen and then tap Stop.
Videos save to your Photos album where you can view, edit, and share your recording as needed.