While fax machines may seem like relics of the past, the need to send a fax still arises in today’s business and legal communications. With the advancement of technology, iPhones now have the capability to send faxes through various online fax services. These services enable you to fax documents directly from your iPhone without the need for a traditional fax machine.
Setting up your iPhone to fax is a straightforward process. Initially, you would choose a reliable fax app from the App Store and install it. Once installed, creating an account and linking your phone number may be necessary, depending on the app’s requirements. From there, you can easily prepare documents for faxing by either scanning them using your iPhone’s camera or uploading them from your device storage.
Sending a fax from an iPhone involves a few simple steps. After opening the chosen fax application, you input the recipient’s fax number and attach the document you wish to send. Some apps allow you to add a cover letter before finalizing and sending your fax. This integration provides a convenient and efficient way to handle faxes while on the go.
Faxing Made Easy: Your iPhone as a Portable Fax Machine
Your iPhone isn’t just for calls, texts, and social media; it’s a portable fax machine, too! You don’t need a bulky, old-school fax machine to send important documents. With the right apps and a few simple steps, you can fax from your iPhone anywhere, anytime.
Choosing the Right Fax App
The first step is to choose a fax app that meets your needs. There are many options available, each with different features and pricing plans. Some popular choices include:
| App Name | Key Features | Pricing | Free Trial |
|---|---|---|---|
| Fax.Plus | Send and receive faxes, e-signature, cloud storage | Free plan with limited faxes, paid plans with more features | Yes |
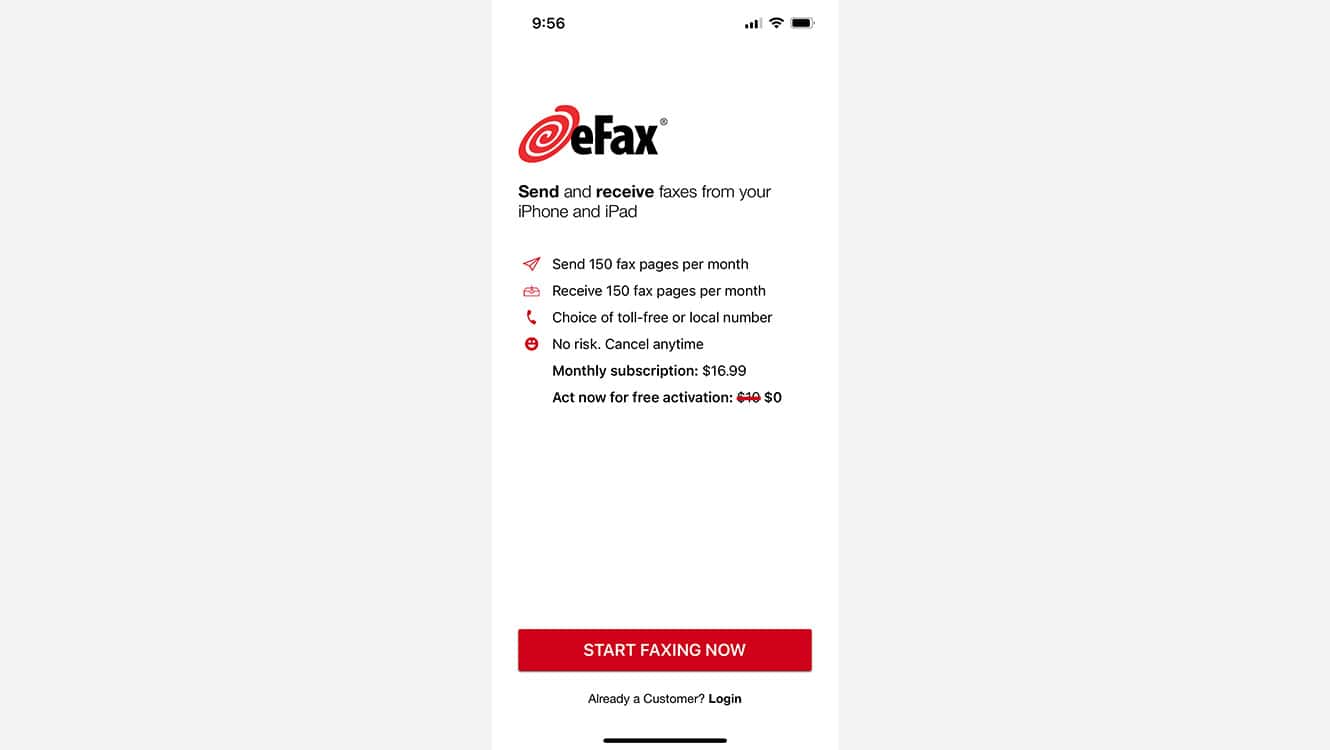
| eFax | Send and receive faxes, digital signature, fax to email | Paid plans only | Yes |
| FAX from iPhone: Fax App | Send faxes, scan documents, electronic signature | Free plan with limited faxes, paid plans with more features | No |
| FAX from iPhone: Send Doc App | Send faxes, create cover pages, attach documents | Free plan with limited faxes, paid plans with more features | No |
Consider factors like ease of use, pricing, and features when choosing your app. Some apps offer free trials, so you can test them out before committing to a paid plan.
Preparing Your Documents
Before you fax, make sure your documents are ready to go. You can either:
- Scan physical documents: Use your iPhone’s camera or a scanning app to create digital copies of your documents.
- Use existing digital files: If your documents are already in digital format (PDF, Word, etc.), you can use them directly.
Sending Your Fax
Once you’ve chosen your app and prepared your documents, follow these simple steps:
- Open the fax app: Launch the app you downloaded on your iPhone.
- Enter the recipient’s fax number: Type in the correct fax number, including the area code.
- Add a cover page (optional): Some apps allow you to create a cover page with a message or your contact information.
- Attach your documents: Select the documents you want to fax from your phone’s storage or cloud service.
- Send the fax: Tap the “Send” button, and your fax will be on its way!
Additional Tips
- Check for confirmation: Most fax apps will notify you when your fax is successfully sent or if there are any errors.
- Save a copy: Keep a digital copy of your fax for your records.
- Troubleshooting: If you encounter any problems, refer to your app’s help section or contact their customer support.
Faxing from your iPhone is a convenient and efficient way to send documents on the go. By following these steps and choosing the right app, you can easily transform your iPhone into a powerful fax machine.
Key Takeaways
- The iPhone enables fax sending without traditional machines through online fax services.
- Users must select and set up a fax application to link their device with the service.
- An iPhone can send faxes simply by entering recipient details and attaching the desired document.
Setting Up Your iPhone to Send Faxes
Sending faxes from your iPhone is straightforward once you have the right app and understand the associated costs. Prepare your device for easy faxing from anywhere with these steps.
Choosing the Right Fax App for iPhone
When selecting a fax app, visit the App Store and consider options like Fax.Plus, iFax, eFax app, Genius Fax, Tiny Fax, and Fax Burner. Look for apps with high ratings and useful features. Some apps offer free fax numbers while others provide toll-free numbers. Essential factors include the app’s ease of use and its ability to integrate with cloud services for document access.
Creating an Account and Getting a Fax Number
After choosing an app, create an account. Most apps will prompt you to do this after installation. During sign-up, the app may offer you a free fax number or the option to get a toll-free number. This number is vital as it allows you to send and receive faxes.
Understanding Subscription Plans and Costs
Most iPhone fax apps come with various subscription plans. These may range from pay per fax for occasional users to monthly or yearly subscriptions for frequent users. Many apps provide free trials which allow you to test their services. Always review the subscription details carefully to pick a plan that matches your faxing needs without unnecessary expenses.
Sending and Managing Faxes with iPhone
Efficient fax management on an iPhone hinges on proper document preparation, straightforward sending methods, and reliable tracking of sent faxes.
Preparing Documents to Fax
Users need to ensure their documents are ready for faxing. To do this, they can take advantage of iPhone’s camera to scan documents directly. Many fax apps provide a scanning feature that converts photos into fax-ready files. For digital documents, users can attach files from sources like Box, Google Drive, Dropbox, or from the iPhone’s Files or Notes app. All files should be clear and legible.
Sending a Fax Using Your iPhone
Sending a fax is as simple as composing a new fax in the chosen app, like Fax.Plus or eFax. Users must enter the recipient’s fax number and attach the necessary files. Adding a cover letter is possible too. After composing the fax, they can send it directly to the recipient’s fax machine or email—whichever is applicable to the app being used. Most apps have a ‘Send’ button to press, and the fax is on its way.
After Sending: Tracking and Notifications
Once a fax is sent, users can monitor its status through the fax app’s outbox or through notifications. Many fax apps offer confirmation when faxes reach their destination successfully. Alerts can also inform them if a fax fails to send, enabling them to quickly respond and take necessary action. This ensures that users stay informed about the faxes they’ve sent.


