Creating an Apple ID is essential for anyone looking to access Apple services and apps, even without an iPhone or other Apple device. An Apple ID allows users to download from the App Store, listen to Apple Music, and use iCloud for storage. It is possible and straightforward to set one up using just a web browser on any device.
The process begins with ensuring you have a valid email address, which will be your Apple ID, and coming up with a secure password. Security questions and a phone number for verification complete the set-up requirements. Users can then head to Apple’s official website to sign up for a new Apple ID.
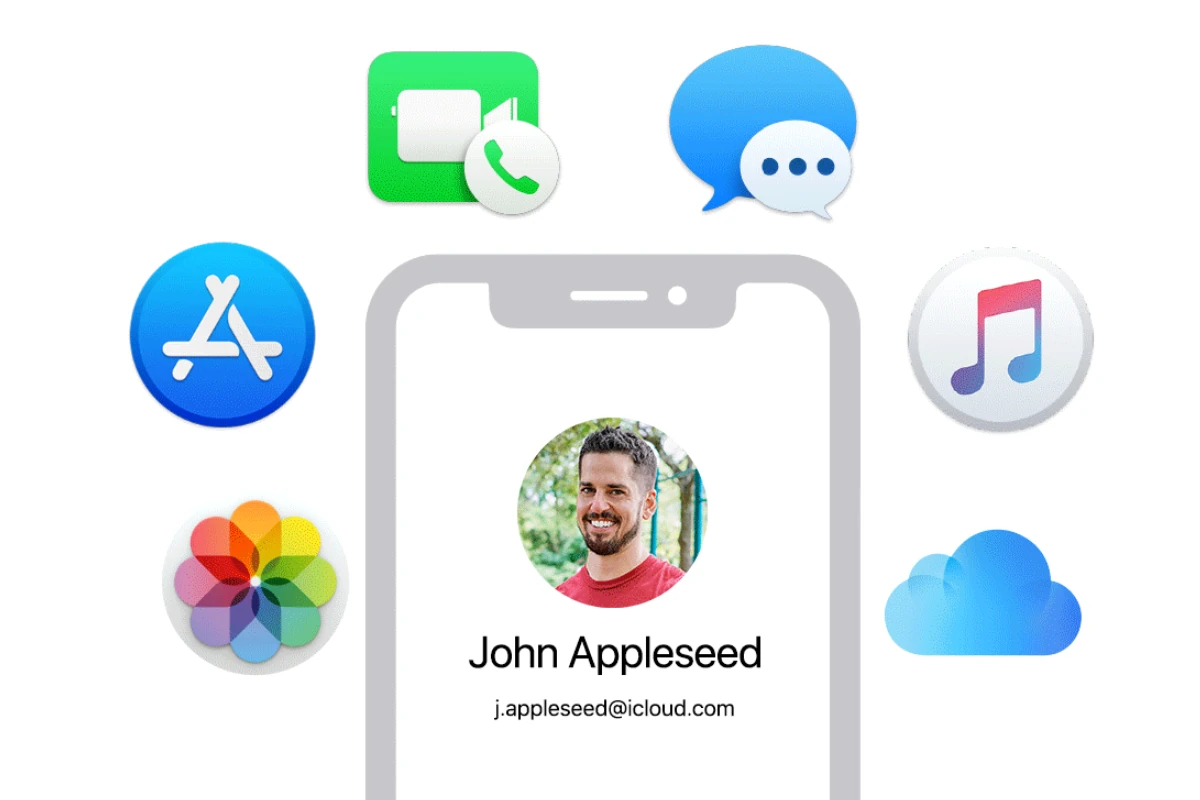
Following the creation, an Apple ID can be used to log into various Apple services across devices. This flexibility means that users are not limited to Apple’s ecosystem and can enjoy Apple’s services regardless of the device they own.
Method 1: Create via Web Browser (Any Device)
- Open a browser (Chrome, Safari, Edge, etc.).
- Go to Apple ID account page.
- Click Create Your Apple ID.
- Fill in your details:
- First & last name
- Country/region
- Birthday
- Email (this becomes your Apple ID)
- Create a password
- Set up security questions
- Enter the CAPTCHA code and click Continue.
- Verify your email by entering the 6-digit code Apple sends you.
👉 Done! You now have an Apple ID, usable on any Apple service.
Method 2: Create on a Windows PC (Using iTunes)
- Download and install iTunes for Windows from Apple’s website.
- Open iTunes → From the menu bar, select Account → Sign In → Create New Apple ID.
- Follow the on-screen instructions (similar to the web method).
- Verify your email and payment method (you can skip adding a credit card if you want).
Method 3: Create on Other Devices (Android, Smart TV, etc.)
If you’re signing up for services like Apple Music or Apple TV+ on non-Apple devices:
- Download the Apple Music or Apple TV app from the Google Play Store or your Smart TV’s app store.
- Open the app → tap Sign In → Create New Apple ID.
- Follow the setup steps and verify your email.
Tips & Notes
- You don’t need to add a credit card—choose “None” during setup if you only want free apps/services.
- Always use a valid email address you can access (it’s your login + recovery method).
- Once created, you can use your Apple ID on any Apple device later (iPhone, iPad, Mac, Apple Watch, etc.).
⚡ Quick Recap
- Web browser: Go to appleid.apple.com → Create Apple ID.
- Windows PC: Use iTunes → Create New Apple ID.
- Other devices: Use Apple Music/TV app → Sign up.
Key Takeaways
- An Apple ID grants access to various Apple services without needing an iPhone.
- Users need an email, a password, and a phone number to set up a new Apple ID.
- An Apple ID can be created through Apple’s website on any web-enabled device.
Preparation for Apple ID Creation
Before creating an Apple ID without an iPhone, understanding the process and gathering the necessary details is essential. Here’s how to get ready to create your Apple ID.
Requirements and Eligibility
First, anyone can sign up for an Apple ID as long as they have a valid email address and access to a device connected to the internet. This device can be a PC running Windows, a Mac, or even an Android device. The user must be eligible according to Apple’s terms, usually meaning they meet the age requirement for their country.
Choosing Your Platform
Choose a platform to create an Apple ID on. It can be a Windows PC, Mac, or web browser such as Chrome, Safari, or Firefox on any device. No Apple device is required. Users can visit the Apple ID webpage from any browser to start the creation process.
Gathering Necessary Information
For smooth enrollment, prepare these details in advance:
- Email Address: This will be your new Apple ID. Ensure it’s active and accessible for verification steps.
- Password: Create a strong password that combines letters, numbers, and special characters.
- Country or Region: Set your location to ensure you receive the appropriate services and support.
- Phone Number: Have a phone number ready for possible two-factor authentication.
- Security Questions: Think of answers to security questions for account recovery.
- Payment Method: If you plan on purchasing services or products, have a payment method ready. This step can also be done later.
Users should also agree to Apple’s terms and conditions and set up two-factor authentication during the sign-up process for added security.
Steps to Create an Apple ID Without an iPhone
Creating an Apple ID is not limited to iPhone owners. People with a PC, Mac, or other Apple devices can also sign up for an Apple ID to access services like iCloud, Apple Music, iMessage, and more.
Creating via Web Browser
To start, open a web browser on any device. Navigate to the Apple ID website at appleid.apple.com. Then click “Create Your Apple ID”. Fill in the form with your name, chosen email address, password, and billing information. Apple may ask for a credit card, but if it’s not required, you may skip this step. After submitting this form, wait for a verification email. Follow the instructions to confirm your new Apple ID.
Using iTunes on a Windows PC or Mac
If you have a PC or Mac, you can create an Apple ID using iTunes. First, install iTunes from the Apple website if it’s not already on your computer. Open iTunes, click “Account” on the menu bar, and select “Sign In”. Choose “Create New Apple ID” and provide your email, password, and billing details. Complete the required fields and look out for the verification email. Open it and verify your account to finish setting up your Apple ID.
Setting Up on Other Apple Devices
You might own other Apple devices like an iPad. If so, go to “Settings” and tap “Sign in to your iPad”. Select “Don’t have an Apple ID or forgot it?” and then tap “Create Apple ID”. Enter your name, email, and other details. Apple will send a verification code for you to enter as part of the process. Once you’re done, your Apple ID is ready and you can sync it across devices, using services such as iCloud, Pages, Keynote, and Numbers.
To keep your account secure, enable two-factor authentication during setup. This adds an extra layer of security whenever you log in on a new device.


