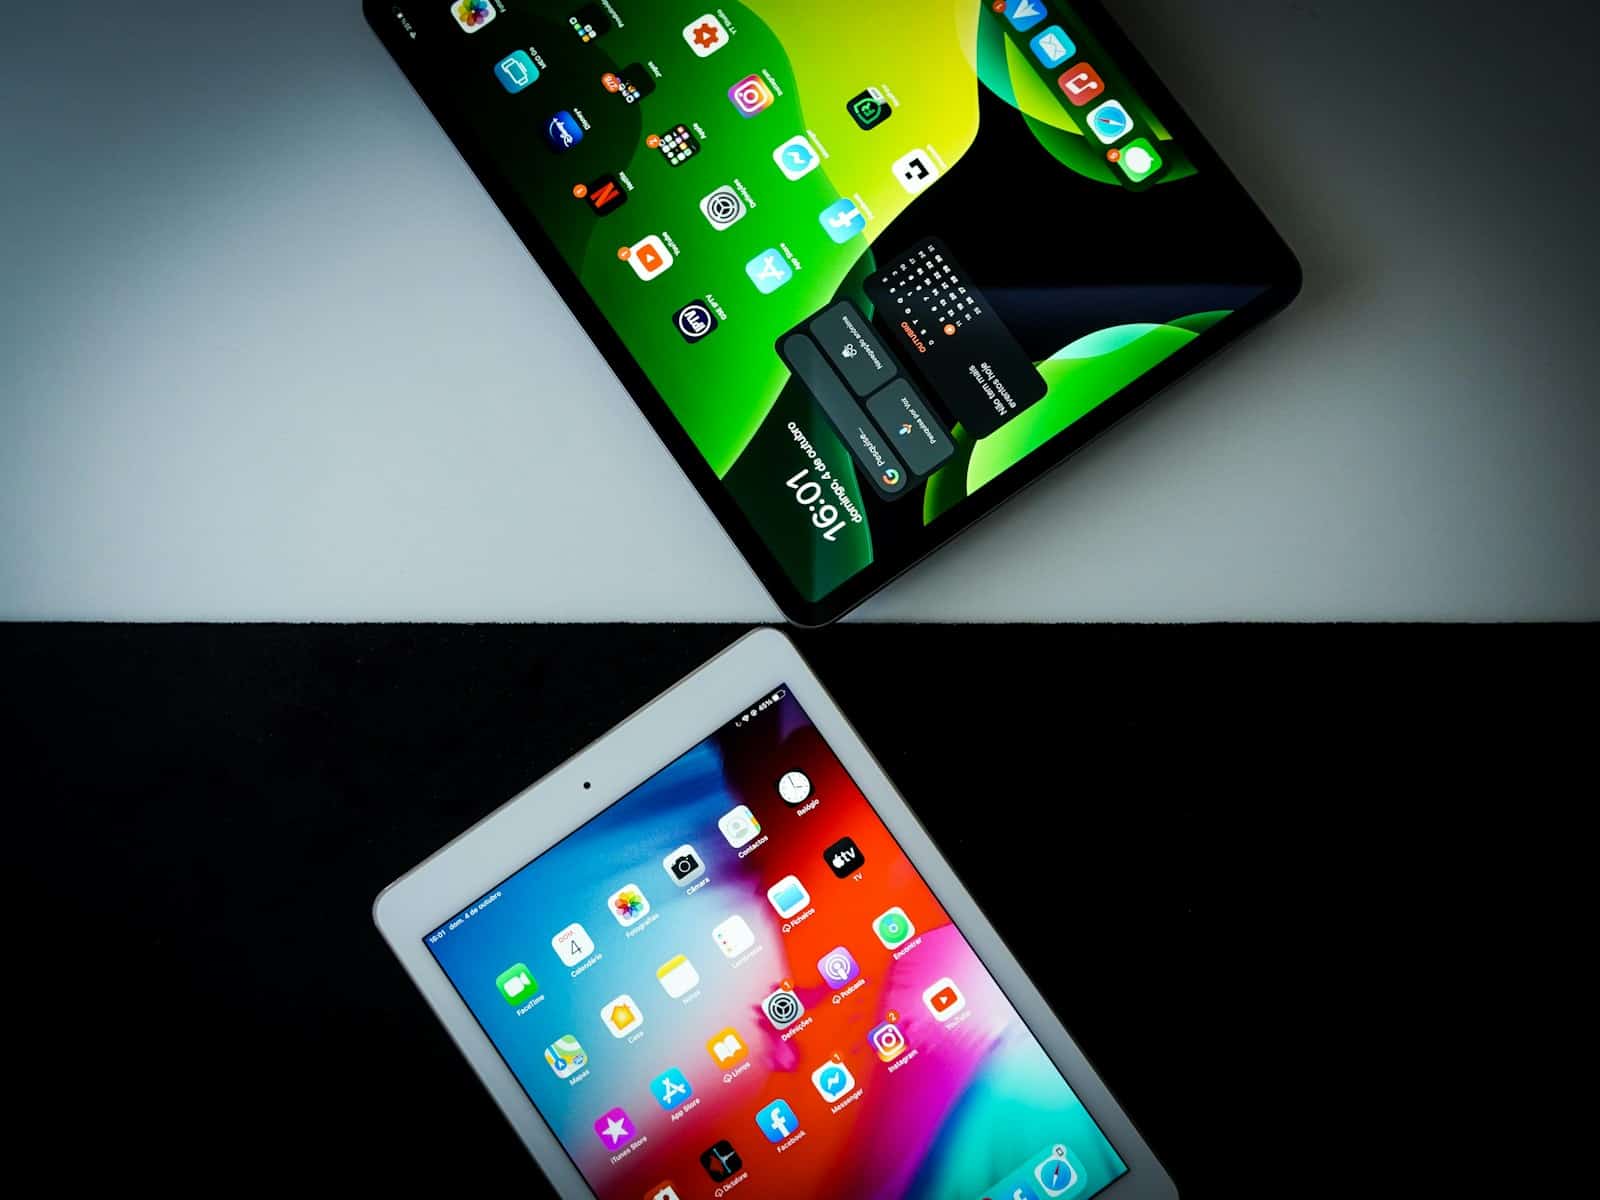
Getting a new iPad is exciting, but moving all your stuff from your old tablet can seem tricky. You don’t need to worry though – Apple has made this process simple and straightforward. You can transfer all your data from an old iPad to a new one using Quick Start, iCloud, or by connecting to a computer with Finder or iTunes.
The easiest method is using Quick Start, which lets you hold your new iPad near your old one to begin the transfer process. Make sure both iPads have Bluetooth turned on and are connected to Wi-Fi. Your new iPad will detect the old one and walk you through the steps to move everything including apps, photos, messages, and settings.
If you prefer a different approach, you can use iCloud backups or connect to a computer. Many users find these methods reliable when transferring data between iPads of different generations. The process usually takes a few minutes to an hour depending on how much data you have.
Transferring data from one iPad to another can be done using several methods, depending on whether you’re setting up a new iPad or just want to move specific content. Here are the main steps for each approach:
Method 1: Quick Start (For New iPad Setup)
This is the easiest method if you’re setting up a new iPad and both devices are running iOS 11 or later.
- Ensure Both iPads are Ready:
- Make sure both iPads are charged or connected to power.
- Place your new iPad near your current iPad.
- Ensure Bluetooth is turned on for both devices.
- Connect both iPads to Wi-Fi.
- Start Quick Start:
- Turn on your new iPad. The “Quick Start” screen should appear on your current iPad, asking if you want to use your Apple ID to set up the new iPad.
- Tap “Continue” on your current iPad.
- Scan Animation:
- A blue circular animation will appear on your new iPad. Use the camera on your current iPad to scan this animation.
- If you can’t use the camera, tap “Authenticate Manually” and follow the on-screen steps.
- Enter Passcode:
- On your new iPad, enter the passcode of your current iPad when prompted.
- Set Up Face ID or Touch ID:
- Follow the instructions to set up Face ID or Touch ID on your new iPad.
- Transfer Data:
- When you reach the “Transfer Your Data” screen, select “Transfer from iPad” to directly transfer data from your old iPad to your new one.
- Alternatively, you can choose “Download from iCloud” to restore from an iCloud backup, or “Transfer from Mac or PC” if you have a backup on your computer.
- Keep both iPads close to each other and connected to power until the data transfer is complete. The transfer time will vary depending on the amount of data.
Method 2: iCloud Backup (For New or Erased iPad)
This method is great if you’re setting up a new iPad, have erased an old one, or don’t have your old iPad physically present.
- Back up Your Old iPad to iCloud:
- On your old iPad, go to Settings > [Your Name] > iCloud > iCloud Backup.
- Tap Back Up Now and wait for the backup to complete. Make sure you’re connected to Wi-Fi.
- Start Setup on New iPad:
- Turn on your new iPad.
- Follow the on-screen instructions until you reach the Apps & Data screen.
- Restore from iCloud Backup:
- Select Restore from iCloud Backup.
- Sign in with your Apple ID and password.
- Choose the most recent backup from the list.
- Complete Setup:
- The restoration process will begin. Keep your iPad connected to Wi-Fi and power until it’s finished. Your apps and data will download in the background.
Method 3: iTunes/Finder Backup (For New or Erased iPad)
This method involves using a computer (Mac with Finder or PC/older Mac with iTunes) to back up your old iPad and restore it to your new one.
- Back up Your Old iPad to Computer:
- Connect your old iPad to your computer.
- Mac (macOS Catalina or later): Open Finder, select your iPad in the sidebar, and click “Back Up Now.”
- PC or Mac (macOS Mojave or earlier): Open iTunes, select your iPad icon, and click “Back Up Now.”
- For encrypted backups (which include passwords and Health data), check “Encrypt local backup” and set a password.
- Erase/Reset New iPad (if not new):
- If your new iPad already has data, you might need to erase it first: Go to Settings > General > Transfer or Reset iPad > Erase All Content and Settings.
- Start Setup on New iPad:
- Turn on your new iPad.
- Follow the on-screen instructions until you reach the Apps & Data screen.
- Restore from Mac or PC:
- Select Restore from Mac or PC.
- Connect your new iPad to the same computer you used for the backup.
- Mac (macOS Catalina or later): Open Finder, select your iPad, and choose “Restore Backup.”
- PC or Mac (macOS Mojave or earlier): Open iTunes, select your iPad icon, and choose “Restore Backup.”
- Select the backup you want to restore. If the backup was encrypted, you’ll need to enter the password.
- Complete Setup:
- Wait for the restore process to complete. Keep your iPad connected to the computer until it restarts and syncs.
Method 4: Specific Data Transfer (e.g., Photos, Files)
If you only want to transfer specific types of data without a full restore:
- iCloud Photos: Turn on iCloud Photos (Settings > [Your Name] > iCloud > Photos) on both iPads to sync your photo library.
- iCloud Drive/Files App: Store documents and files in iCloud Drive, and they will be accessible on both iPads when signed in with the same Apple ID.
- AirDrop: For quick transfers of photos, videos, documents, and more between two nearby iPads.
- Open the item you want to share.
- Tap the Share button.
- Tap the AirDrop icon and select the recipient iPad.
- Third-Party Cloud Services: Use services like Google Drive, Dropbox, or OneDrive to transfer files between devices.
- Email/Messaging Apps: Send smaller files, photos, or documents to yourself via email or messaging apps.
Choose the method that best suits your situation and the amount of data you need to transfer. Quick Start is generally the most convenient for new iPad setups.
Key Takeaways
- Place your new iPad near your old one with Bluetooth on to use Quick Start for an automatic transfer.
- Back up your old iPad to iCloud and restore the backup on your new device for a wireless transfer option.
- Connect your iPad to a computer with Finder or iTunes when you need an alternative transfer method.
Requirements for Data Transfer
Before starting the transfer process, you need to prepare both devices correctly. This includes making sure your iPads are compatible with each other and setting up the right connection methods.
Checking Compatibility
To transfer data between iPads, both devices need to meet certain requirements. Your new iPad should run iOS 11 or later for the Quick Start feature to work properly. The old iPad needs to run a compatible version of iOS as well.
Make sure both iPads have:
- Enough battery (at least 50% is recommended)
- Sufficient storage space on the new iPad for all your data
- Same Apple ID signed in on both devices
If your old iPad runs an ancient iOS version, consider updating it before starting the transfer. This helps avoid compatibility issues during the process.
Remember to have your Apple ID password ready. You’ll need it during setup when transferring data to your new device.
Ensuring Connectivity
Strong connections are vital for a smooth data transfer. Both iPads need to be connected to the same network to communicate effectively.
Wi-Fi requirements:
- Connect both iPads to the same Wi-Fi network
- Use a stable home network rather than public Wi-Fi
- Stay close to your router during transfer
Bluetooth must be turned on for both devices. This allows them to detect each other during the initial setup phase. The transfer will use the Wi-Fi connection for the actual data movement.
Keep the iPads physically close to each other during setup. The transfer process works best when devices are within a few inches of each other. Some users on Reddit recommend placing them side by side during the entire process.
If using cellular iPads, Wi-Fi transfer is still preferred for speed and data savings.
Using iCloud for Data Transfer
iCloud offers a simple way to move your data between iPads. This method works wirelessly and saves all your important content like photos, videos, and ebooks without needing cables or computers.
Creating an iCloud Backup
Before starting the backup process, connect your old iPad to Wi-Fi. Go to Settings, tap your name at the top, then select iCloud. Look for iCloud Backup and make sure it’s turned on.
Tap Back Up Now to start a manual backup. This saves your:
- Photos and videos
- App data
- Device settings
- Messages
- Purchased content
The backup might take several minutes depending on your internet speed and how much data you have. Keep your iPad connected to power during this process for best results.
Make sure you have enough iCloud storage space for your backup. Apple gives you 5GB for free, but you might need to buy more if you have lots of photos or videos.
Restoring from iCloud Backup
Once your backup is complete, you can set up your new iPad. Turn it on and follow the setup steps until you reach the Apps & Data screen.
Select Restore from iCloud Backup and sign in with your Apple ID. Choose the most recent backup from your old iPad.
Your new iPad will start downloading all your data from iCloud. The download might take some time based on your internet speed and backup size.
Keep your iPad connected to Wi-Fi and power during this process. Your apps will download after the initial restore is complete.
When finished, your new iPad will have all the same settings, apps, and content as your old one. Photos, videos, ebooks, and other personal data will all transfer automatically.
Transferring Data with iTunes
iTunes offers a reliable way to transfer all your data from one iPad to another. This method works well even when you don’t have a good internet connection or prefer using your computer for backups.
Creating iTunes Backup
To create a backup with iTunes, first connect your old iPad to your computer using a USB cable. Open iTunes if it doesn’t start automatically. If you’re using a Mac with macOS Catalina or newer, open the Finder instead of iTunes.
Click on the iPad icon when it appears in iTunes. Look for the “Backups” section on the summary page. Select “This computer” under the backup options.
For extra security, check the “Encrypt local backup” box. This saves your passwords and health data. Create a password you won’t forget!
Click “Back Up Now” to start the process. Wait until it finishes – this might take several minutes depending on how much data you have.
Restoring from iTunes Backup
After backing up your old iPad, disconnect it and connect your new iPad to the computer. If it’s brand new, follow the setup screens until you reach “Apps & Data.”
Choose “Restore from iTunes Backup” on your iPad. In iTunes, select your new iPad when it appears.
In the summary page, click “Restore Backup.” Choose the backup you just created from your old iPad. If you encrypted the backup, enter your password when prompted.
Click “Restore” and wait. Keep your iPad connected until the process finishes. Your iPad will restart and begin syncing apps and data.
Once complete, all your content, settings, and apps from your old iPad will appear on your new device.
Quick Transfer Using AirDrop
AirDrop lets you wirelessly transfer files between iPads quickly and easily. This feature uses Bluetooth and Wi-Fi to create a direct connection, allowing for fast transfers without needing internet access.
Setting Up AirDrop
To use AirDrop, first make sure both iPads have Wi-Fi and Bluetooth turned on. Open Control Center by swiping down from the top-right corner on newer iPads or up from the bottom on older models.
Press and hold the wireless controls section and tap the AirDrop icon. Choose who can send you files: “Receiving Off,” “Contacts Only,” or “Everyone.” For a one-time transfer between your own devices, “Everyone” works best.
If you can’t see the other iPad, check that both devices are:
- Unlocked
- Within 30 feet of each other
- Not in airplane mode
- Using compatible models (iOS 7 or later)
AirDrop settings might need adjustment if devices aren’t visible to each other.
Transferring Files
To transfer data using AirDrop, open the app containing the files you want to share. Select the photos, videos, or documents by tapping them.
Hit the Share button (the square with an upward arrow). In the sharing sheet that appears, you’ll see available AirDrop devices at the top.
Tap the icon representing the iPad you want to send files to. The recipient will get a notification asking to accept or decline the transfer.
Once accepted, the files transfer automatically and save to the same app on the receiving iPad. Photos and videos go to the Photos app, while documents open in their compatible apps.
For large transfers, keep both devices awake and close to each other until the process completes.
Using a Third-Party Data Transfer Tool
For iPad users who prefer alternatives to Apple’s built-in transfer methods, third-party data transfer tools offer flexible options. These specialized apps can simplify moving files, photos, and other content between iPads.
Selecting a Reliable Tool
When choosing an iOS data transfer tool, look for options with good reviews and strong security features. Popular choices include:
- EaseUS MobiMover: Transfers photos, videos, contacts, and more without iCloud or iTunes
- AnyTrans: Offers selective or complete transfers between iPads
- dr.fone: Provides both wireless and wired transfer options
Always check app compatibility with your iPad models. Newer tools support the latest iOS versions, while older iPads might need specific software.
Pick tools that offer free trials before buying. This helps you test if the app meets your needs. Most quality tools cost between $20-50 for a license, but many offer limited free versions.
Initiating the Transfer Process
Most third-party transfer tools follow a similar process:
- Download and install the software on your computer
- Connect both iPads to your computer using cables
- Open the transfer tool and select “Transfer” or “iPad to iPad” option
- Choose what content to move (photos, contacts, messages, etc.)
- Start the transfer and wait for completion
Many tools let you transfer files between iPads without a computer through direct Wi-Fi connections. This works by installing the app on both devices.
For large transfers, use a wired connection for speed and reliability. Wireless transfers work well for smaller files but take longer for photos and videos.
Always keep both iPads charged during transfers. The process can drain batteries quickly, especially with larger transfers.
Managing Different iPad Models
Different iPad models may require specific approaches when transferring data. The process varies slightly depending on whether you’re moving to a larger iPad Pro or a more compact iPad Mini 4.
Transferring to iPad Pro
The iPad Pro offers more storage and processing power, making it ideal for large data transfers. When transferring everything from an old iPad to an iPad Pro, you can take advantage of the faster processor to reduce transfer time.
Start by placing the devices near each other. The iPad Pro will detect your old device automatically through Quick Start. This feature helps set up the new iPad Pro using information from your current iPad.
For large files like photos and videos, the iPad Pro’s increased storage capacity is helpful. Most users can transfer all data directly without worrying about space limitations.
iPad Pro models support faster Wi-Fi connections, which speeds up wireless transfers. If you’re transferring many large apps or files, connect both devices to power during the process.
Transferring to iPad Mini 4
The iPad Mini 4 has different considerations due to its smaller size and potentially more limited storage. When transferring to this compact model, check the available storage first to avoid transfer errors.
Users can still use Quick Start to transfer data to the iPad Mini 4. Place the devices side by side and follow the on-screen instructions that appear when turning on the new iPad.
If storage space is a concern, be selective about what you transfer. Choose specific apps, photos, and files rather than moving everything at once.
The iPad Mini 4 works best with focused transfers. Consider using iCloud to store larger files that don’t need to be on the device itself. This approach keeps your Mini running smoothly while still giving you access to all your content.
Direct transfers between devices typically work well, but keep both iPads charged during the process.
Troubleshooting Transfer Issues
Moving data between iPads can sometimes hit unexpected roadblocks. These common problems have solutions that range from simple fixes to more technical approaches.
Common Transfer Challenges
When your new iPad gets stuck during the transfer process, try turning both devices off and on again. Press the power button for about 10 seconds on each iPad to perform a proper shutdown.
One frequent issue is that the new iPad might not be up to date. In this case:
- Set up the new iPad without transferring data
- Update the software
- Reset the device
- Try the transfer process again
Make sure both devices have:
- Good battery life (at least 50%)
- Strong Wi-Fi connection
- Bluetooth turned on
- Enough storage space
Sometimes the Quick Start feature fails because the iPads are too far apart. Keep them within a few inches of each other during the entire process.
Seeking Expert Help
When self-help methods don’t work, it’s time to consult the professionals. Apple offers several support options for transfer problems.
Users can contact Apple Support through:
- The Apple Support app
- Online chat on Apple’s website
- Phone support
- In-person help at an Apple Store
Many users find success with JustAnswer’s verified experts who can walk through advanced troubleshooting steps. These tech support specialists often provide custom solutions based on specific error messages.
For iPod Touch users trying to transfer data to an iPad, the process follows similar steps but may require iTunes if dealing with older models.
Before contacting help, gather important details:
- Model numbers of both devices
- iOS versions running on each
- Any error messages displayed
- Steps already tried
Frequently Asked Questions
Transferring data between iPads involves several methods and potential challenges. Here are answers to common questions about moving your apps, photos, and settings from one device to another.
What are the steps to transfer data to a new iPad after the initial setup is complete?
If you’ve already set up your new iPad, you can still transfer data from your old device. Go to Settings on your new iPad and tap on General > Reset > Erase All Content and Settings.
This will allow you to start fresh and use either Quick Start or an iCloud backup to transfer your data. Make sure both devices are connected to Wi-Fi and have Bluetooth turned on.
Another option is to selectively transfer content through iCloud. Turn on specific services like Photos, Contacts, and Notes in iCloud settings on both devices.
What methods are available for transferring data between iPads without using iCloud?
You can transfer data directly using Quick Start. This method uses Bluetooth and Wi-Fi to move everything from your old iPad to your new one without using iCloud storage.
iTunes or Finder (on Mac) offers another option. Connect your old iPad to your computer, create a backup, then connect your new iPad and restore from that backup.
Using a third-party transfer app is also possible. Several apps in the App Store can help move photos, contacts, and other content between devices.
Is it possible to transfer data from an iPhone to an iPad after the devices have already been set up?
Yes, you can transfer data from an iPhone to an iPad even after setup. Both devices use the same iCloud account system for easy transfers.
Sign in with the same Apple ID on both devices. Then go to Settings > [your name] > iCloud and toggle on the content you want to sync.
For apps, visit the App Store on your iPad and tap your profile picture. Select “Purchased” to find and download apps you’ve installed on your iPhone.
Can I continue using my old iPad after all its data has been transferred to a new one?
Yes, you can keep using your old iPad after transferring data. The transfer process copies your content rather than moving it.
If you want to keep both devices in sync, make sure they use the same Apple ID and have the same iCloud settings enabled. This ensures changes on one device appear on the other.
To use the old iPad for a different purpose, you might want to reset it and set it up with new preferences or a different Apple ID.
How can I resolve issues when my iPad is not syncing data with my new iPad?
Check that both iPads are signed in with the same Apple ID. Go to Settings > [your name] at the top of the screen on both devices to verify.
Ensure both devices have a strong internet connection. Data syncing requires Wi-Fi, and poor connections can cause sync failures.
Restart both iPads if syncing isn’t working. Sometimes a simple restart can fix connection problems between your devices and iCloud.
If issues persist, check iCloud storage. When your iCloud storage is full, syncing may stop. Go to Settings > [your name] > iCloud > Manage Storage to check and free up space if needed.
What should be done immediately upon acquiring a new iPad to ensure data transfer readiness?
Keep your old iPad charged and updated to the latest iOS version. Updates ensure compatibility with the transfer process.
Check your iCloud backup status on your old iPad. Go to Settings > [your name] > iCloud > iCloud Backup and perform a manual backup if needed.
Make note of your Apple ID and password. You’ll need these credentials during the setup of your new iPad to access your data.
Create a list of any third-party app logins you use regularly. Some app data may transfer, but you might need to log in again to certain apps.

