Sharing your location with others can be very useful, especially when making plans or ensuring safety. If you have an iPhone, you can easily control this feature through your device’s settings. By enabling location services, you can allow various apps to use your current location. This feature is deeply integrated into the Apple ecosystem, so you can share your location in real-time or for specific periods through services such as Messages and Find My Friends.
Privacy is a major concern, so iOS ensures that you have control over who can see your location and for how long. You can choose to share your live location for a single occasion or a period, and you can manage this feature with a few taps in your iPhone’s settings. This way, you can grant permissions to the contacts you trust and keep your information safe. With apps like Messages, you can easily send your location to a contact, while Find My allows you to share your whereabouts with family and friends continuously. By carefully managing these settings, you can maintain your privacy while still enjoying the benefits of location sharing.
Effortless Ways to Share Location with Your iPhone
Sharing Location Once
To share your location once, follow these steps:
- Messages: Open a conversation, tap the Plus button, then choose Location. Select the Map Pin button and send it.
- Maps: Drop a pin to share your current location. This won’t show your ongoing location.
Sharing Location on the Way
Share your estimated time of arrival (ETA) or use Check In to notify others of your journey’s progress:
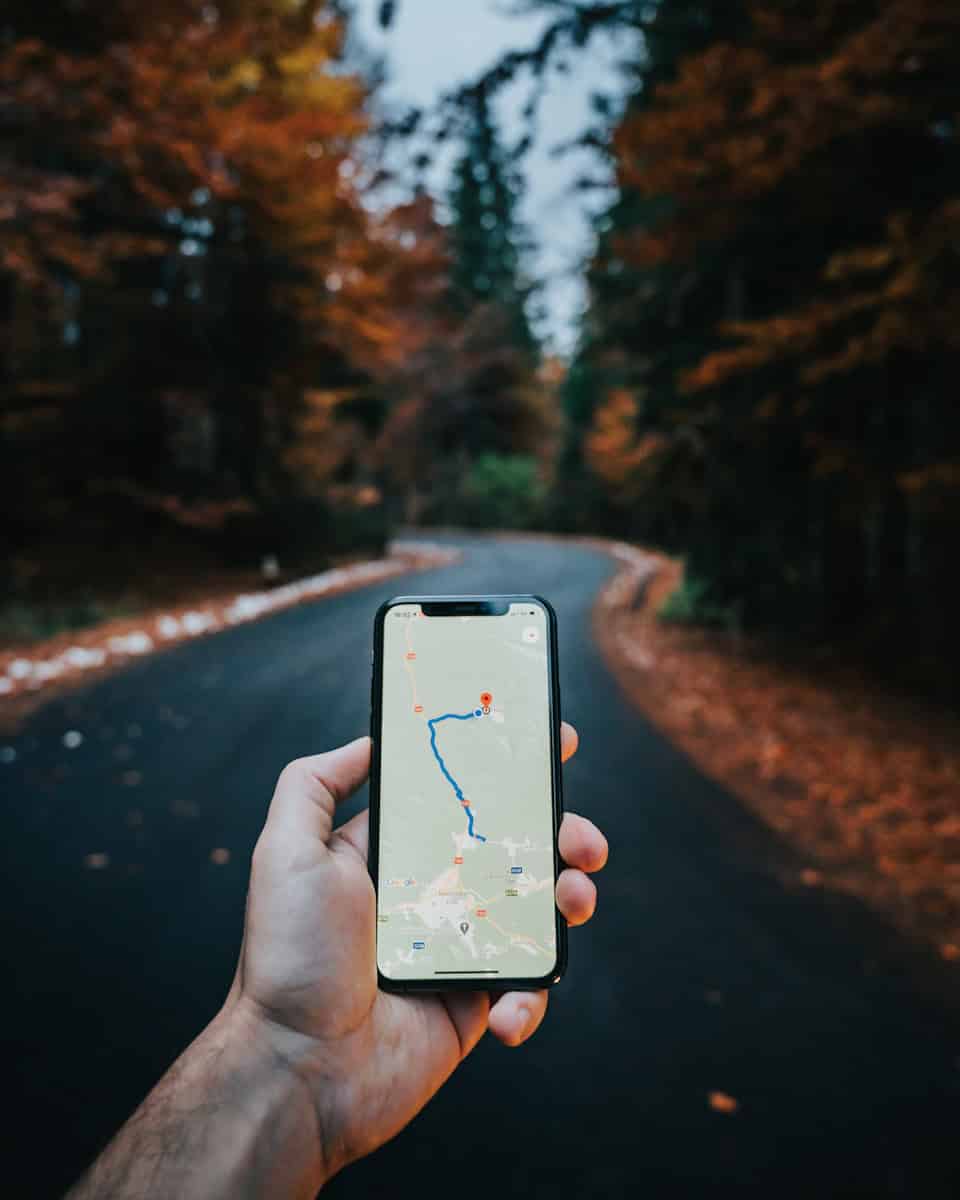
- ETA in Maps: Share your ETA while navigating. It includes turn-by-turn directions and lets others track your route.
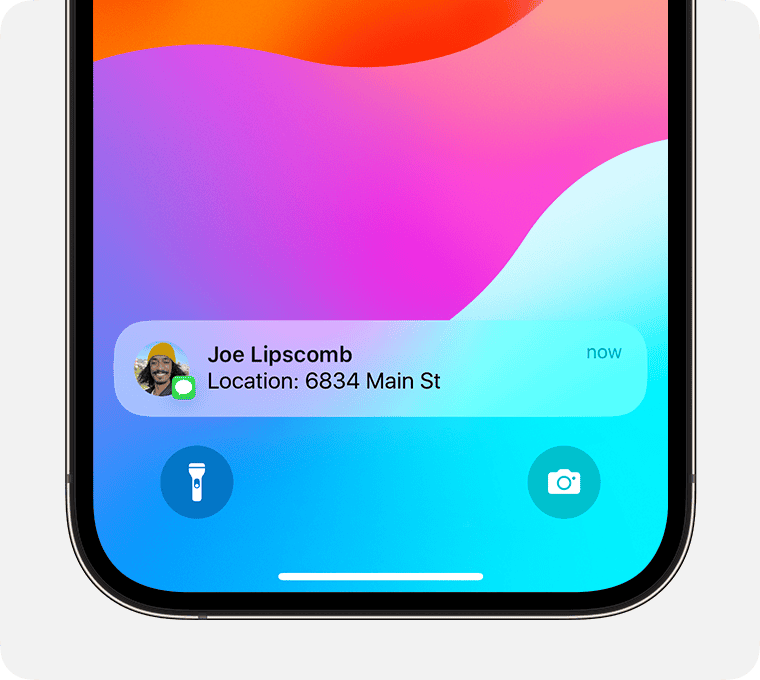
- Check In: Automatically notify trusted contacts if you don’t reach your destination. It also shares battery and network details.
Sharing Live Location
To let trusted contacts follow your real-time movements:
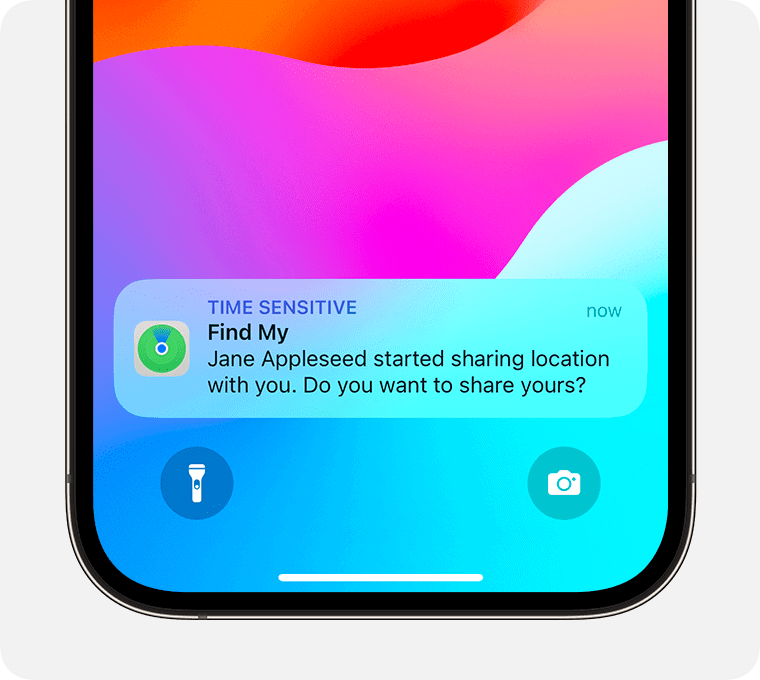
- Find My: Enable “Share My Location” in the Me tab. Add a friend in the People tab and choose the duration.
- Messages: Tap the Plus button in a conversation or use “Share My Location” from the contact details.
Options: Share for an hour, until the end of the day, or indefinitely.
Stopping Location Sharing
Use Find My, Maps, or Messages to stop sharing your location:
- Find My: In the Me tab, turn off “Share My Location”. To stop sharing with specific people, go to the People tab.
- Messages: Open a conversation, tap the name at the top, and select “Stop Sharing”.
- Maps: Tap “Sharing with…” and choose the person to stop sharing with.
Location Sharing Table
| Method | Type of Sharing | App | Details |
|---|---|---|---|
| Current Location | Single Pin | Messages/Maps | Share only current location |
| ETA | Real-Time | Maps | Share route with turn-by-turn directions |
| Live Location | Ongoing | Find My/Messages | Share your live, real-time location |
Key Takeaways
- Location sharing on an iPhone is made simple with built-in iOS features.
- Users can manage location sharing for privacy through adjustable settings and permissions.
- Sharing can be done through Messages and Find My, providing flexibility in how you connect with contacts.
Sharing Your Location via Different Apps and Services
iPhone users can share their location with friends and family in several ways. This ensures that people can find each other or just keep track of loved ones for safety.
Using Find My to Share Your Location
Find My is a built-in app that lets you share your location from your iPhone, iPad, or Mac. To start:
- Open the Find My app.
- Select the Me tab.
- Enable Share My Location.
- Go to the People tab.
- Tap the + and choose Share My Location.
- Pick a contact to share with.
If part of Family Sharing, family members’ locations are already shared with each other. Your location can be shared for an hour, until the end of the day, or indefinitely.
Sharing Location in Messages and Contacts
To share your location with a specific contact:
- Open the Contacts app.
- Select a contact.
- Tap Share My Location.
Or, use the Messages app:
- Open a conversation.
- Tap the contact’s name.
- Choose Info.
- Select Share My Location.
Select how long you wish to share your location here as well.
Third-Party Apps: Google Maps and WhatsApp
For Google Maps:
- Open the Google Maps app.
- Sign in to your Google account.
- Tap your profile icon.
- Choose Location sharing.
- Select Share location and choose a contact.
In WhatsApp:
- Open a chat.
- Tap the + or clip icon.
- Choose Location.
- Tap Share Live Location.
Remember, sharing location on third-party apps might require additional permissions.
Managing Location Sharing Settings and Privacy
Privacy is important. Manage who can see your location through these steps:
- Go to Settings.
- Tap Privacy.
- Select Location Services.
Here, you can:
- Enable or disable location services.
- Choose which apps have permission to use your location.
- Decide on the precise location details shared with each app.
Always review app permissions regularly and only share your location with trusted contacts. For extra privacy, turn off Share My Location in the Find My app or log out from location sharing in third-party apps.