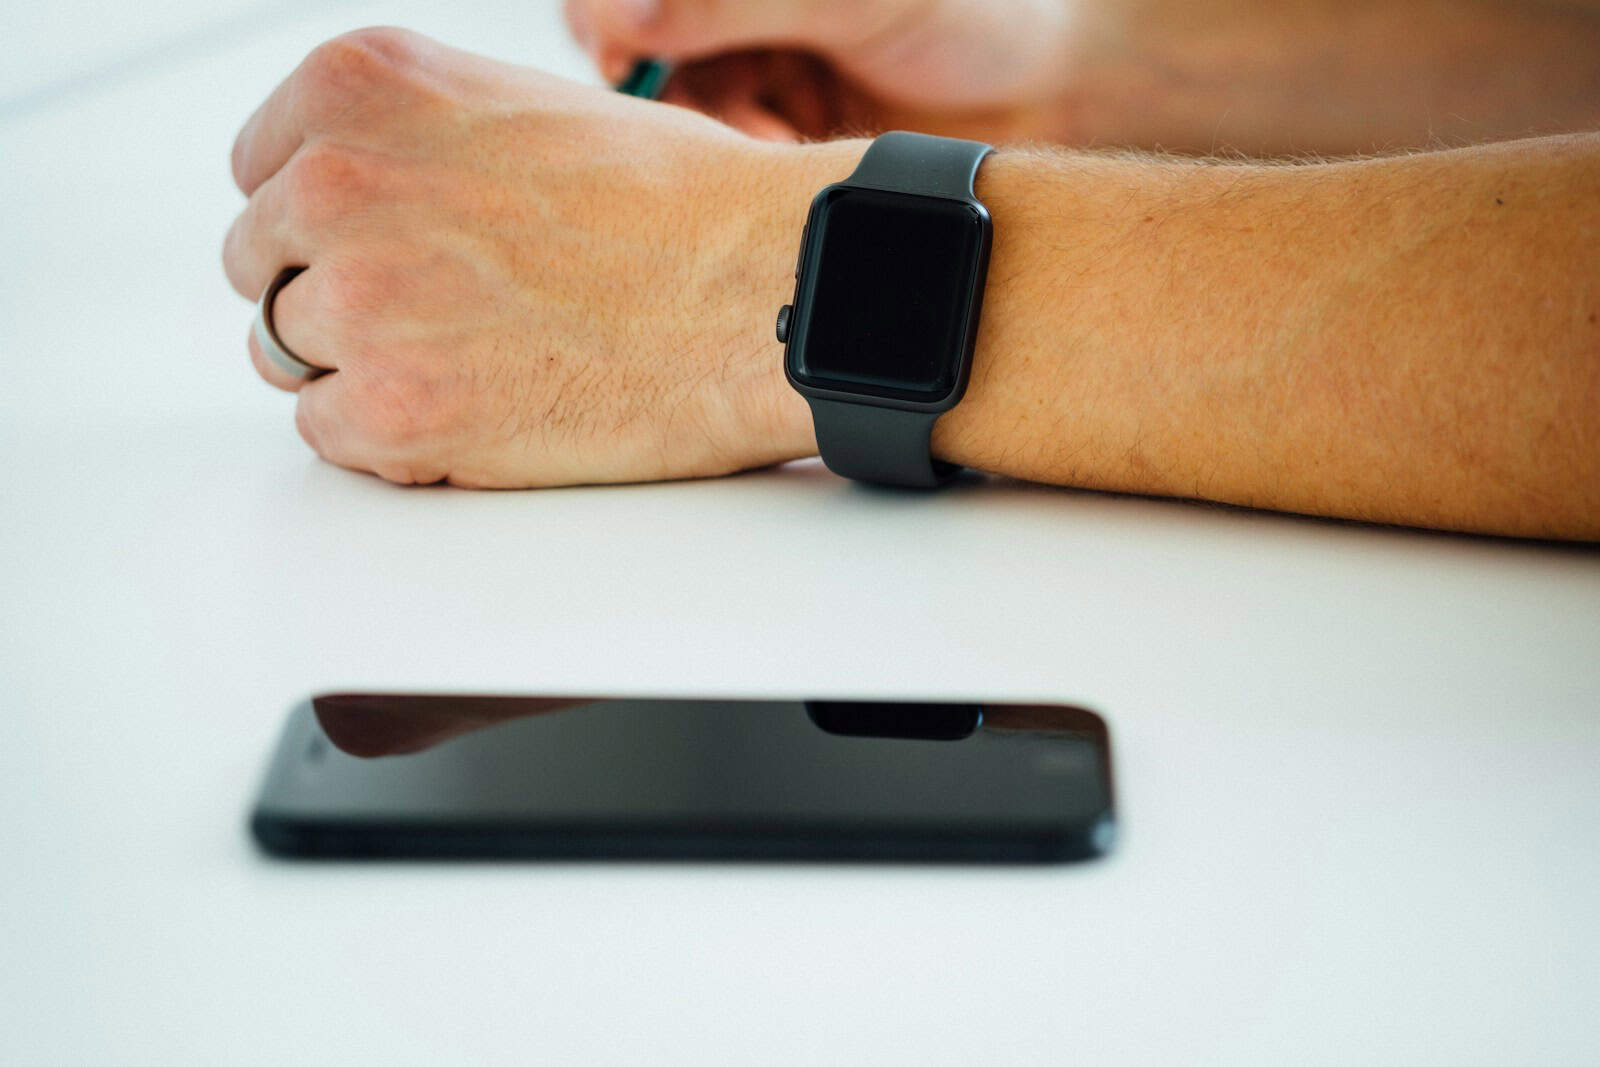
Your Apple Watch isn’t just for checking notifications and tracking your steps — it can also serve as a powerful remote viewfinder for your iPhone camera. Thanks to the built-in Camera Remote app, you can use your Apple Watch as a live camera monitor, allowing you to preview your shot, trigger the shutter, and even start video recordings — all from your wrist.
This feature is especially helpful for group shots, solo photography, content creation, and even casual video monitoring, like keeping an eye on a baby or a pet in the next room.
How To Use Apple Watch As A Camera Monitor
Here’s how to set it up in seconds:
- Launch the Camera Remote app on your Apple Watch.
- Frame your shot using your iPhone. The watch will show a live preview from the phone’s camera.
- Tap the shutter button on your Apple Watch to take a photo.
- Hold the shutter button to start a video recording. Release it to stop.
- Adjust settings (tap the three dots) to toggle flash, switch between front and rear cameras, set a timer, or enable HDR.
✅ Pro Tip: Rotate the Digital Crown to zoom in or out for a tighter or wider shot — great for content creators or vloggers.
Practical Use Cases
- Solo Photography: Capture full-body shots or portraits without needing someone else to hold your phone.
- Group Photos: No need to set a timer and rush into position — frame and snap from your wrist.
- Video Content Creation: Use it to frame yourself when filming tutorials, TikToks, or YouTube videos.
- Overhead or Hard-to-Reach Angles: Mount your iPhone high up or at an odd angle and use your watch as a live monitor.
- Baby or Pet Monitoring: Position your phone in a nursery or near your pet and watch from your Apple Watch while you move around the house.
Common Problems & How To Fix Them
Some users report issues like a black screen or lag when using the Camera Remote. If that happens, try these fixes:
- Restart Both Devices: A quick reboot of your iPhone and Apple Watch often resolves syncing issues.
- Check Auto-Lock Settings: On your iPhone, go to Settings > Display & Brightness > Auto-Lock and set it to at least 1 minute.
- Stay Within Range: Make sure your Apple Watch and iPhone are within Bluetooth range (about 30–33 feet).
- Disable Low Power Mode: Low Power Mode can restrict background functions. Turn it off in Settings > Battery on your Apple Watch.
- Update watchOS and iOS: Always check for the latest updates, as bugs and performance issues are regularly patched by Apple.
Bonus Tips
- Tap the photo preview on your watch to review your most recent shot.
- Ask Siri: Say “Take a photo” or “Start recording video,” and Siri will do the rest.
- Use with Tripods or Gimbals: Pair this feature with a tripod or stabilizer for even more professional results.
Using your Apple Watch as a camera monitor is one of the most underrated features in the Apple ecosystem. Whether you’re a casual user or a serious mobile creator, this simple trick turns your watch into a surprisingly capable photo and video tool.
How to Set Up My Apple Watch
Setting up an Apple Watch is a simple process that begins with your iPhone. To start, make sure your iPhone runs the latest version of iOS, as this ensures compatibility with your Apple Watch. Have your Apple ID ready for a smooth setup, and ensure that both Bluetooth and Wi-Fi are active on your iPhone. Position your Apple Watch close to your phone to prompt the pairing process, which initiates automatically for most users.
Personalizing your Apple Watch is part of the excitement. After pairing, you can select watch faces and adjust settings to fit your preferences. The Apple Watch app on your iPhone is the place to explore watch faces, configure notifications, and install apps. Keep your devices near each other to sync data successfully. It’s also important to update WatchOS, the operating system of your Apple Watch, to access the latest features and security improvements.
Key Takeaways
- Pairing your Apple Watch with an iPhone requires an up-to-date iOS.
- Customization options are numerous, from watch faces to settings.
- Keeping the WatchOS updated is crucial for performance and security.
Initial Setup and Pairing
In this section, learn to start and sync your Apple Watch to your iPhone. The process involves a few key steps from ensuring both devices are ready to customize your settings.
Preparing Your iPhone and Apple Watch
Before pairing, update your iPhone to the latest version of iOS. Make sure Bluetooth is on and your iPhone is connected to Wi-Fi. Charge your Apple Watch if needed. Wear your Apple Watch on your wrist and adjust for a snug fit. To power it on, press and hold the side button until the Apple logo appears.
Pairing Your Devices
Open the Watch app on your iPhone. Hold your iPhone over the animation on your Apple Watch. Wait for a message that says “Use your iPhone to set up this Apple Watch”. Tap continue. If required, position your iPhone so that the Apple Watch appears in the camera viewfinder on your iPhone to complete the pairing. Select “Set Up as New Apple Watch” if this is your first watch or choose to restore from a backup if you’re upgrading.
Configuring Basic Settings
Follow the prompts to sign in with your Apple ID. You can enable options like location services, Siri, and LTE if your watch supports it. Choose settings like creating a passcode, enabling Activity Sharing, and sending diagnostics to Apple. Select the apps you’d like to install from your iPhone or the App Store. Finish by setting up features like Apple Pay and emergency contacts. Once you’re done, explore and enjoy your personalized watch face.
Personalization and Use
Setting up an Apple Watch involves personalizing its features and understanding its usage. The user can tailor the watch face, access apps, track health metrics, manage alerts, and operate Apple Pay.
Customizing Watch Faces and Complications
Users can choose a watch face from the Face Gallery in the Watch app. They then add Complications—small widgets displaying additional information like heart rate or the weather—by pressing firmly on the watch face to enter customization mode.
Installing and Managing Apps
To install apps, the user can open the App Store from the Apple Watch or the Watch app on the iPhone. Apps can be reorganized by touching and holding an app icon until it wiggles, then the user can drag it to a new position or tap the X to remove it.
Setting Up Health and Fitness Features
For health tracking, the user opens the Health app to set up their Medical ID and enter information such as age, weight, and height. Fitness features for tracking workouts, monitoring heart rate, or using the ECG function are set up in the Fitness app and the settings on the Apple Watch.
Understanding Notifications and Glances
Alerts or Glances show important information at a glance and are managed in the Watch app under Notifications. Here the user can select which notifications to receive on the watch and customize the Alert settings.
Using Apple Pay and Passcode
To set up Apple Pay, the user adds a card through the Wallet app on the iPhone. They will then create a passcode for the Apple Watch to ensure secure payments. Payment is made by double-clicking the side button and holding the display of the Apple Watch up to the contactless reader.


