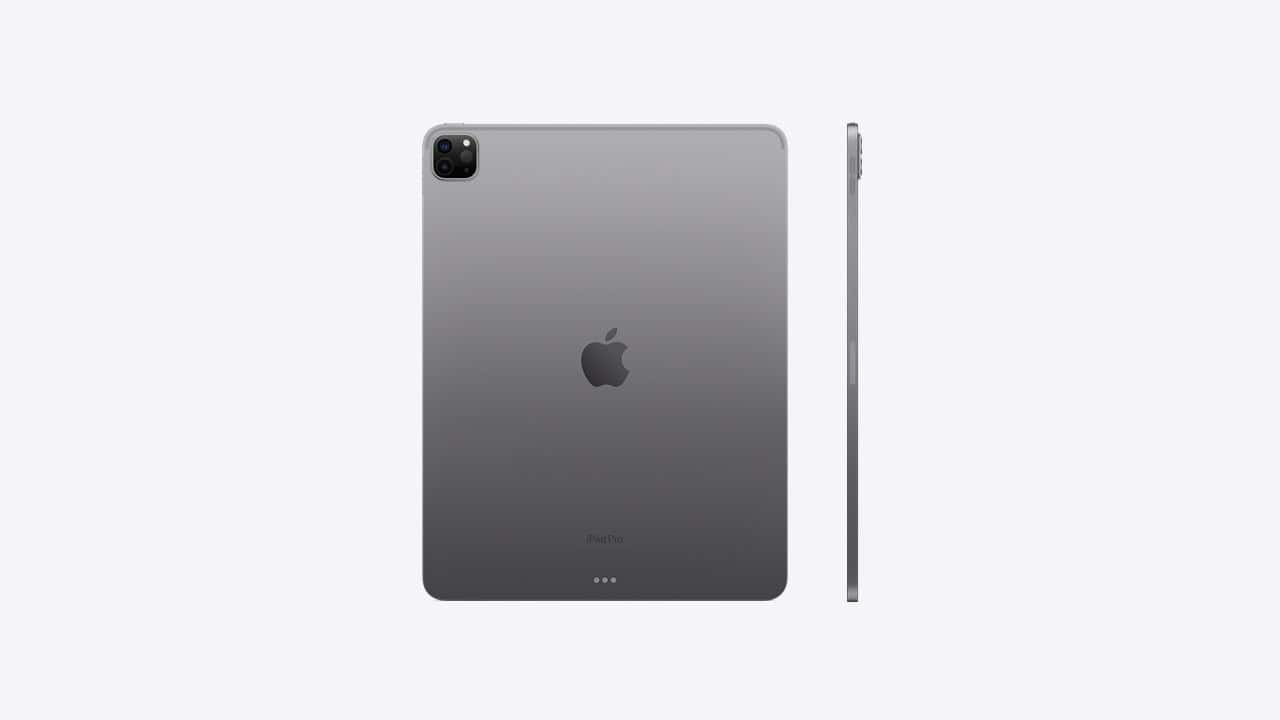
Capturing a screenshot on an iPad Pro, or any iPad model including the iPad Air or iPad Mini, is a simple and useful skill. With these devices, users can take a screenshot quickly using various methods. Whether it is to share a high score from a game, save an important document, or remember a recipe, knowing how to take a screenshot can enhance your experience using an iPad.
Screenshots are not just still images; they open a gateway to further productivity and creativity. Users can manage and edit their screenshots with ease, adding annotations or cropping as needed. The iPad’s robust suite of tools makes it straightforward to customize and share these images with apps or contacts. This offers a quick method to collaborate, instruct, or inform effectively, making use of visual aids.
🧭 1. Using Physical Buttons
For iPad Pro (Face ID models — no Home button)
- Locate the buttons:
- Top button (Power/Sleep–Wake)
- Volume Up button (on the right side)
- Press simultaneously:
- Press Top button + Volume Up at the same time.
- Release quickly.
- The screen will flash white, and you’ll hear a camera shutter sound if your sound is on.
- View your screenshot.
- A thumbnail appears in the bottom-left corner. Tap it to edit or swipe left to save automatically to Photos → Screenshots.
For older iPad Pro models (with a Home button)
- Press Top (or Side) button + Home button at the same time.
- Release both quickly.
- Your screenshot will appear in Photos.
(Reference: Apple Support)
✏️ 2. Using an Apple Pencil
If you have an Apple Pencil (Gen 1 or 2):
- Swipe the Apple Pencil from either bottom corner of the screen toward the center.
- The screenshot editor will open instantly.
- You can annotate, crop, or share right away.
(Useful for quick markups — source: MacObserver)
🗣️ 3. Using Siri or Voice Control
You can also ask:
- “Hey Siri, take a screenshot.”
Or, if you’ve enabled Voice Control (Settings → Accessibility → Voice Control):
- Say “Take screenshot.”
⚙️ 4. Using AssistiveTouch (Accessibility Option)
If pressing buttons is difficult:
- Go to Settings → Accessibility → Touch → AssistiveTouch and turn it on.
- Tap the floating AssistiveTouch menu → Device → More → Screenshot.
🖼️ Where to Find Your Screenshots
All screenshots are saved automatically in:
- Photos app → Albums → Screenshots
You can also find them in Recents.
✅ Tips
- You can edit or markup screenshots immediately after capturing.
- To share quickly, tap the thumbnail and use the share icon.
- Screenshots can also be saved to Files instead of Photos by choosing “Save to Files” in the share options.
In summary:
- Face ID iPads: Top + Volume Up
- Home button iPads: Top + Home
- Apple Pencil: Swipe from bottom corner
- Siri/AssistiveTouch: Hands-free options
Key Takeaways
- iPad Pro makes taking and managing screenshots straightforward.
- Several methods are available to capture screenshots on various iPad models.
- Edit and share screenshots directly from your device with built-in iPad tools.
Taking a Screenshot on an iPad
Capturing a screenshot on an iPad depends on the model you have and the buttons it features. This article guides you through different methods of taking a screenshot on various iPad models.
Using Buttons on Different iPad Models
iPad with a Home Button:
For older iPad models with a home button, press the top button and the home button simultaneously. Release both buttons quickly to capture the screenshot.
iPad without a Home Button:
For recent models like the iPad Pro, iPad Air, or iPad Mini without a home button, press the top button and the volume up button at the same time. Quickly let go of both buttons to take the screenshot.
Using AssistiveTouch and Accessibility Features
The AssistiveTouch feature allows for a screenshot without using hardware buttons. First, enable AssistiveTouch:
- Go to Settings > Accessibility > Touch > AssistiveTouch and turn on AssistiveTouch.
To capture a screenshot using AssistiveTouch:
- Tap the AssistiveTouch button on-screen.
- Select Device > More > Screenshot.
You can customize the AssistiveTouch menu or create custom actions for tasks like screenshots.
Creating a Screenshot with Apple Pencil
For iPad models that support Apple Pencil:
- Swipe from the bottom corner of the screen towards the center with the Apple Pencil.
- Release to take the screenshot.
This method is quick and convenient for users who regularly work with the Apple Pencil.
Managing, Editing, and Sharing Screenshots
Taking a screenshot on an iPad Pro saves it to your Photos app. From there you can edit, organize, or share it with ease.
Accessing and Organizing Screenshots in Photos App
Once you capture a screenshot on your iPad Pro, it appears as a thumbnail preview. Tap the thumbnail to quickly access it or swipe left to save it to your Photos app. In the Photos app, you can find all your screenshots in the Screenshots album. This album groups them together making organization straightforward.
Editing Screenshots with Markup Tools
Editing a screenshot is simple with the iPad’s Markup tools. By selecting a screenshot in your Photos app, tapping edit, and then choosing the Markup feature, you can add annotations, draw, crop, or even place a signature. These tools provide a flexible way to modify your screenshots without the need for additional apps.
Sharing Screenshots with Friends and Family
After editing a screenshot, sharing it with others is just a few taps away. You can use the share icon to send it via email or drop it into a conversation with your contacts on messaging platforms. Photos app also allows you to delete any screenshots that you no longer need, helping you keep your photo library tidy.


