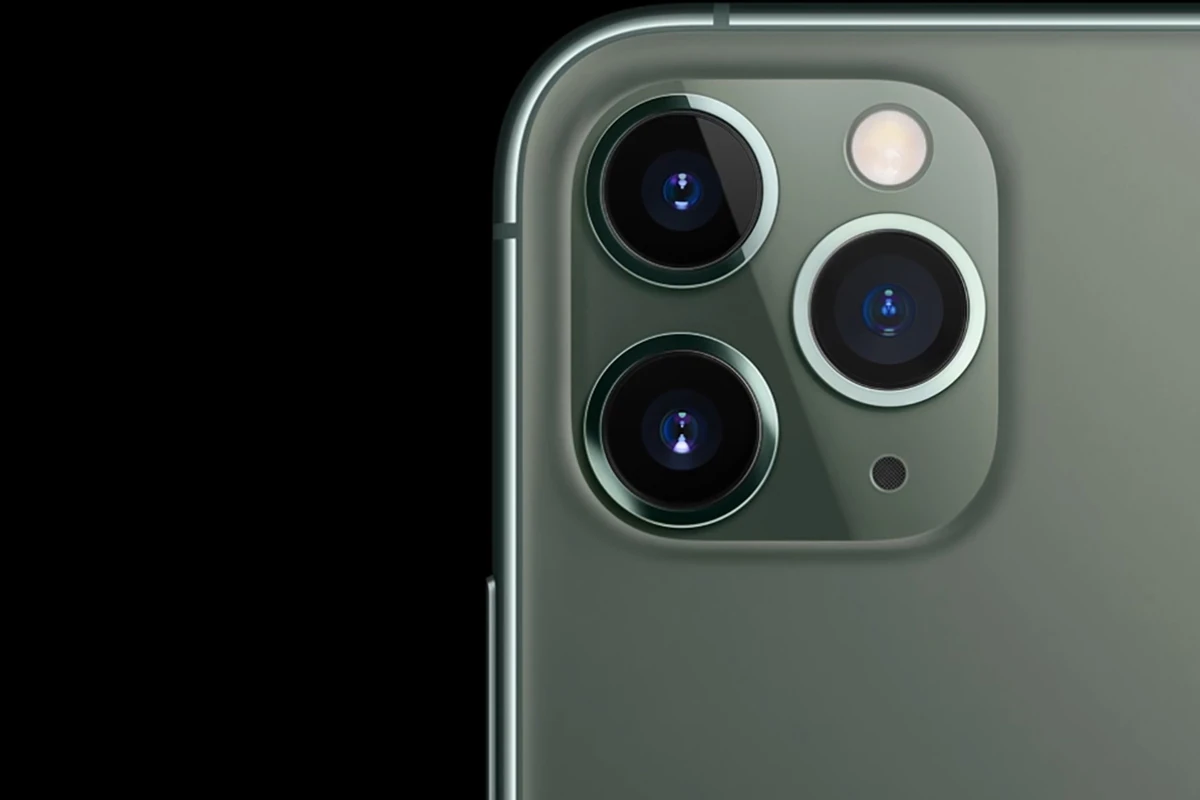
Your iPhone’s built-in scanning capabilities turn it into a portable document and photo scanner. Using apps like Notes and Files, anyone can scan documents, photos, and receipts in seconds with results that rival dedicated scanning hardware.
The iPhone’s scanning features work through the camera, using advanced image processing to detect edges and correct perspective automatically. These digital copies can be saved, shared, or edited instantly – making paper records more accessible and organized.
Ways To Scan Images on iPhone
Using your iPhone to scan images is easy and convenient. Whether you want to digitize old photos, documents, or artwork, your iPhone offers several built-in and app-based options to scan images quickly and with good quality.
1. Scan Images Using the Notes App (Built-in)
The Notes app on iPhone has a built-in document scanner that works well for photos and documents.
Steps:
- Open the Notes app.
- Create a new note or open an existing one.
- Tap the Camera icon above the keyboard.
- Select Scan Documents.
- Position your iPhone’s camera over the photo or image.
- The app will automatically capture the image or tap the shutter button manually.
- Adjust the corners if needed, then tap Keep Scan.
- Tap Save when finished scanning.
Pros: No need to install extra apps, quick and easy, supports multiple scans in one note.
2. Scan Photos Using the iPhone Camera
You can simply use the iPhone camera to take a high-quality photo of the image.
Tips for best results:
- Place the photo on a flat, well-lit surface.
- Avoid glare or shadows by adjusting lighting.
- Hold the iPhone steady and frame the photo properly.
- Use the Edit option in Photos app to crop and enhance the image afterward.
Pros: Fast and straightforward, no special tools needed.
3. Use Third-Party Scanner Apps
Several free and paid apps offer enhanced scanning features like automatic edge detection, perspective correction, and image enhancement.
Popular apps include:
- Adobe Scan (free): Automatic text recognition, multiple scan formats.
- Microsoft Lens (free): Great for documents and photos, integrates with Office apps.
- Scanner Pro (paid): Advanced editing and organization.
- Google PhotoScan (free): Designed specifically for scanning printed photos with glare removal.
Steps (general):
- Download and open the scanning app.
- Follow the in-app instructions to capture images.
- Adjust edges and enhance as needed.
- Save or export the scanned image.
4. Scan Images Using Files App (iOS 13 and Later)
The Files app also supports scanning documents and images.
Steps:
- Open the Files app.
- Navigate to the folder where you want to save the scan.
- Tap the ellipsis (•••) icon in the top-right corner.
- Select Scan Documents.
- Capture the image as you would in Notes.
- Save the scanned file directly to Files.
Tips for Better Scanning Results
- Use natural light or bright, even lighting.
- Avoid reflections and shadows on the image.
- Clean the camera lens before scanning.
- Keep the iPhone steady for sharp images.
- Use apps with auto-cropping and enhancement features for professional results.
Summary Table of Scanning Methods
| Method | Built-in/Third-Party | Best For | Key Features | Cost |
|---|---|---|---|---|
| Notes App Scanner | Built-in | Quick scans, documents | Auto-edge detection, multipage | Free |
| iPhone Camera | Built-in | Simple photo capture | Fast, easy, manual crop/edit | Free |
| Third-Party Scanner Apps | Third-party | High-quality scans | Auto-enhancement, OCR, glare removal | Free/Paid |
| Files App Scanner | Built-in | Save scans to Files | Direct save to cloud/local | Free |
Key Takeaways
- The iPhone has built-in scanning features through Notes and Files apps
- Automatic edge detection and perspective correction produce clean, professional scans
- Scanned documents can be instantly saved, shared, and edited digitally
Scanning with iPhone: Apps and Techniques
The iPhone offers multiple scanning options through its built-in features and third-party apps, making it easy to digitize documents and photos with professional-quality results.
Using the Built-In Notes App for Scanning
The Notes app provides a free, efficient scanning solution. Users can tap the camera icon in a new note and select “Scan Documents” to begin.
The app automatically detects document edges and applies perspective correction. Users can adjust scans manually by dragging the corner points for precise capturing.
Key Features:
- Auto-mode scanning
- Built-in flash control
- Color, grayscale, and black & white filters
- Multi-page scanning support
Third-Party Scanning Applications
CamScanner leads the market with advanced features like OCR (Optical Character Recognition) and cloud storage integration.
Photoscan by Google specializes in photo digitization, removing glare and automatically enhancing image quality.
Popular Scanning Apps:
- CamScanner: Best for document management
- Google Drive: Free cloud storage integration
- Pic Scanner: Optimized for multiple photos
- Scanner Pro: Professional-grade PDF creation
Managing Scanned Documents
Users can organize scanned files in the Files app or iCloud Drive. The system supports direct sharing through AirDrop, Messages, or email.
Storage Options:
- iCloud Drive
- Local device storage
- Third-party cloud services
PDF exports allow for easy document signing and annotation. Files can be password-protected for security.
Scanning for Different Purposes
Business users can scan receipts and contracts with high clarity. Students benefit from scanning textbooks and notes.
Recommended Settings:
- Documents: Black & white, high contrast
- Photos: Color mode, auto-enhancement
- Receipts: Grayscale for better legibility
The camera’s flash helps eliminate shadows in low-light conditions. Using a stable surface improves scan quality.
Frequently Asked Questions
iPhones offer multiple scanning options through built-in apps like Notes, Files, and Camera. These features enable users to digitize documents and capture QR codes without additional software.
How do you use the iPhone Notes app to scan documents?
Open the Notes app and create a new note. Tap the camera icon above the keyboard and select “Scan Documents.” Point the camera at the document and hold steady. The app will detect the document edges and scan automatically.
Tap “Save” after adjusting the scan area if needed. The scanned document appears in the note. Users can add multiple pages to a single scan by tapping “Add Page.”
What are the steps to scan a document on an iPhone 13?
Launch the Files app and tap the three-dot menu icon. Select “Scan Documents” from the menu options. Position the document within the camera frame.
The iPhone 13 will automatically detect and capture the document. Fine-tune the edges by dragging the corner points. Tap “Keep Scan” to save.
Is there a built-in scanner on the iPhone, and how can you access it?
The iPhone includes scanning features in both the Notes and Files apps. No third-party apps are required for basic document scanning.
Access scanning through the camera icon in Notes or the three-dot menu in Files. Both methods produce high-quality scans and support multi-page documents.
How can you scan QR codes with an iPhone?
Open the Camera app and point it at a QR code. The iPhone automatically detects and scans QR codes without pressing any buttons.
A notification banner appears with the linked content. Tap the banner to open the associated website or action.
Where can you find scanned documents on an iPhone?
Scanned documents in Notes appear within their respective notes. Access them by opening the Notes app and selecting the note containing the scan.
Documents scanned through Files are saved in the location selected during scanning. Browse the Files app to locate and manage saved scans.
What are the advantages of using an iPhone to scan photos compared to a traditional scanner?
iPhone scanning offers instant digitization without extra hardware. The built-in camera provides high-resolution scans with automatic edge detection and perspective correction.
Mobile scanning allows users to capture documents anywhere. The iPhone’s portability and quick processing make it practical for routine scanning needs.


