The newest iPhones—especially the 15 Pro series through the upcoming 17 Pro—blur the line between smartphone and pro-grade camera. Stacked 48 MP sensors, faster A-series image signal processors, and Apple’s on-device “Apple Intelligence” unlock techniques that previously required DSLRs, ND filters, or desktop editing suites. Below are the most effective ways to turn those hardware and software upgrades into consistently stunning photos and videos.
1. Start With Perfect Baseline Settings
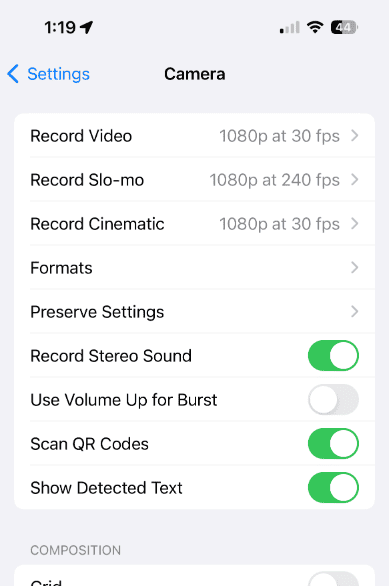
- Switch to ProRAW + 48 MP Resolution Control: In Settings → Camera → Formats, enable ProRAW and set resolution to 48 MP for stills with true 12-bit color depth. The larger files hold up in post-processing and preserve shadow detail lost in HEIF/JPEG.
- Lock Exposure & Focus: Long-press the viewfinder until “AE/AF LOCK” appears, then drag the brightness icon up or down. This prevents refocusing mid-shot and keeps highlights intact—essential for concerts, night photography, or city neon.
- Activate Grid, Level, and Histogram: Grid aids rule-of-thirds composition, Level keeps horizons straight, and the optional histogram (added in iOS 18) shows real-time exposure so you can avoid clipped whites before tapping the shutter.
2. Harness New AI Features
- Visual Intelligence: Press-and-hold the Action/Camera Control button (or long-press viewfinder on older models) to identify plants, translate signs, or grab color palettes—then pinch the overlay down to save it as a note. Great for travel or social posts with instant context.
- Photos Cleanup & Generative Fill: Open any shot in Photos, tap Edit → Cleanup, paint over powerlines or strangers, and let on-device Apple Intelligence rebuild the background. It’s surprisingly seamless and private because everything runs locally.
- Dynamic Memories: iOS 18 auto-creates highlight reels from burst shots and 4K clips, adjustable by dragging keyframes. Export directly to 10-bit HDR without third-party apps.
3. Explore Advanced Shooting Modes
| Mode | When to Use | How to Nail It |
|---|---|---|
| Macro | Textures, flowers, art details | Keep lens 2–5 cm away; in ProRAW reduce ISO < 200; shoot in burst and pick the sharpest frame. |
| Action Mode 2.0 | Running kids, bike POV, pets | Toggle in Video panel; lock exposure first, then walk or jog—stabilization crops ~10 %. |
| Night Mode Tripod | Milky Way, city light trails | Mount iPhone on a MagSafe tripod; shutter stretches up to 30 s when device is steady; disable Night Mode auto flash. |
| Spatial Video | Shots you’ll replay on Vision Pro | Record in landscape 4K / 30 fps; keep phone ~30–80 cm from subjects for best depth map. |
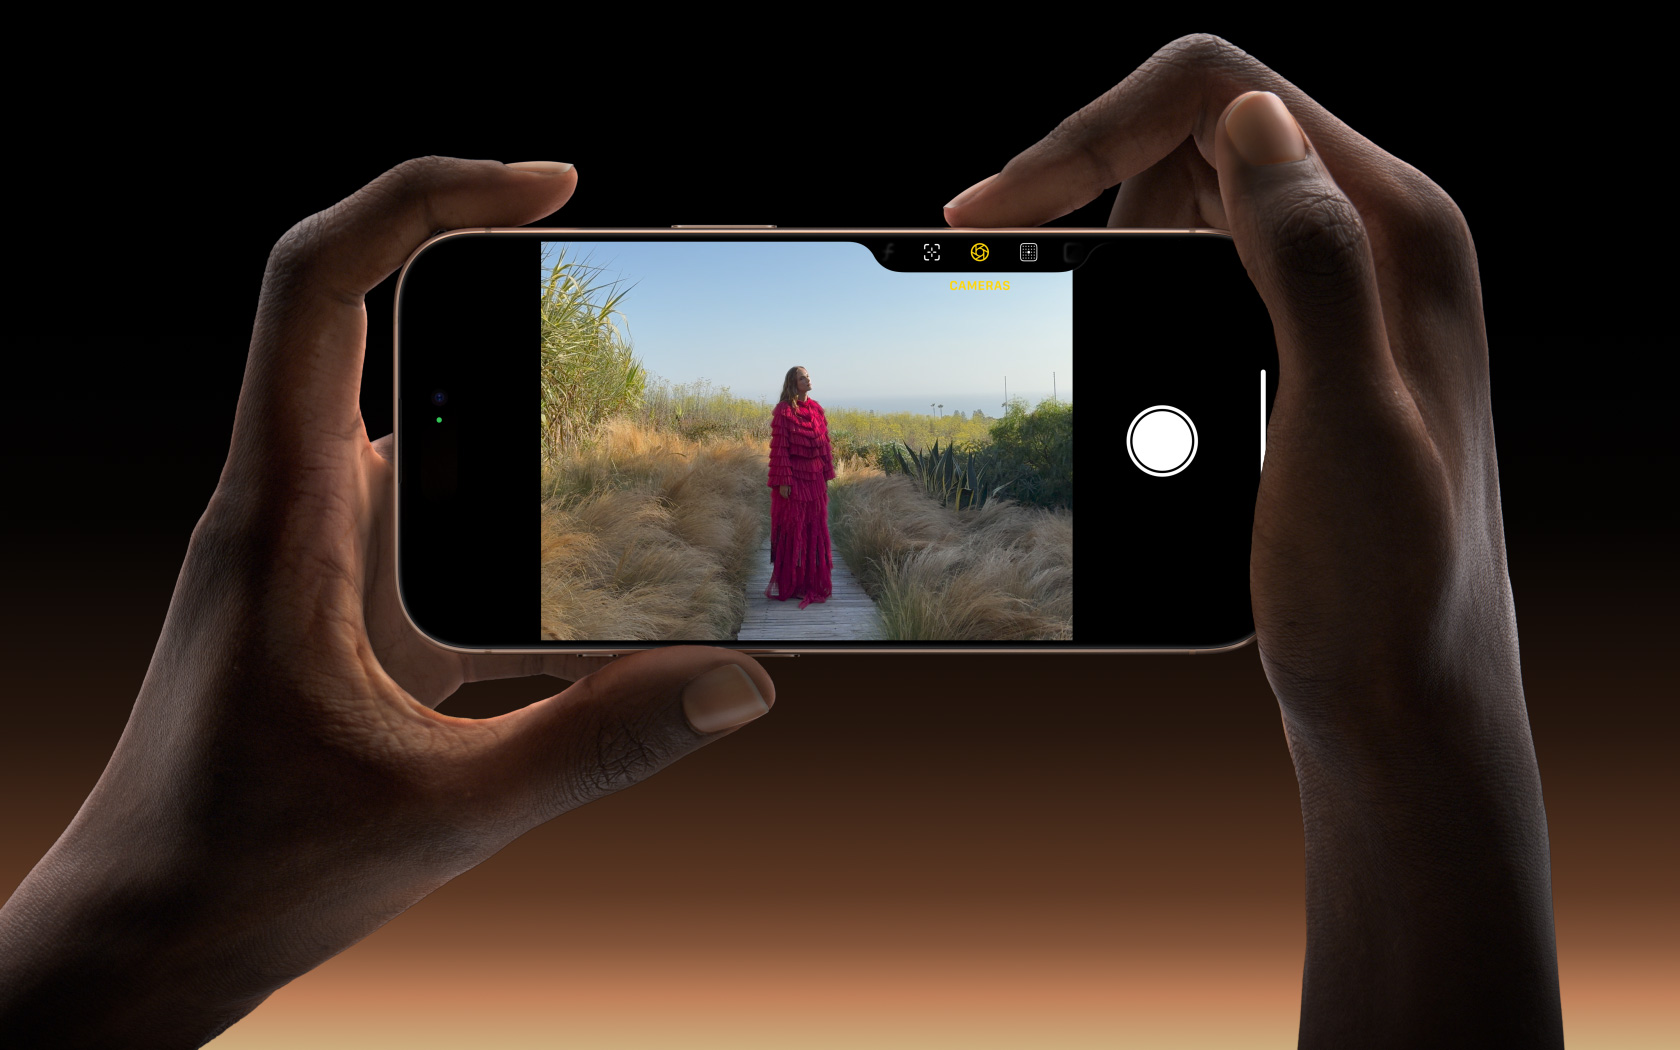
4. Unlock Multi-Camera Power
- Dual-Cam Overlays: The 16 Pro and newer capture main + ultra-wide streams simultaneously; tap the layer icon in Video to position picture-in-picture commentary.
- Upcoming iPhone 17 Pro Trick: Rumored horizontal camera island houses three 48 MP sensors that record synchronized ProRes LOG for painless grade-matching—think YouTube vlogs without color-shift between lenses.
5. Push Beyond the Native App
- Adobe Project Indigo: Combines a rapid 8-frame burst, machine-learning de-ghosting, and reflection removal. Set Mode → Long Exposure for silky waterfalls in daylight without an ND filter.
- Halide & ProCamera: Offer raw-only capture, waveforms, focus peaking, and intervalometers. Assign either to the Action button in Settings → Action Button.
- Shortcut Automation: Create a Shortcut that triggers burst->save to “Astro” album at 9 p.m. on clear-sky nights; pair with an Apple Watch Ultra so your wrist tap launches the shoot hands-free.
6. Accessory Hacks the Pros Swear By
- MagSafe Tripod Mounts: Anker and Moment quick-snap mounts keep the phone level; combine with Bluetooth earbuds as a remote shutter (volume-up equals shutter).
- Clip-On Lenses & Filters: Sandmarc anamorphic 1.55× lens adds cinematic flares; Moment VND 2-5 stop filter lets you drag shutter in bright sun.
- Portable LED Panels: Pocket-size RGB panels (e.g., Aputure MC Pro) magnet-mount to metallic surfaces—ideal for backlighting portraits without bulky gear.
7. Creative Experiments to Try Tonight
- Handheld Light Painting: Set Live Photo → Long Exposure, wave a flashlight in a dark room, and isolate bright streaks while faces stay crisp.
- Reverse Panorama: Tap the arrow to invert direction; use it on city skylines so passing cars leave leading-line light trails.
- Time-Lapse in Macro: Place the phone inches from an opening flower; 30 minutes condense into 6 seconds of hypnotic movement.
- Blend Audio ProRes: Record a short film with external mic via USB-C on 15 Pro/16 Pro, then blend ambient noise captured by the built-in mic for richer soundscapes.
Quick Checklist
- Enable ProRAW + 48 MP and the Grid/Level guides.
- Use Visual Intelligence for instant object ID, translations, and color grabs.
- Master Macro, Night Mode Tripod, Action Mode, and Spatial Video for specialized shots.
- Experiment with Project Indigo or Halide for manual control and hybrid long exposures.
- Add a MagSafe tripod, clip-on lenses, and Bluetooth shutter to stabilize and expand your field kit.
- Automate routine shoots with Shortcuts and Apple Watch triggers.
Apply these techniques and you’ll squeeze every pixel of performance from your iPhone camera—producing images that stand comfortably alongside shots from far pricier rigs.
Key Takeaways
- The iPhone camera app features numerous settings to enhance photo quality.
- Creative techniques can turn simple shots into professional-level photography.
- Composition and understanding of camera features are key to superior images.
Mastering iPhone Camera Settings
When using your iPhone camera, tweaking the right settings can make a big difference. Let’s look at how to finesse these options for the best photos.
Adjusting Exposure and Focus
To adjust exposure on your iPhone, tap the screen and find the sun icon next to the focus point. Drag it up or down to brighten or darken the shot. Dial in the focus by tapping where you want the image to be sharp. This gives you control over which elements stand out.
Exploring Portrait Mode and Depth of Field
Portrait mode creates a depth effect, blurring the background while keeping the subject sharp. Find Portrait mode in the camera app and select it. Move around until the depth effect activates. You can enhance the background blur for a more striking image, similar to what you might achieve with a DSLR.
Utilizing AE/AF Lock for Sharp Images
For sharp photos, even with moving subjects, use AE/AF Lock. Tap and hold on your subject until you see AE/AF Lock at the top of the screen. This locks in both the exposure and the focus, ensuring that your subject stays in sharp relief, no matter the movement.
Experimenting with Burst Mode and Live Photos
Burst mode captures a series of photos at once — perfect for action shots. Hold down the shutter button to activate it. Live Photos capture a snippet of motion before and after the still. Toggle these options in the camera app to add life to your images.
Leveraging Advanced Controls in Pro Mode
For users with an iPhone Pro or Pro Max, Pro mode offers DSLR-like settings. In the Settings app, turn on ProRAW to gain control over advanced image processing. On the Pro Max, set ProRAW Max or HEIF Max for the best quality. Pro mode enables fine-tuning of exposure settings and other adjustments in the camera app itself.
Creative Techniques and Composition
In this section, we explore various methods to enhance your iPhone photography skills, focusing on composition, lighting, and camera settings.
Applying the Rule of Thirds and Composition Guidelines
The rule of thirds is vital in photography. By dividing the frame with two horizontal and two vertical lines, you create nine equal segments. Place the main subject at the intersections or along the lines to make the photo balanced and allow for a more engaging interaction with the viewer. In addition to the rule of thirds, observe your scene for patterns, symmetry, and framing opportunities for more compelling compositions.
Taking Advantage of Lighting and Filters
Light plays a crucial role in photography. Natural lighting can create photos that feel alive. Look for the golden hour, shortly after sunrise or before sunset, when the light is soft and warm. Use the iPhone’s built-in filters to enhance the mood. Whether you’re seeking a dramatic effect or a subtle tone, filters can help achieve the desired outcome without editing the photo afterward.
Capturing Motion with Shutter Speed and Panning
Controlling shutter speed allows you to capture motion clearly or create a blur that conveys movement. On the iPhone, you can use the Live Photo feature and edit the photo later to freeze a moment in time. For dynamic shots of moving subjects, try panning. Move the camera along with the subject at the same speed while taking the photo to keep the subject in focus against a blurred background.
Using Tripods and Accessories for Stabilization
A tripod is a photographer’s ally, especially in low-light conditions or when precision is key. It stabilizes the iPhone for sharp, clear images. Use a tripod with a smartphone mount to avoid camera shake and ensure tack-sharp photos. For more stability while shooting, use the self-timer function or a remote shutter.
Shooting in Various Modes: Pano, Time-Lapse, Portrait
Experiment with the iPhone’s camera modes to capture diverse images. Use Pano mode for sweeping landscapes, ensuring you move the camera steadily from one side to another. Try Time-Lapse to show the passage of time in a video format, ideal for capturing scenes like busy streets or sunsets. In Portrait mode, use lighting options to add depth and focus to your subject, separating it from the background for a professional look.