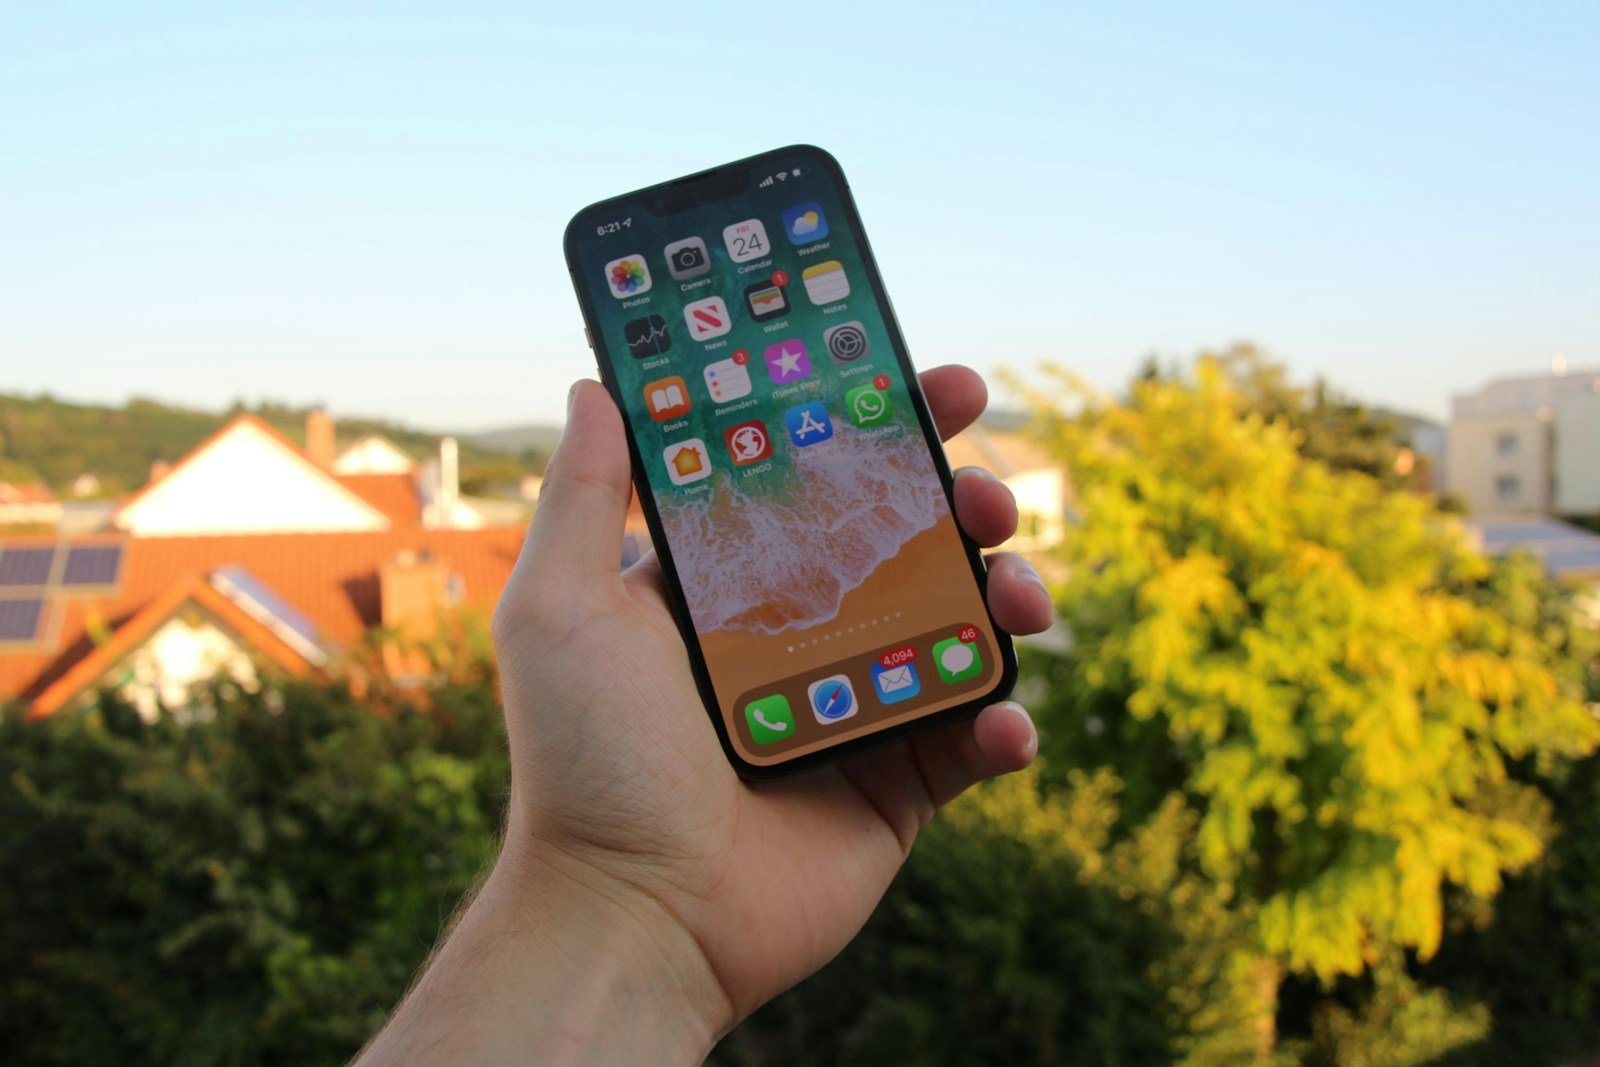
Capturing screenshots on an iPhone 12 is a straightforward process. Users can record whatever is displayed on the screen swiftly and efficiently. Whether it’s a text message, a high score from a game, or an interesting post on social media, the ability to take a screenshot is an essential feature for iOS users that provides a quick way to share or save information.
Apple offers multiple methods to take a screenshot on the iPhone 12. The most commonly used technique involves pressing a combination of buttons. Simultaneously holding the side button and the volume up button will quickly capture the content displayed on the screen. For situations where button use is not possible, such as when the device has a damaged button or when the user is unable to press the buttons, an alternative “Back Tap” feature is available which can be set up to take a screenshot with a double or triple tap on the back of the phone.
Once a screenshot is taken, iOS generates a thumbnail preview, which can be tapped to access editing tools or swiped away to save it directly to the Photos app. Managing and sharing screenshots is integrated into the system, streamlining the process of viewing, editing, and sending them through various channels like messages, mail or social networks.
How to Take a Screenshot on iPhone 12–17
Method 1: Using the Buttons
- Locate the buttons
- Side button: on the right side of your iPhone.
- Volume Up button: on the left side.
- Press both at the same time
- Quickly press Side button + Volume Up button together.
- Release immediately (don’t hold).
- See the screenshot preview
- A small thumbnail will appear in the bottom‑left corner.
- Tap it to edit/markup, or swipe left to dismiss.
Method 2: Using AssistiveTouch (Accessibility)
If pressing buttons is tricky, you can enable AssistiveTouch:
- Go to Settings > Accessibility > Touch > AssistiveTouch.
- Turn AssistiveTouch on.
- A floating menu button will appear on your screen.
- Tap it → Device > More > Screenshot.
Method 3: Back Tap (iOS 14+ feature)
You can also set up a “double‑tap” or “triple‑tap” on the back of your iPhone to take screenshots:
- Go to Settings > Accessibility > Touch > Back Tap.
- Choose Double Tap or Triple Tap.
- Select Screenshot.
- Now, tap the back of your iPhone to capture the screen.
📂 Where to Find Your Screenshots
- Open the Photos app.
- Go to Albums > Screenshots.
- Or check your Recents album.
✅ Works on: iPhone 12, 13, 14, 15, 16, and 17 (all Face ID models).
Key Takeaways
- Screenshots are easily taken on an iPhone 12 using button combinations or the Back Tap feature.
- Editing and sharing options appear immediately after capturing a screenshot.
- All screenshots are saved in the Photos app for convenient access and management.
Taking Screenshots on iPhone 12
Capturing content on your iPhone 12 screen is simple. You can use physical buttons, a touchscreen menu, or a convenient accessibility feature.
Using Physical Buttons
To take a screenshot, hold the side button and the volume up button together briefly. Release both buttons quickly. Your screen will flash to confirm that you have captured the screenshot.
Using AssistiveTouch
First, enable AssistiveTouch by going to Settings, tapping Accessibility, then Touch, and turning on AssistiveTouch. A menu appears on your screen. Here, select Device, then More, and tap Screenshot. The screen flashes, indicating you have taken a screenshot without using the buttons.
Using Back Tap Feature
Enable Back Tap by going to Settings, choosing Accessibility, tapping Touch, and selecting Back Tap. Assign the Double Tap or Triple Tap action to Screenshot. Now, a double or triple tap on the back of your iPhone 12 will capture the screenshot. This feature lets you snapshot your screen without button presses.
Managing and Sharing Screenshots
After capturing a screenshot on an iPhone 12, users have various options to edit, organize, and share their images. The process is streamlined and user-friendly within the iOS Photos app.
Editing and Annotating
Once you take a screenshot on your iPhone, a thumbnail preview appears in the bottom left corner. Tapping this thumbnail opens the Markup tool where you can draw, add text, or crop your screenshot. The edits you make save directly to the Photos app, ensuring your changes are not lost.
Saving and Organizing in Photos
After editing, the screenshot saves to the Photos app. Here, users can create albums to organize their screenshots or assign them to existing ones. The Photos library makes it easy to find screenshots later. Users can also delete screenshots they no longer need.
Sharing and Collaborating
Screenshots are easy to share directly from the thumbnail preview or the Photos app. Options like AirDrop, email, or messaging apps are available for quick sharing. For collaborative work, especially with full-page screenshots from Safari or other apps, users may save screenshots to Files for easy access across various devices like Mac or iPad.


