Manual focus on an iPhone allows photographers more control over their images. By adjusting focus manually, one can highlight a subject with greater precision. This is important in various situations, like when the automatic focus is drawn to the wrong part of a scene or when capturing a subject in motion.
The iPhone’s camera app includes features that let users lock focus and adjust settings on the fly. These controls offer a way to manage exposure and white balance alongside focus. Third-party apps provide even more control, allowing photographers to adjust shutter speed, ISO, and other settings for a custom shot.
Manual Focus Guide for iPhone Photography
While iPhones don’t offer true manual focus like a DSLR or mirrorless camera with a physical focus ring, they do give you precise control over focus through the Camera app and several third-party apps. Mastering manual focus on your iPhone can help you take sharper, more artistic shots—especially in low light, macro, or portrait photography.
Here’s how to take full control of focus on your iPhone and use it to enhance your photography.
1. Using Tap to Focus in the Native Camera App
The iPhone’s built-in Camera app includes a simple yet powerful manual focus tool—tap to focus.
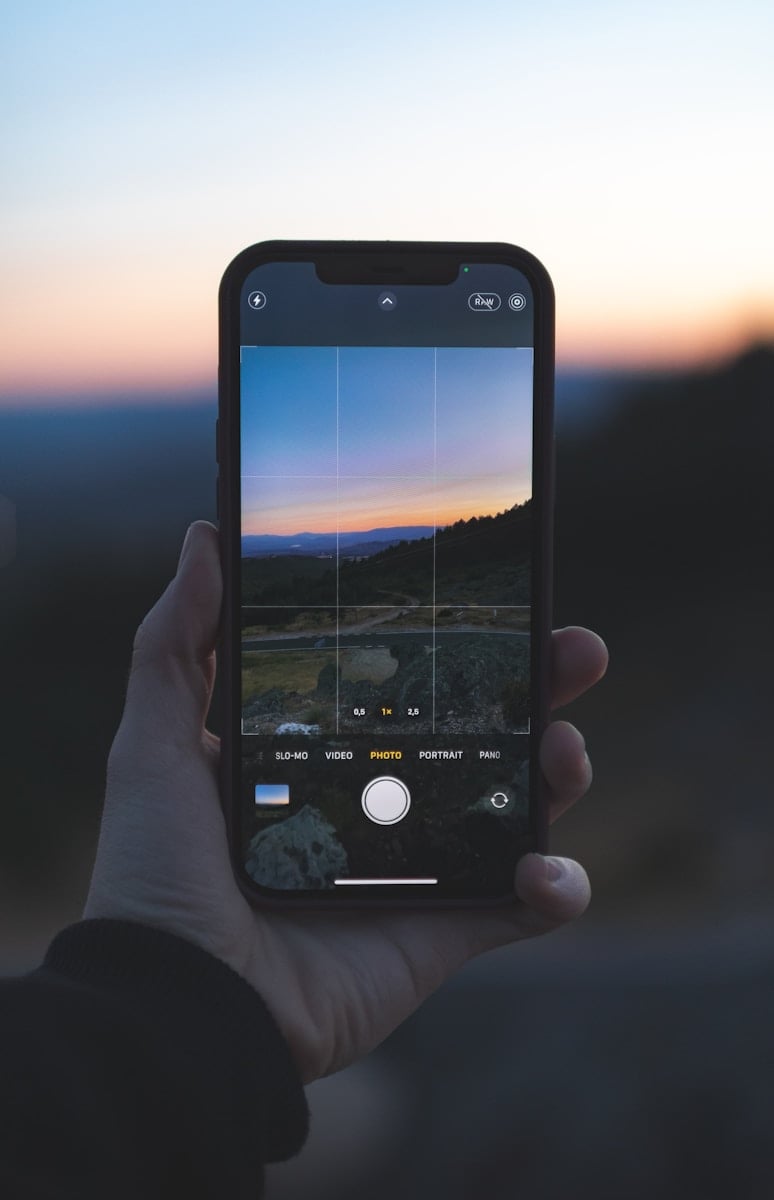
- Open the Camera app.
- Tap on the subject you want to focus on. A yellow square will appear, indicating the area of focus.
- The camera will also auto-adjust exposure based on that spot, but you can change it.
Lock Focus and Exposure:
To prevent your iPhone from refocusing if something moves:
- Tap and hold until “AE/AF LOCK” appears at the top of the screen.
- Now, your focus and exposure are locked. You can recompose the shot without the camera changing focus.
2. Fine-Tuning Focus With Third-Party Apps
For more advanced manual focus control (with a focus slider or peaking), use apps like:
▶ Halide Mark II
- Offers manual focus slider and focus peaking (a highlight on sharp areas).
- Great for macro photography or creative shallow focus effects.
- Supports RAW, depth capture, and focus loupe.
▶ ProCamera
- Includes manual focus controls, along with histogram, white balance, ISO, and shutter speed settings.
- Ideal for serious mobile photographers.
▶ Camera+ 2
- Includes a focus dial and macro mode.
- Helpful for close-ups where the iPhone might otherwise struggle to focus correctly.
3. Tips for Getting Sharper Focus
✅ Use Focus Peaking (when available)
Focus peaking shows a colored outline on in-focus parts of the image, letting you know exactly where your sharpest point is.
✅ Zoom in for Precision (Using Grid or Loupe)
Even if you’re not zooming for your final photo, temporarily pinch-zoom to check sharpness and adjust focus before taking the shot.
✅ Use a Tripod
Even slight hand movements can throw off your manual focus, especially with macro or low-light shots. A tripod keeps things steady.
✅ Work With Good Lighting
Your iPhone’s autofocus and manual focus systems work best with decent lighting. Low light can make it harder to find the right focal plane.
✅ Adjust Depth in Portrait Mode (for newer iPhones)
Portrait Mode lets you control the blur (depth) after the photo is taken. Use the Depth Control slider in the Photos app to subtly shift focus emphasis.
4. Manual Focus Use Cases
📸 Macro Photography
Manual focus is essential for extreme close-ups. Autofocus may hunt or focus on the wrong part of a subject (e.g., a petal instead of the stamen).
🎞 Cinematic Shots
For video, some apps allow focus pulls—slowly shifting focus from foreground to background. This adds a cinematic flair.
🌌 Low Light / Night Photography
Autofocus can be unreliable in the dark. Manual focus ensures you lock in on key subjects, especially for stars, light trails, or night portraits.
5. Final Thoughts
While the native Camera app gives you solid control for most situations, stepping up to manual focus through pro apps can unlock a higher level of creative control. Whether you’re shooting macro, portraits, or storytelling video clips, understanding how to manipulate focus lets you direct the viewer’s eye—and craft more powerful images.
Keep practicing, experiment in different lighting conditions, and remember: focus is where the magic begins.
Key Takeaways
- Manual focus on the iPhone offers precise control for photographers.
- In-built and third-party apps enable manual adjustments for focus and exposure.
- Proper manual focus techniques can significantly enhance photo quality.
Understanding Manual Focus on iPhone
The manual focus feature on an iPhone camera allows for more creative control over photographs by adjusting focus points. This capability can transform the quality and composition of an image.
How Manual Focus Enhances iPhone Photography
Manual focus lets photographers choose exactly where their camera lens will sharpen an image. It brings either the foreground or background into clear view while the rest becomes blurry. This technique, known as controlling depth of field, is useful in portrait mode and macro photography. With manual focus, a photographer can emphasize a subject, handle tricky lighting, or reduce motion blur for a clean shot.
The Role of Third-Party Camera Apps
Third-party apps like Halide offer professional-grade manual controls that the default iPhone camera app does not. These can unlock manual focus along with detailed adjustments for ISO, shutter speed, and aperture. They grant a precision similar to DSLR cameras. Users can manage exposure and use tools like focus peaking, which highlights areas of contrast to show what’s in sharp focus.
Integrating Manual Focus with iPhone Camera Settings
Within the iPhone’s native camera app, the AE/AF Lock feature achieves a form of manual focus. By tapping and holding on a specific area, the focus locks on a subject. For finer adjustments, applications and the built-in camera slider assist in setting exposure compensation and help in shooting in low light. Users can maneuver settings to prevent a blurry image and preserve quality regardless of the photo setting.
Practical Manual Focus Techniques
Manual focus can elevate iPhone photography by giving the user precise control over the image’s focal point. This guide explains how to manually adjust focus using third-party apps like Camera+ 2 and Halide.
Achieving Sharp Focus in Low Light Conditions
In low light, sharp focus is crucial. The iPhone’s autofocus may struggle as light dims, causing photos to lose detail. For pin-sharp images, use an app like Camera+ to manually set focus. First, tap the focus button. Then, drag the focus slider until your subject stands out. Lastly, use Halide to lock focus, which helps avoid re-focusing due to movement in the scene.
Utilizing Manual Focus for Macro Photography
Macro photography captures stunning close-up photos. Use manual focus to adjust the camera lens for clear details. With an add-on macro lens, open a manual camera app. Slowly move the phone or adjust the focus slider to make your subject pin-sharp. Lock exposure to prevent over or under-expose and reduce grain.
Creating Artistic Blurred Backgrounds
A blurred background, or shallow depth of field, focuses the viewer’s attention on the subject. Use manual focus in apps like Halide to blur the background. Adjust the lens aperture to its widest setting. Then move the focus slider until the subject is clear and the background softens. This technique helps shoot professional-looking portraits and minimizes distracting elements.


