The Apple Pencil transforms your iPad into a powerful creative and productivity tool — perfect for drawing, note-taking, marking up documents, and more. This guide covers everything you need to know about identifying, pairing, charging, and using your Apple Pencil.
🔍 Step 1: Identify Your Apple Pencil
There are three main versions of the Apple Pencil. It’s important to know which one you have because pairing and charging methods differ.
| Apple Pencil Model | Key Features | Compatible iPads |
|---|---|---|
| Apple Pencil (1st generation) | Round body, removable cap, Lightning connector (or USB-C adapter for newer iPads) | Works with older iPads and iPad (10th generation) via adapter |
| Apple Pencil (2nd generation) | Flat edge, magnetic charging, double-tap gesture | Works with iPad Pro (3rd gen and later), iPad Air (4th gen and later), iPad mini (6th gen) |
| Apple Pencil (USB-C) | USB-C port for direct charging, no pairing required | Works with all USB-C iPads that support Apple Pencil (USB-C) |
👉 You can check full compatibility here: Apple Pencil compatibility – Apple Support
🔌 Step 2: Pair Your Apple Pencil
✏️ Apple Pencil (1st generation)
- Remove the cap from the back of the Pencil.
- Plug it into your iPad’s Lightning connector, or if you have an iPad (10th generation), connect it using the USB-C to Apple Pencil Adapter and a USB-C charge cable.
- When the Pair button appears on the screen, tap it.
(Source: Apple Support – Pair and charge Apple Pencil (1st generation))
✏️ Apple Pencil (2nd generation)
- Attach the Pencil to the magnetic connector on the side of your iPad.
- A pairing prompt will appear on your screen — tap Pair.
✏️ Apple Pencil (USB-C)
- Plug your Apple Pencil (USB-C) directly into the USB-C port on your iPad.
- Once connected, it’s ready to use — no pairing required.
(Source: How to connect and pair your Apple Pencil – Apple Support)
⚡ Step 3: Charge Your Apple Pencil
- 1st generation: Plug it into your iPad or use the USB-C to Apple Pencil Adapter with a charging cable.
- 2nd generation: Magnetically attach it to the side of your iPad — it charges automatically.
- USB-C model: Plug it into your iPad’s USB-C port or a USB-C charger.
You can check your Pencil’s battery level by swiping down to open the Batteries widget on your iPad.
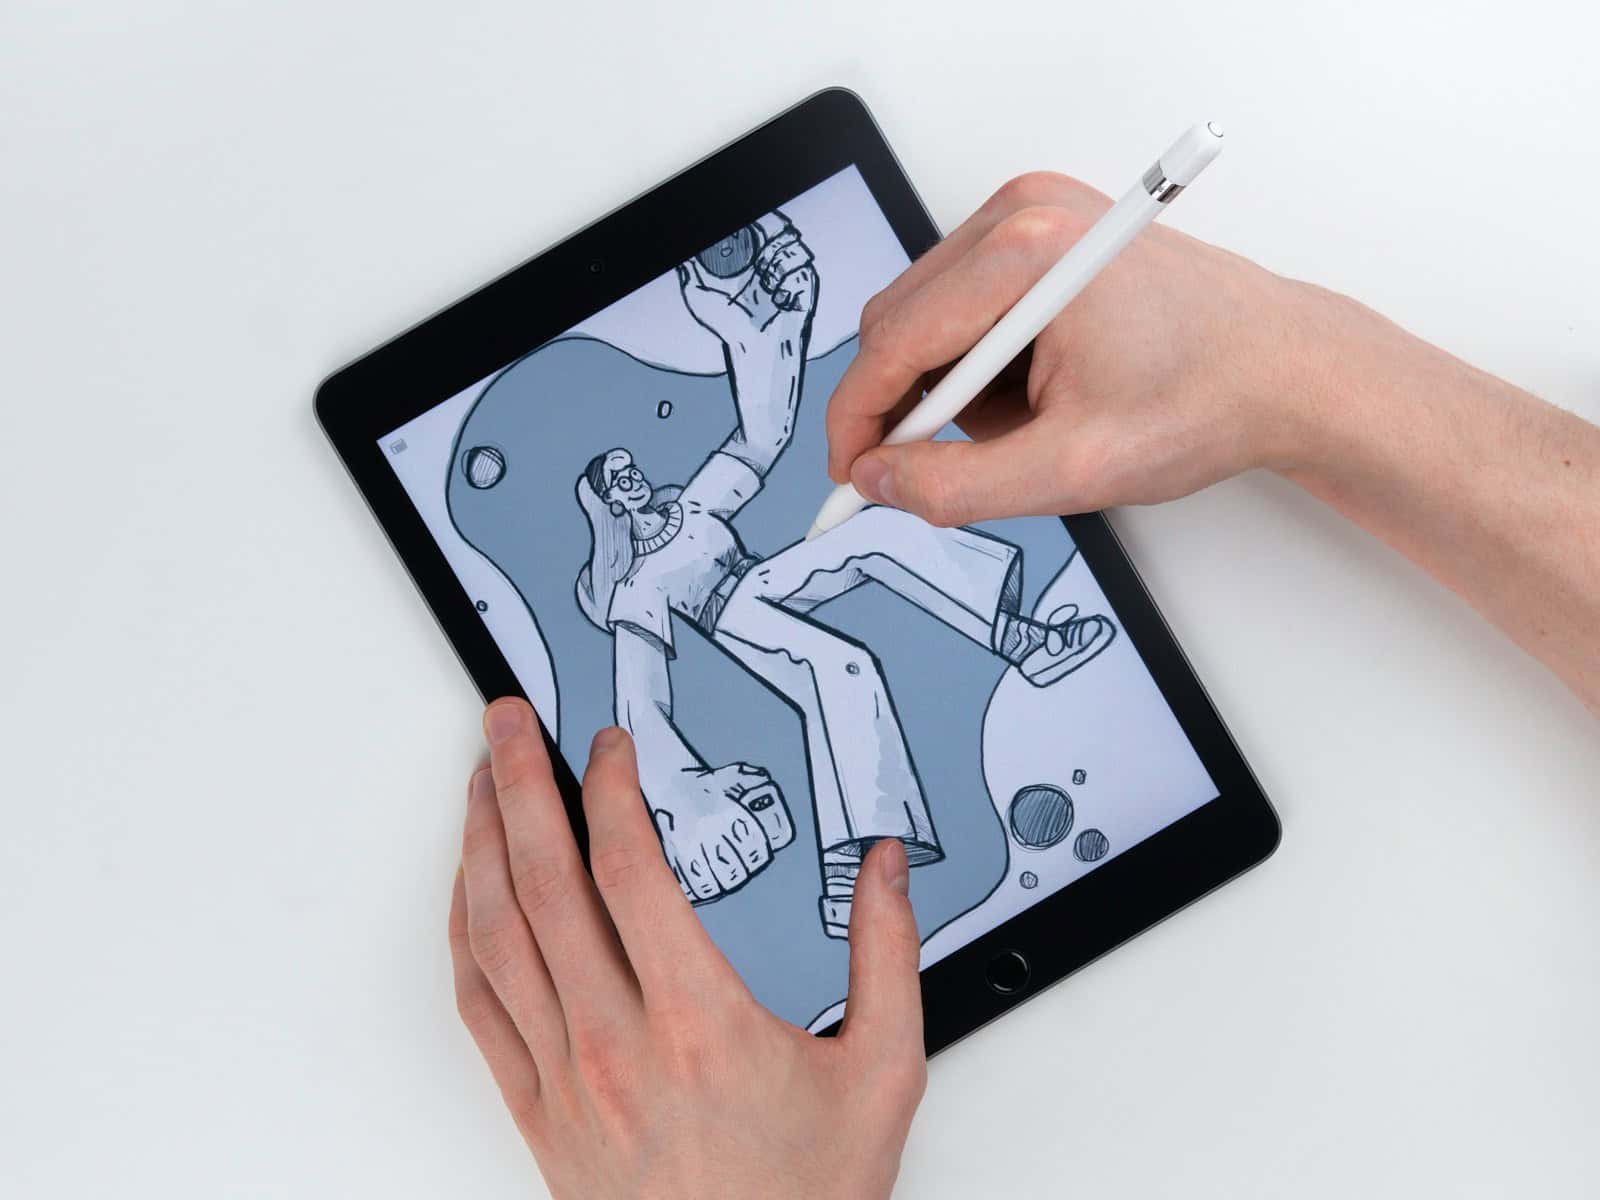
🧠 Step 4: Use Your Apple Pencil
Once paired, you can:
- Write and draw in Notes and compatible apps.
- Mark up PDFs, screenshots, and photos.
- Navigate your iPad (tap, swipe, scroll).
- Double-tap (2nd gen only) to switch between tools like pen and eraser.
For more creative uses, see Do more with Apple Pencil – Apple Support.
🧩 Step 5: Troubleshooting
If your Apple Pencil won’t pair or respond:
- Make sure it’s charged.
- Confirm you’re using a compatible iPad model.
- Restart your iPad and try pairing again.
- If using 1st gen with iPad (10th gen), ensure you have the USB-C to Apple Pencil Adapter.
More help: If you can’t pair Apple Pencil with your iPad – Apple Support
✅ Summary
| Task | 1st Gen | 2nd Gen | USB-C |
|---|---|---|---|
| Pairing | Plug in or use adapter | Attach magnetically | Plug in (auto) |
| Charging | Plug or adapter | Magnetic | USB-C |
| Gestures | No | Double-tap | No |