Pages
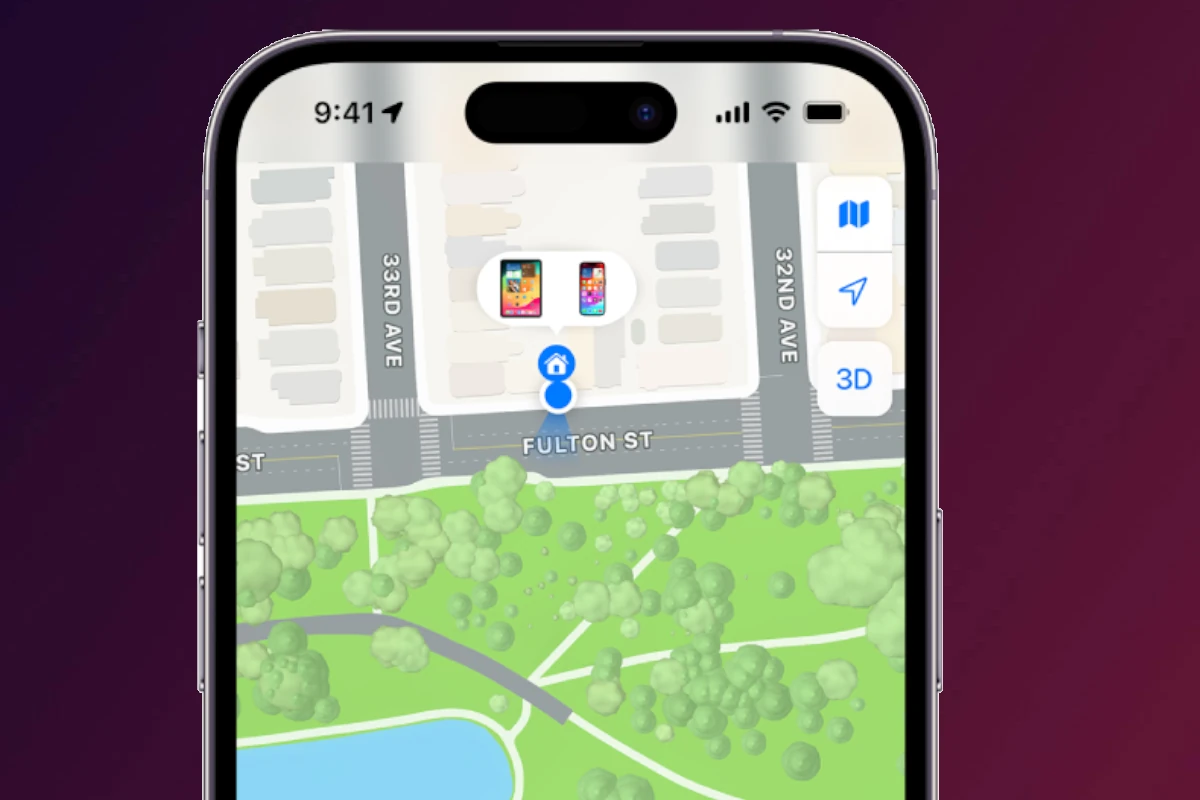
How To Discreetly Stop Sharing Your Location on an iPhone
Apple makes it easy to share your location with friends and family through Find My, Messages, and other apps. But ...

How To Remove a Screen Protector
Removing a screen protector may seem simple, but doing it incorrectly can crack the protector, leave behind adhesive residue, or ...
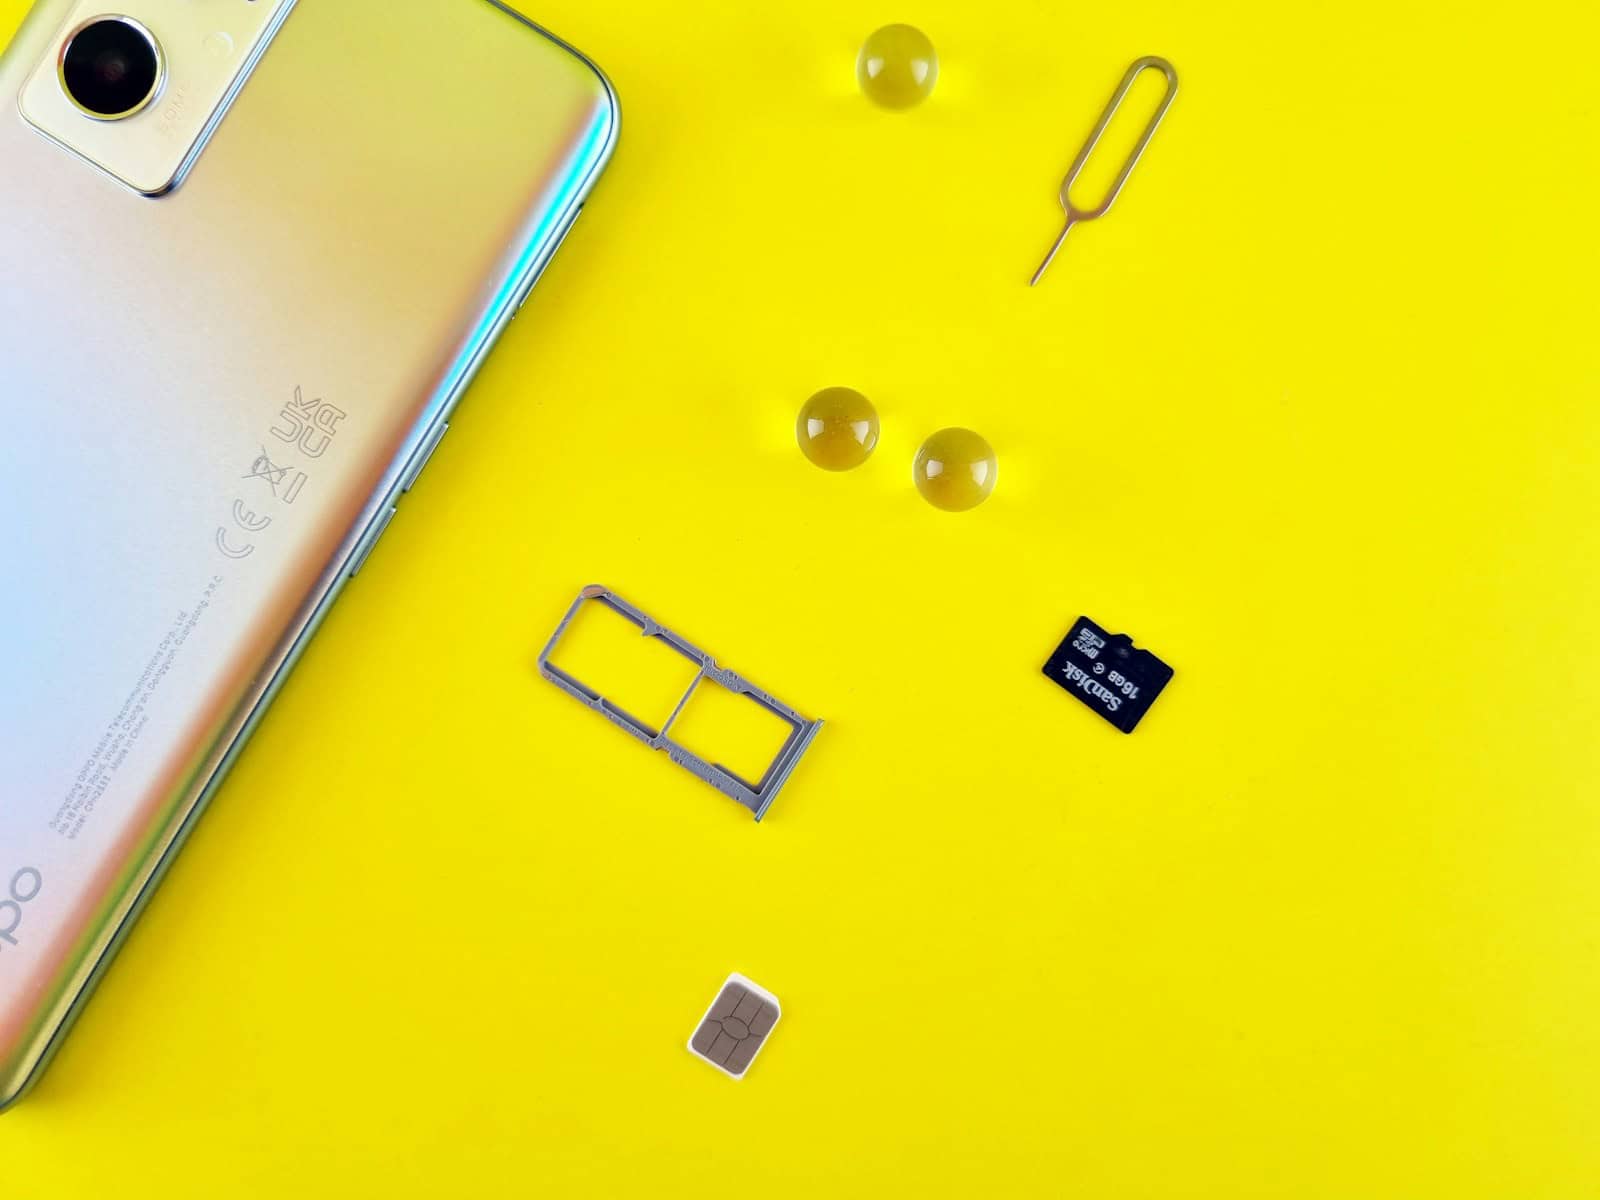
What Happens If You Transfer Your SIM Card To Another Phone
When you want to use your SIM card in a different phone, it’s important to know what information is on ...
How to Delete Messages on iCloud
When you manage your iCloud messages, you may need to delete unnecessary messages from your iPhone, iPad, or Mac. This ...
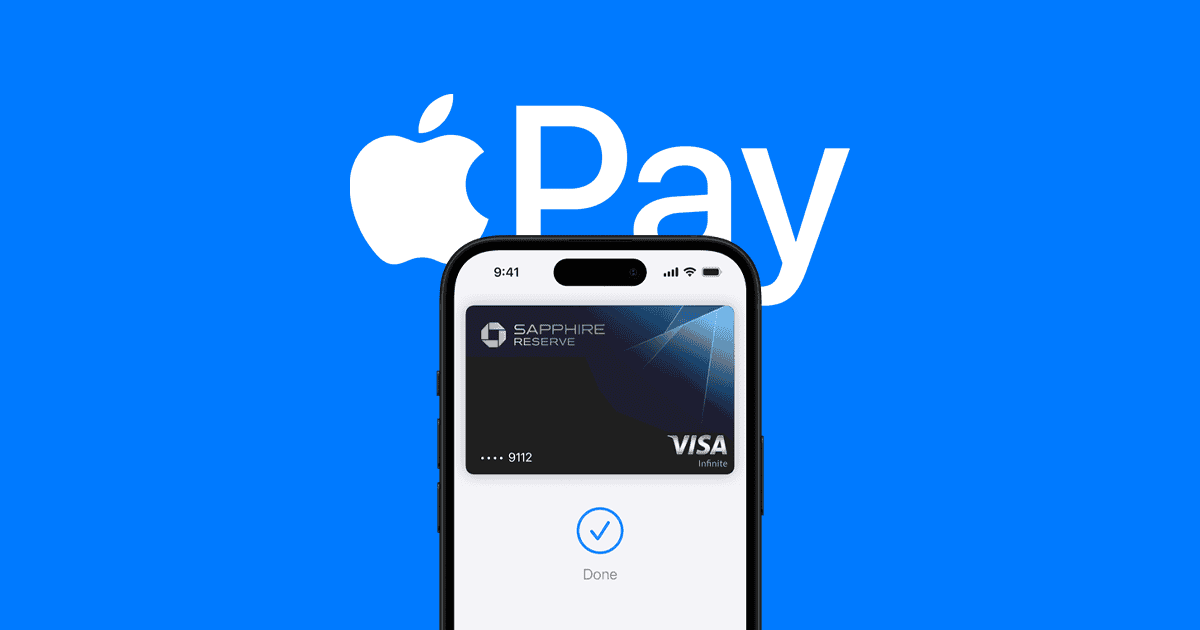
How Do I Use Apple Pay To Send Money To Someone?
Apple Pay simplifies digital payments on your iPhone, Apple Watch, iPad, and Mac. It’s a secure way to make purchases ...
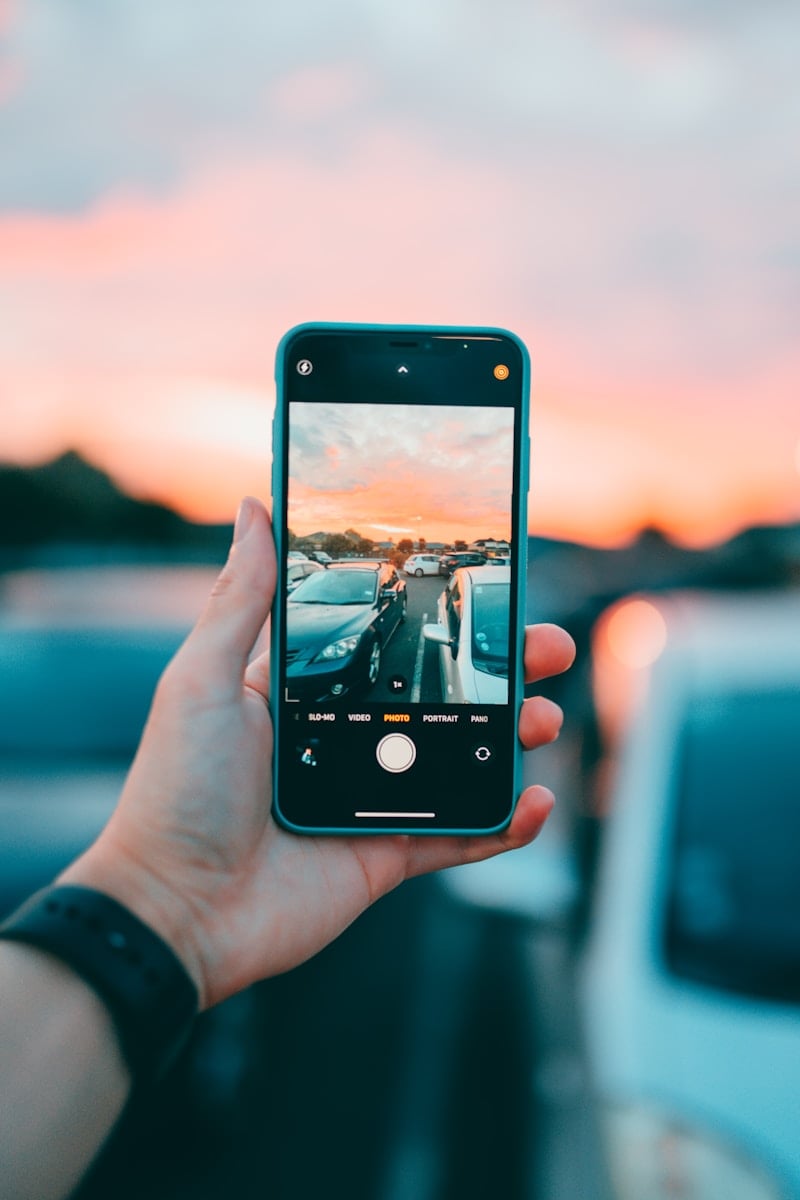
How To Shoot Slow Motion Video With Your iPhone
Have you ever come across those breathtaking slow-motion videos of water balloons bursting or dogs catching frisbees in mid-air? Well, ...
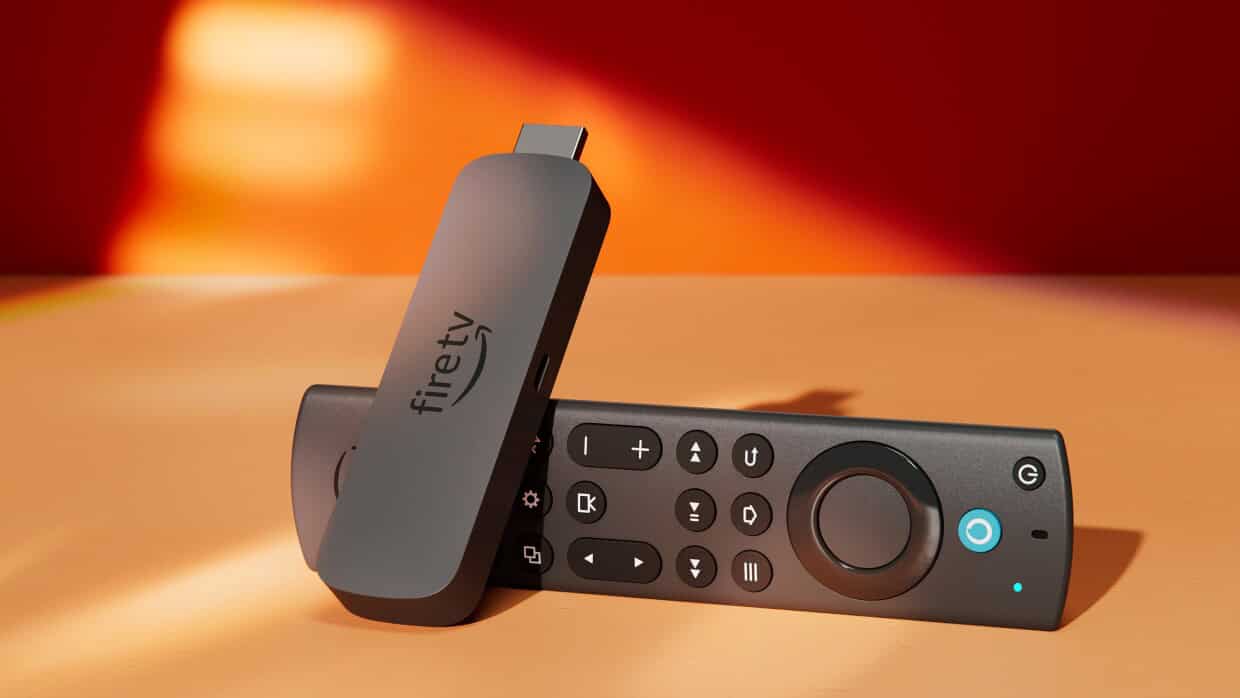
How Do I Stream or Mirror My iPhone to Firestick
Want to share your iPhone screen on your TV? This guide will show you how to mirror your iPhone to ...
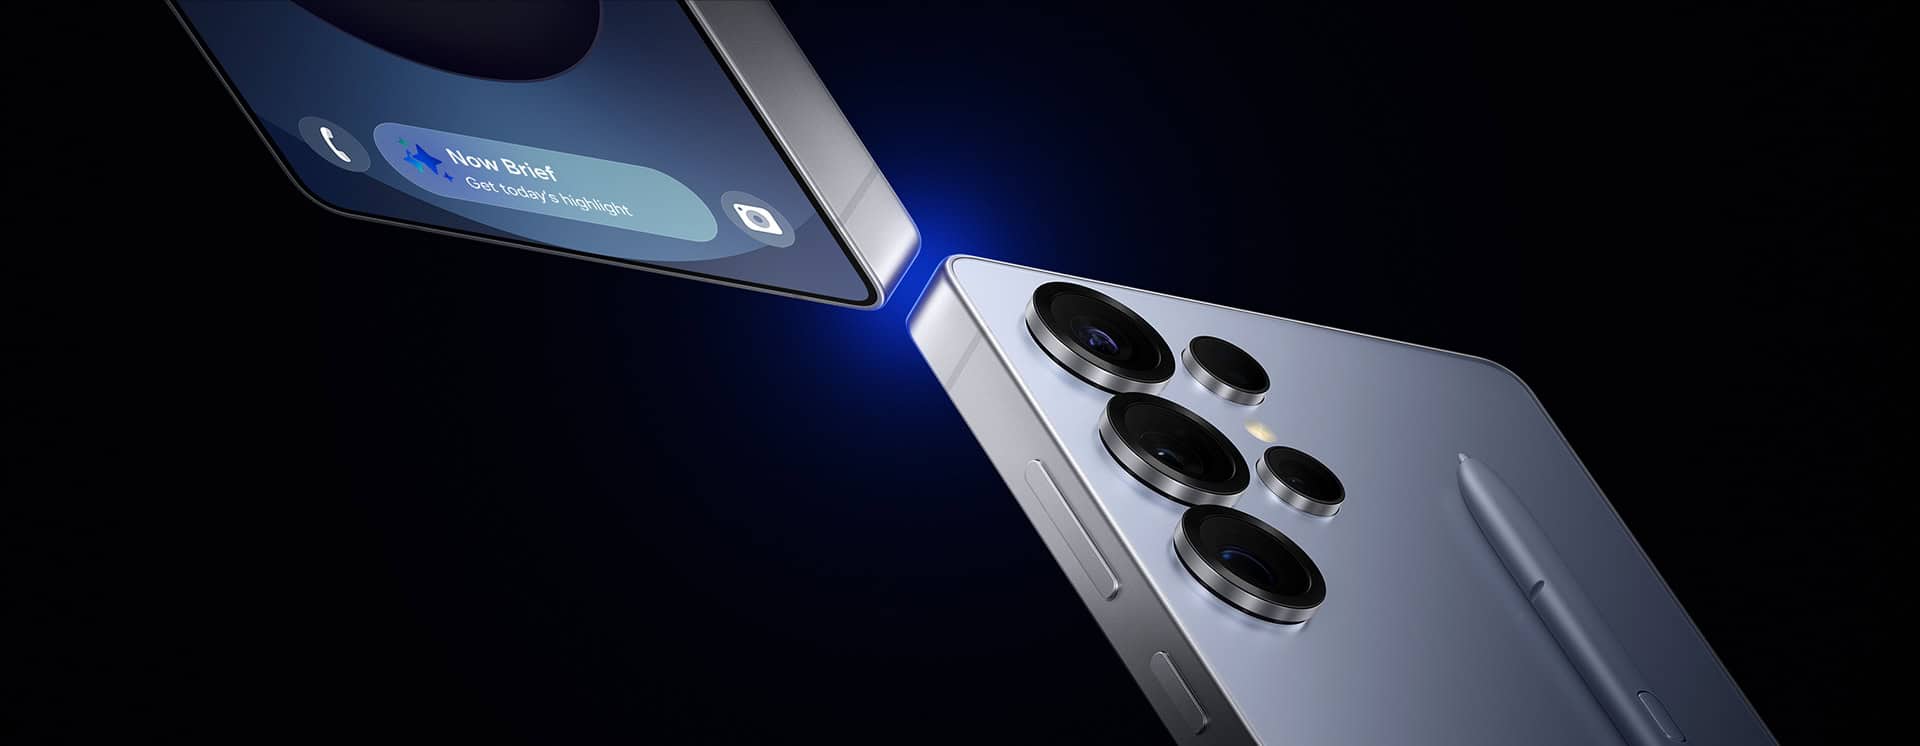
Samsung Galaxy Model Release Order Dates: Complete History (2009–2026)
Samsung’s Galaxy lineup has grown from a single Android smartphone into one of the biggest technology ecosystems in the world. ...
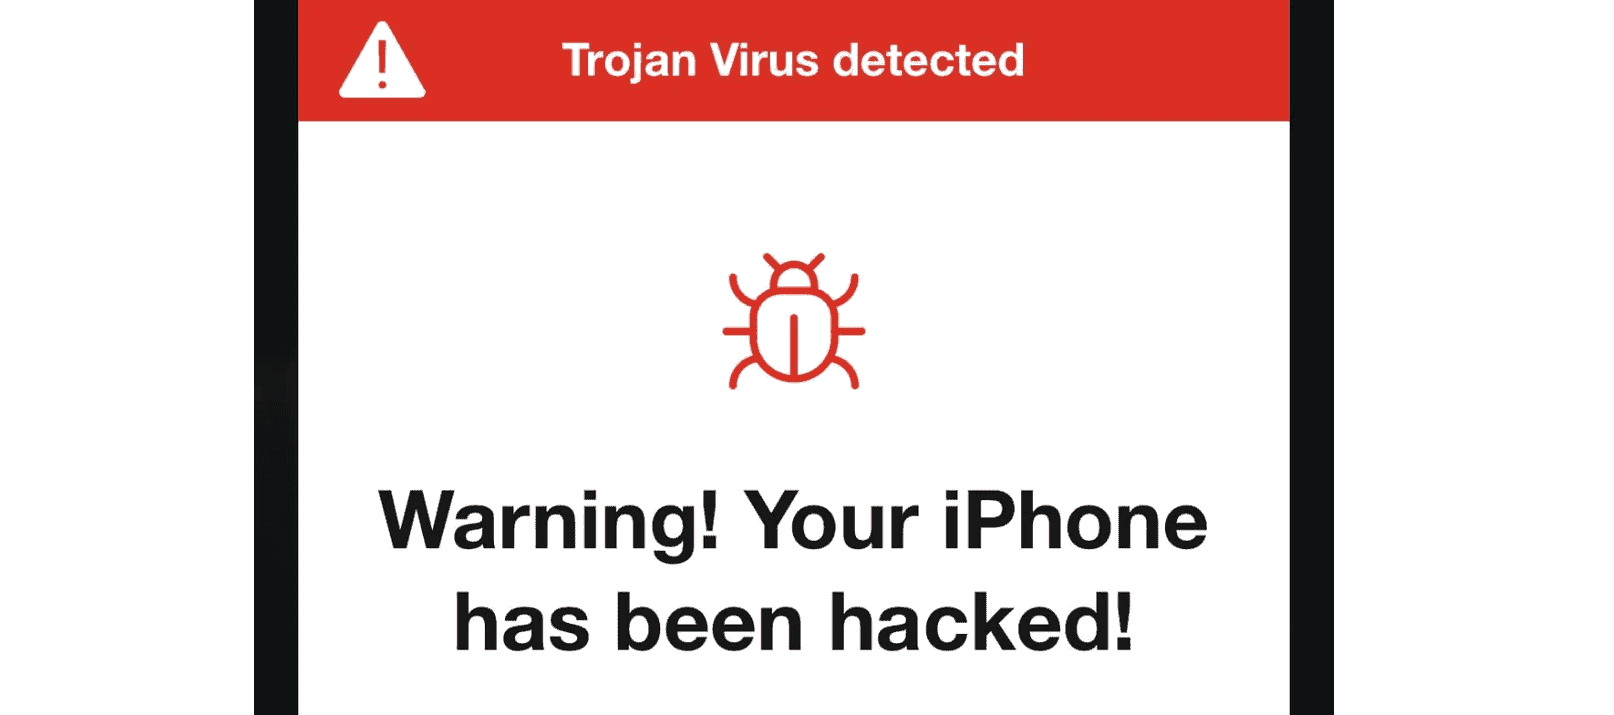
Is It Possible For Someone To Access My Phone Remotely?
Unfortunately, yes. Hackers can use hidden tricks to compromise your device, which may result in stolen data, privacy breaches, or ...
How to Tell if a Dead iPhone is Charging
Is your iPhone dead and not responding? You might wonder if it’s charging when plugged in. Knowing if your device ...


